

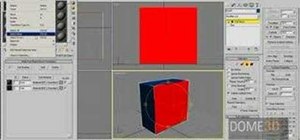
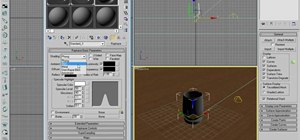
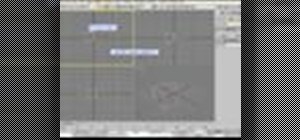
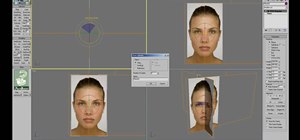
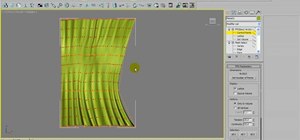
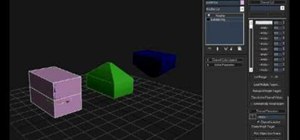
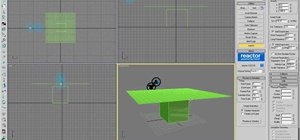
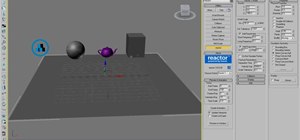
This video tutorial is in the Software category which will show you how to map multi-sub objects in 3D Studio Max. What this means is you can apply two textures to a single 3D object. First you select the 3D object, say a box and go to editor > standard > multi sub-object > OK. Now change the number of materials from 10 to 2 and follow through the next steps to select the two textures. Then go to modify panel > edit mash. Select polygons, and apply the texture to the front of the box, move around to the back of the box, hold down ctrl and click the back side face of the box. Now you have the front and the back side of the box of the same color. You can watch the video for further instructions.
Just updated your iPhone? You'll find new emoji, enhanced security, podcast transcripts, Apple Cash virtual numbers, and other useful features. There are even new additions hidden within Safari. Find out what's new and changed on your iPhone with the iOS 17.4 update.


Be the First to Comment
Share Your Thoughts