


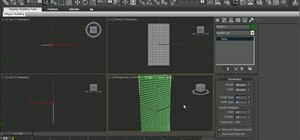
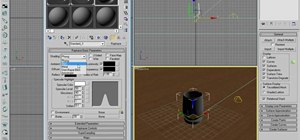
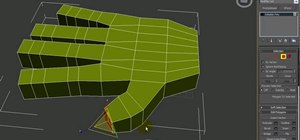
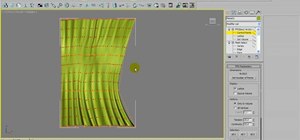
In this how to video, you will learn how to work with standard materials in 3D Studio Max. The material editor is found by clicking the multicolored button to the right. You can see sample spheres where you can see examples of materials. Below, you can see surface properties such as shaders and ambient colors. You can select the type of material to be applied here. You can select the standard material to get familiar with it. First, decide the shaders. Blend is the default shader, although there are many others to choose from. Each have different applications. Blend can be used in most situations, while anisotropic should be used for fine things such as hair. Multilayer can be used for water and other liquids. Once you decide the shader, you can change the properties. This includes color, specularity for sheen, and opacity for transparency. Next, you can change the maps in the maps roll out. There are many to choose from as well. For this example, a checkered pattern is used. Notice that the M in the diffuse color is a short cut to that area in the menu. You can adjust the numbers next to the maps to change the strength of the maps. You can adjust the shine settings by changing the specular controls. Now you know the basics of applying a standard material to an object.
Just updated your iPhone? You'll find new emoji, enhanced security, podcast transcripts, Apple Cash virtual numbers, and other useful features. There are even new additions hidden within Safari. Find out what's new and changed on your iPhone with the iOS 17.4 update.


Be the First to Comment
Share Your Thoughts