


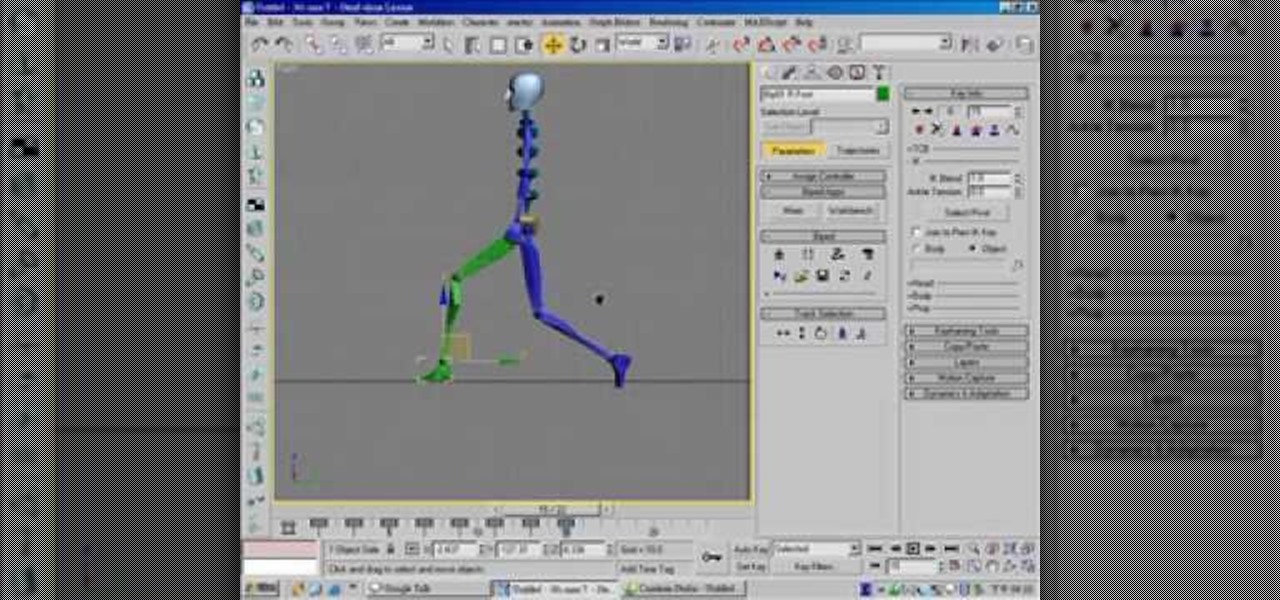
How To: Add a biped to a mesh character in 3ds Max
If you just made a mesh character, it's not going to be very interesting or fun to use until you can start animating it. To start animating, you'll need to add a biped structure to your character - this tutorial shows you how.
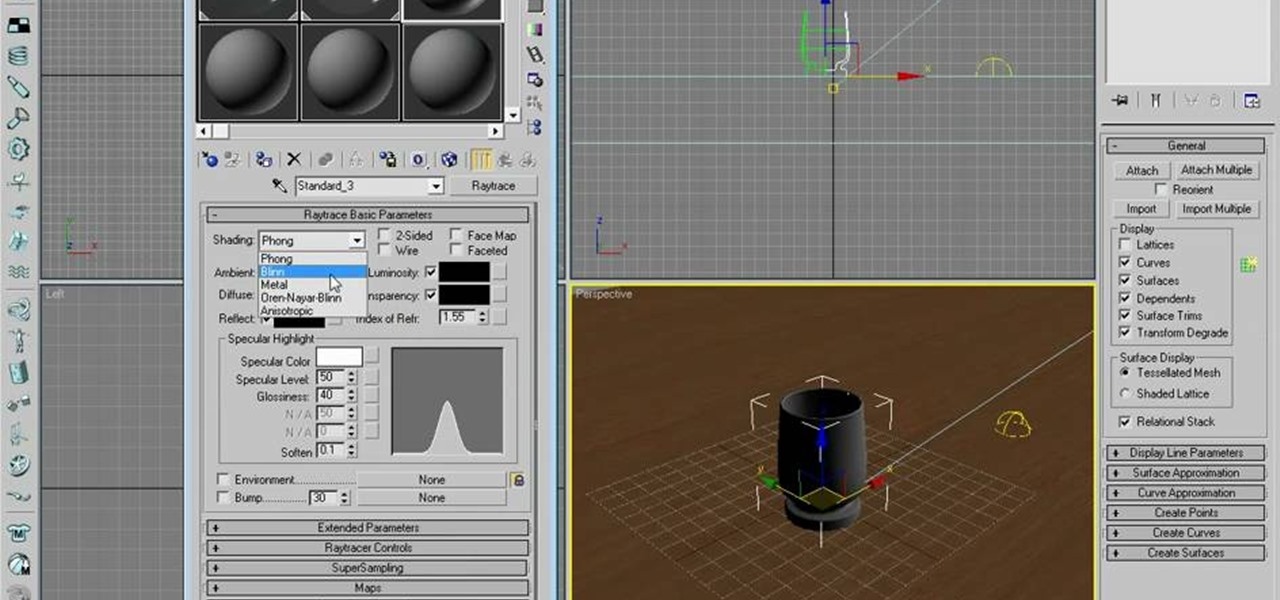
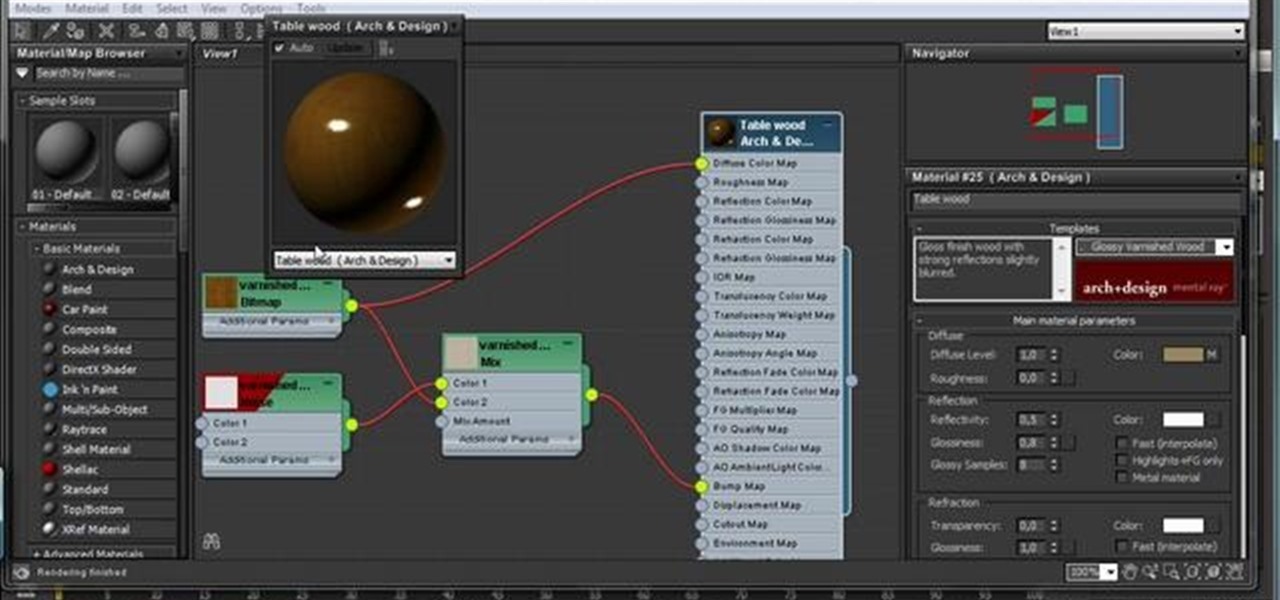
How To: Create glass material in 3ds Max
Dave shows you how to produce a glass three different ways in 3ds Max in the video tutorial. Put two panels away, then concentrating on sensor one press m on the keyboard to bring up the materials editor. On the material editor go to the first sphere, choosing a slight blue color, bring up the specter level, bring up the glossy level, click on two sided and bring down the last two to about four. Look to see it is fairly transparent, in a test window. This is glass one, put on hide. Go to glas...
How To: Export objects from 3ds Max into the game Crysis
This six-part 3ds Max video tutorial will guide you step by step through the process of exporting from 3D Studio Max into the award-winning, science-fiction, first-person shooter, computer game Crysis.
How To: Wrap an image on your object in 3ds Max 8
All you 3D modelers and digital animators out there, watch this video to see how to take any photo image and wrap it onto the surface of an object in 3ds Max 8.
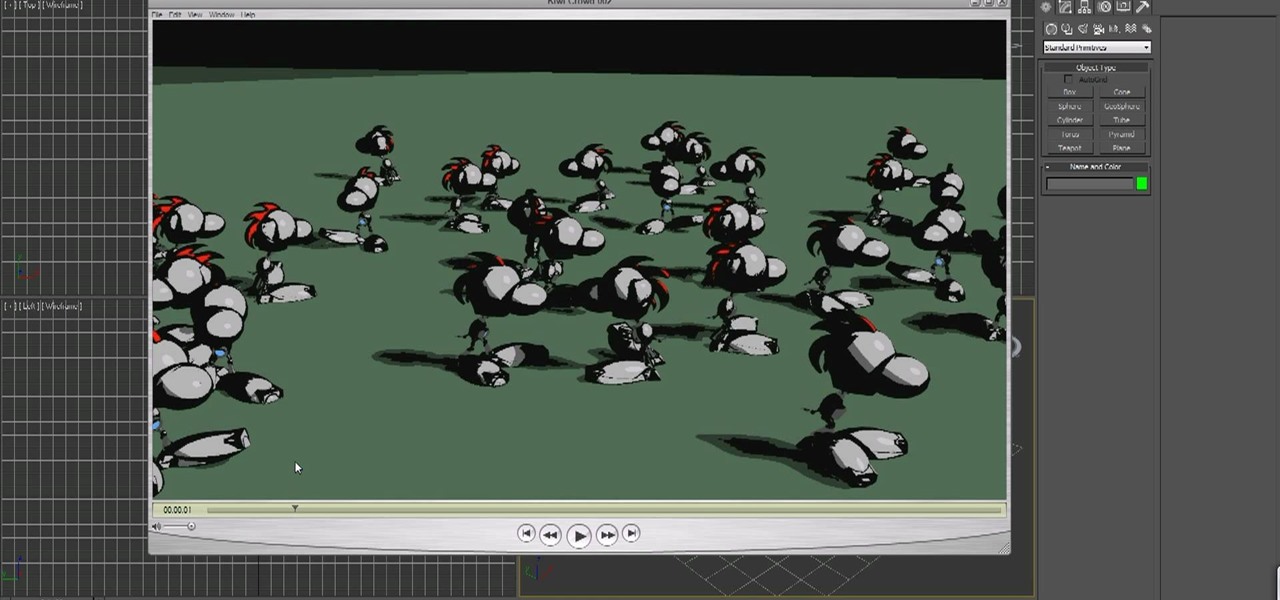
How To: Model and animate a crowd of 3D models in 3DS MAX
Do you work with 3D graphics? Have you ever wanted to have one character that you've modeled destroy hordes of tiny other characters you've made? Well want no more. This video series will show you how to model and animate a small army of little models that will walk around and have basic interactions with each other. Really cool and really educational.
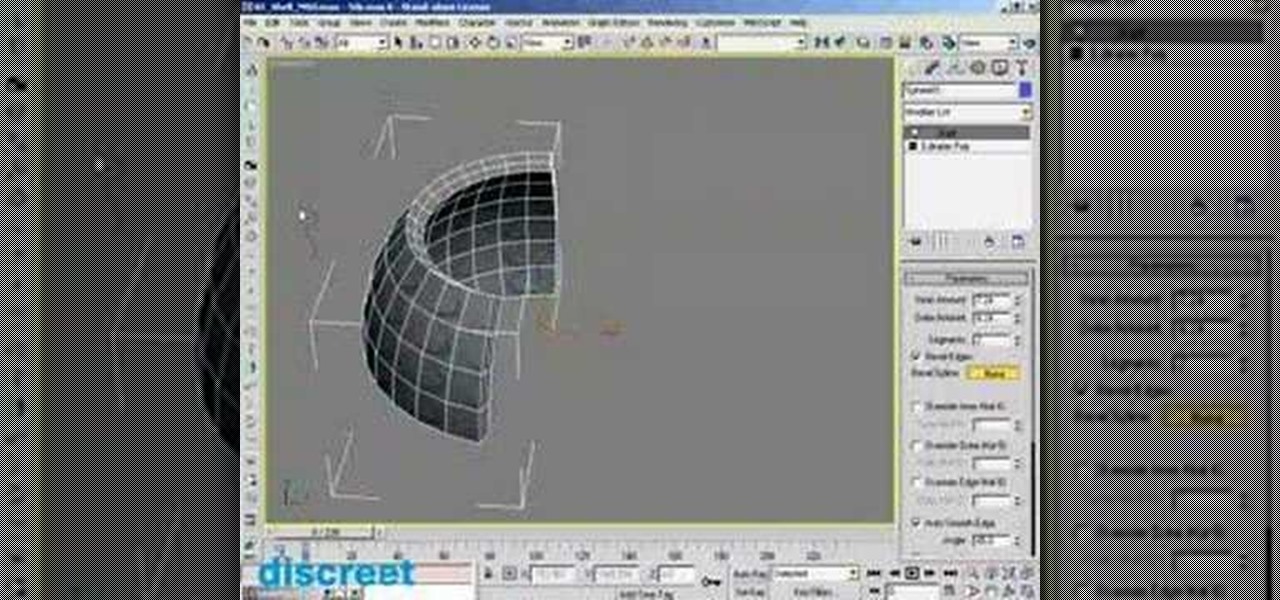
How To: Use the shell modifier in 3ds Max
This 3D software tutorial was developed by Discreet (creators of 3ds Max) to show you how to use the shell modifier new to version 6 and up of 3D Studio Max. If you are a 3ds Max modeler, you should learn how to use this powerful tool. Great 3ds Max tutorial for anyone new to modeling in 3ds Max or needing to know how to use the shell modifier.
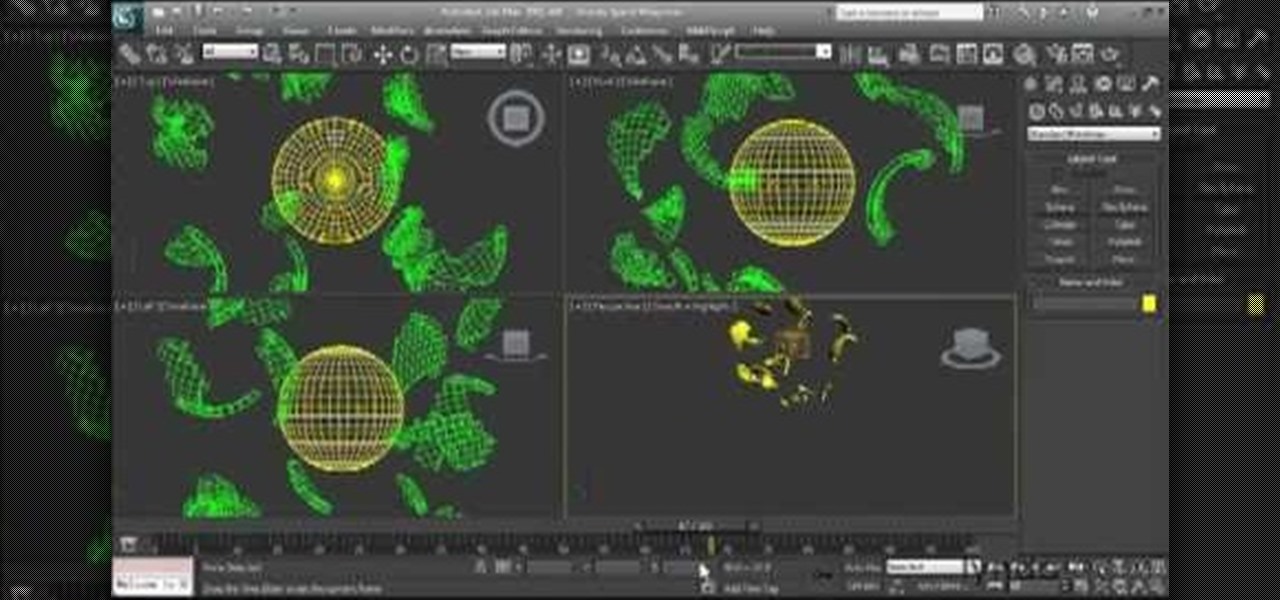
How To: Create particle effects in Autodesk 3ds Max 2011
Learn how to use generate eye-catching particle effects within Autodesk 3ds Max 2011. Whether you're new to Autodesk's popular modeling software or a seasoned 3D artist just looking to better acquaint yourself with the application, you're sure to be well served by this video tutorial. For more information, and to get started creating particle effects in Autodesk 3ds Max 2011, take a look!

How To: Use the Quicksilver Hardware renderer in Autodesk 3ds Max 2011
In this video tutorial, we learn how to use the Quicksilver Hardware renderer in Autodesk 3ds Max 2011. Whether you're new to the Autodesk's popular 3D modeling program or a seasoned graphic artist just interested in better acquainting yourself with the application, you're sure to be well served by this free video tutorial. For more information, including detailed instructions, take a look.
How To: Import textured Poser models to 3DS Max Files
This tutorial shows you how to take a model figure created using the Poser program and export them for use in Autodesk 3DS Max. While you can use Poser Fusion, it can be somewhat unstable on a Mac, and this tutorial shows you a few workarounds and alternate methods.
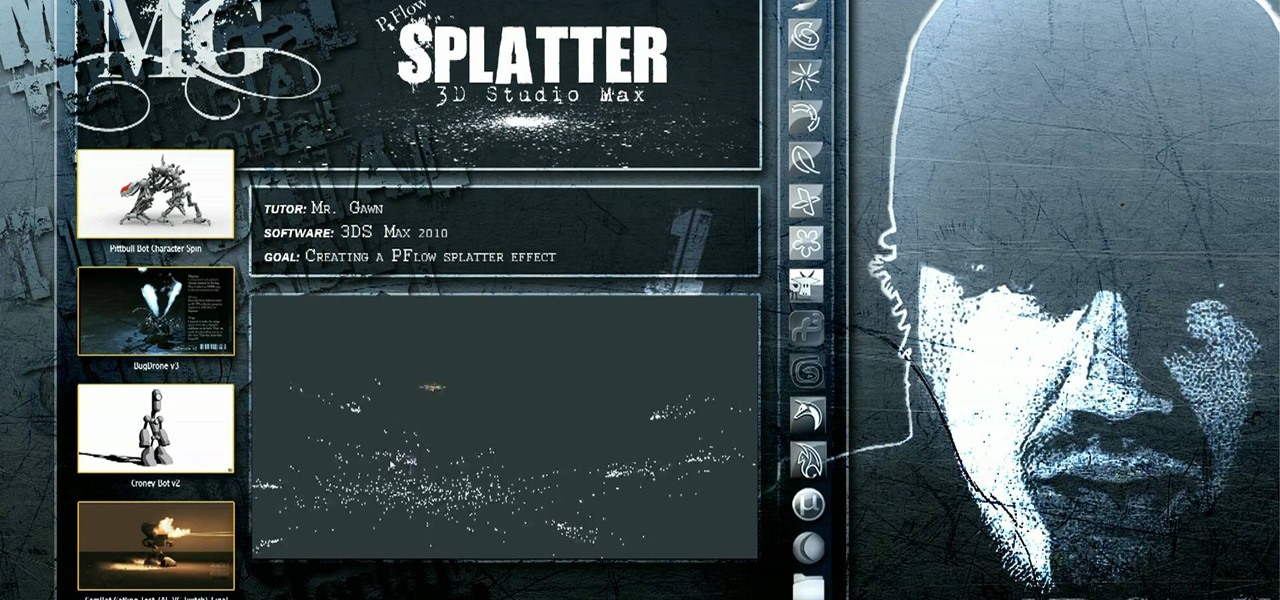
How To: Use particle flow to make liquids splatter in 3DS MAX
Working with particle flow in 3DS MAX allows you to create all sorts of awesome effects, including swarms of small characters or, in this case, realistic liquids. Specifically, this video series will show you how to use pflow to create a liquid splatter effect, which can be used to make rain, explosions, and all sorts of other things. Watch this video and hone your skills.
How To: Work with multi-sub materials in Autodesk 3ds Max 2010
See how to work with multi-sub materials in Autodesk 3ds Max 2010. Whether you're new to Autodesk's popular modeling software or a seasoned 3D artist just looking to better acquaint yourself with the application, you're sure to be well served by this video tutorial. For more information, and to get started taking advantage of the 3ds Max Assembly and Group tools yourself, take a look! Work with multi-sub materials in Autodesk 3ds Max 2010.
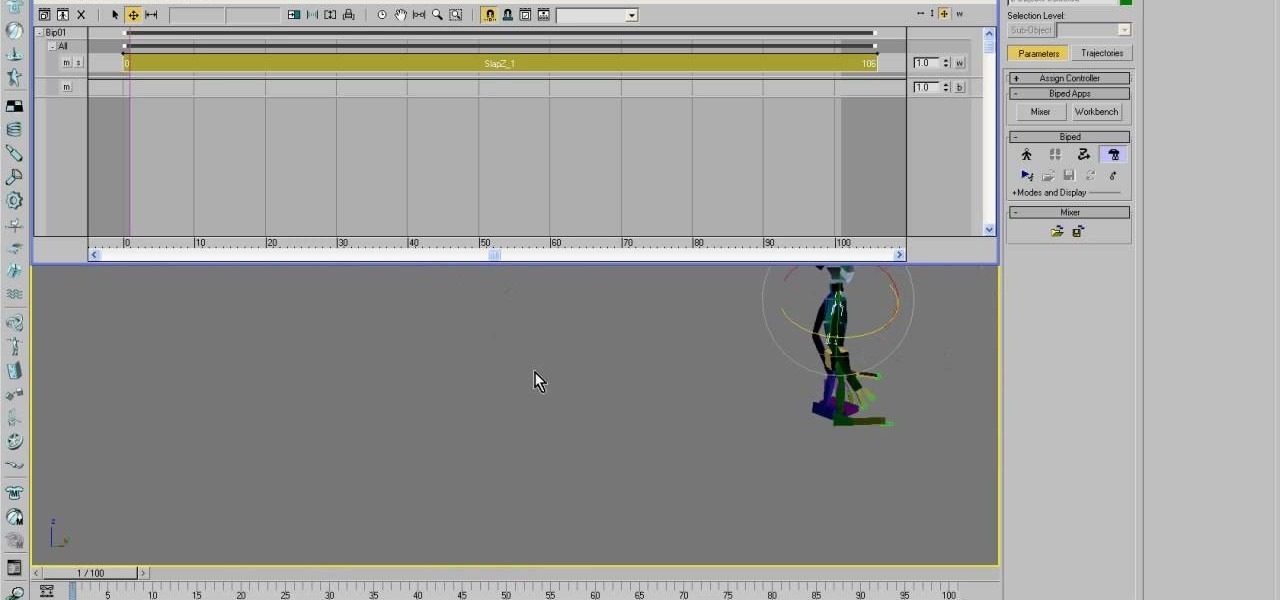
How To: Animate a basic walk cycle for a biped in 3ds Max
Making a 3D model bipedal character walk is one of the most basic and necessary things that you can do to them. If you are going to use them in a movie or game, chances are they will have to move themselves from one place to another right? This video will teach you how to create a basic walk cycle for one of your bipeds in 3D Studio MAX, allowing you to animate them walking to all kinds of places quickly and easily.
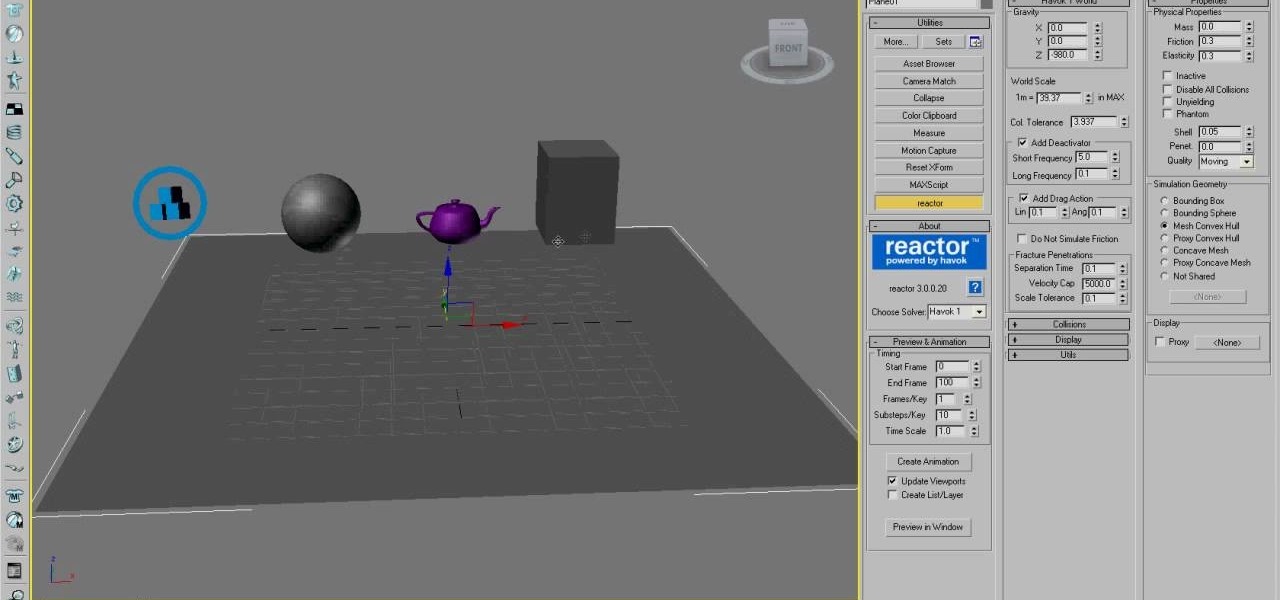
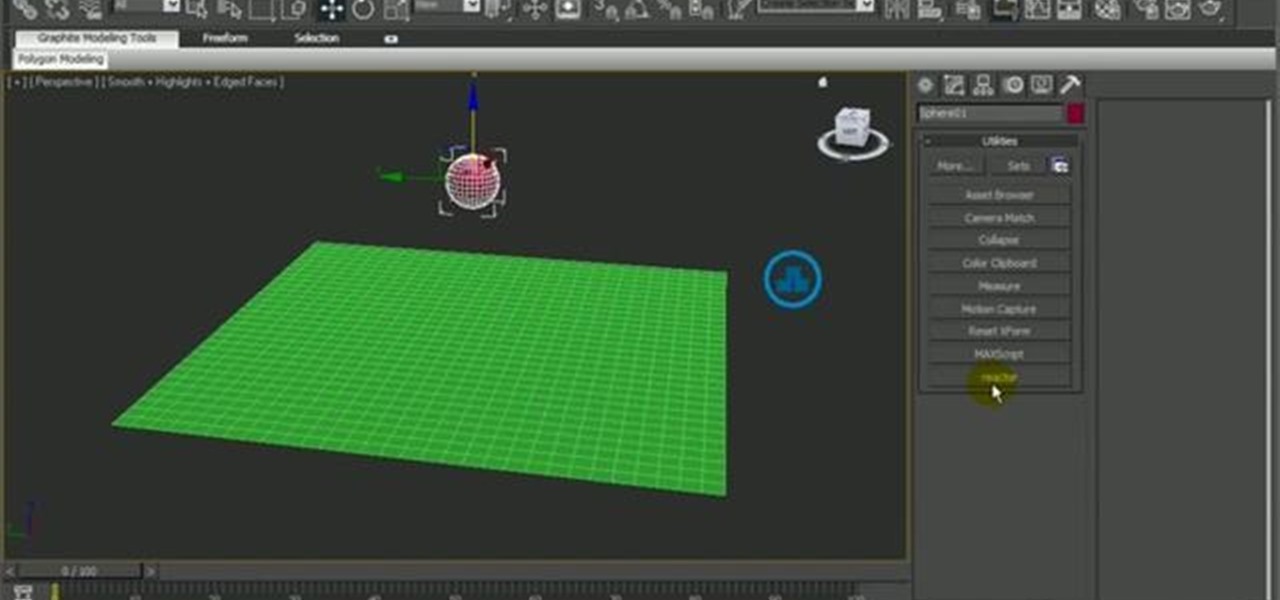
How To: Master the basics of using Reactor in 3D Studio MAX
Reactor is a physics engine contained in 3D Studio MAX that allows you to simulate the effects of physics on your 3D models without having to animate them manually. This video will teach you the basics of using Reactor, including a discussion of when you should use Reactor in the first place.
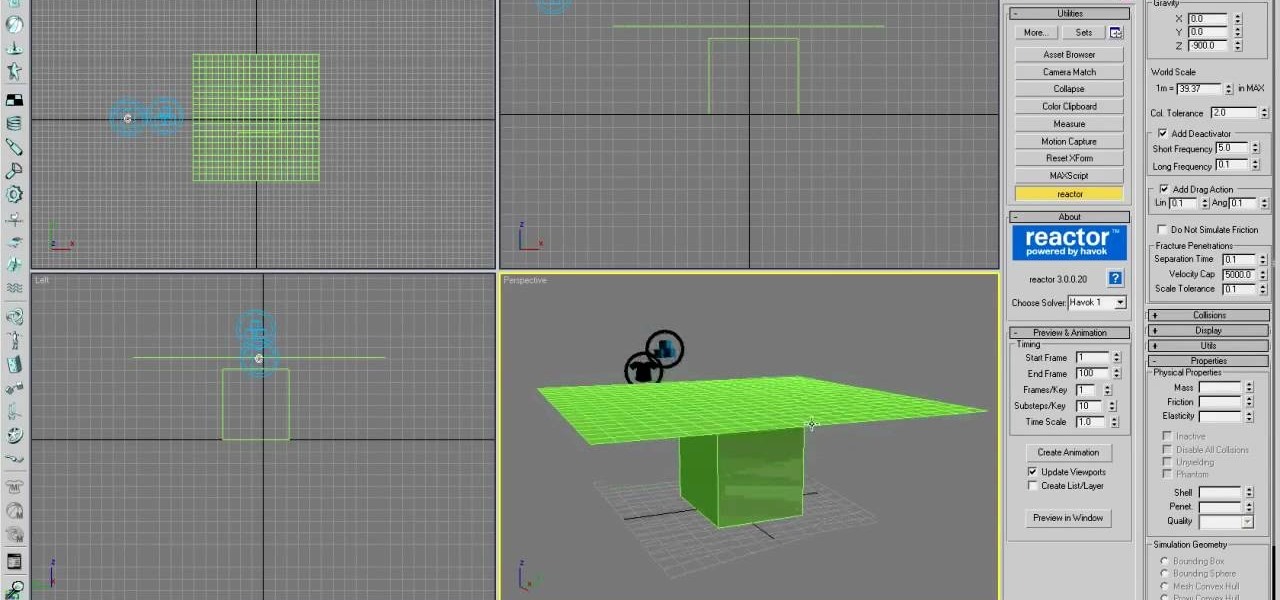
How To: Model basic cloth using Reactor in 3D Studio MAX
Creating a good 3D model in 3D Studio MAX is hard enough. Now I've got to model clothes onto them too? Why can't all 3D game characters be naked?
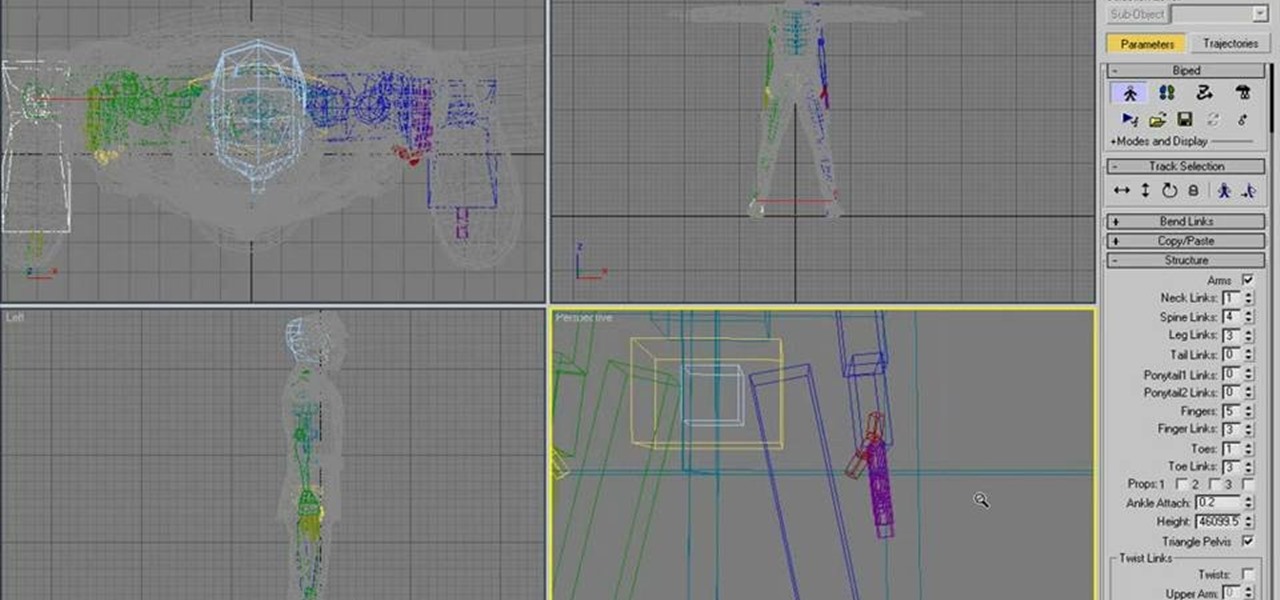
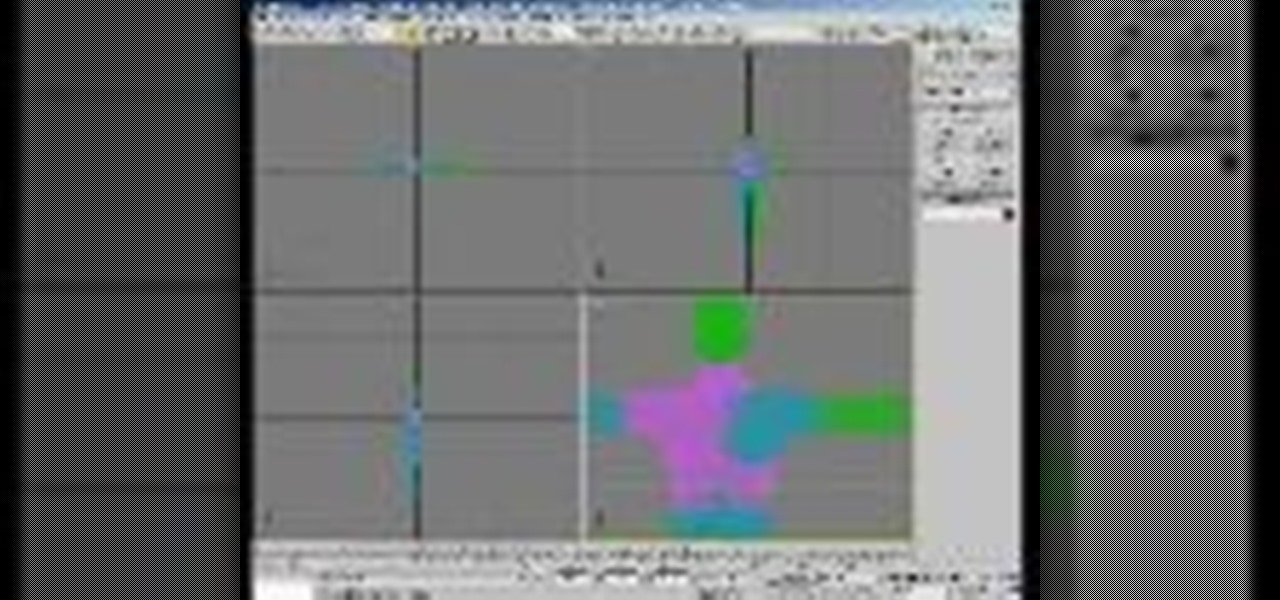
How To: Use motion capture on bipeds in 3DS MAX
Using motion capture is one of the easiest and most effective ways to animate the motions of a bipedal character who is proportional to a normal human. When the character is not in proportion, like the World of Warcraft low-poly models in this video, it gets a little more complicated. This video will teach you how to use motion capture in 3DS MAX to animate a goblin WoW character, making them almost ready to use in your hybrid machinima videos.
How To: Tear cloth in 3D Studio Max 2010
See how to take advantage of 3ds Max 2010's in-built tear modeling feature, which provides 3D artists to quickly cut a cloth as if due to a strong stretching force or a reaction to a hard collision with other rigid body meshes. Whether you're new to Autodesk's popular modeling software or a seasoned 3D artist just looking to better acquaint yourself with the application, you're sure to be well served by this video tutorial. For more information, take a look!
How To: Change the icon color of your dark UI in 3D Studio Max
Do you find the black and white icons in 3D Studio Max 10 boring and bland? Do you need some color to brighten up the hours and hours you spend modeling in front of the computer? This video will show you how to change the color of the icons and text in the dark UI of 3D Studio Max. It may not make you 3D model look any sharper, but it should help you keep your sanity while you work on it.
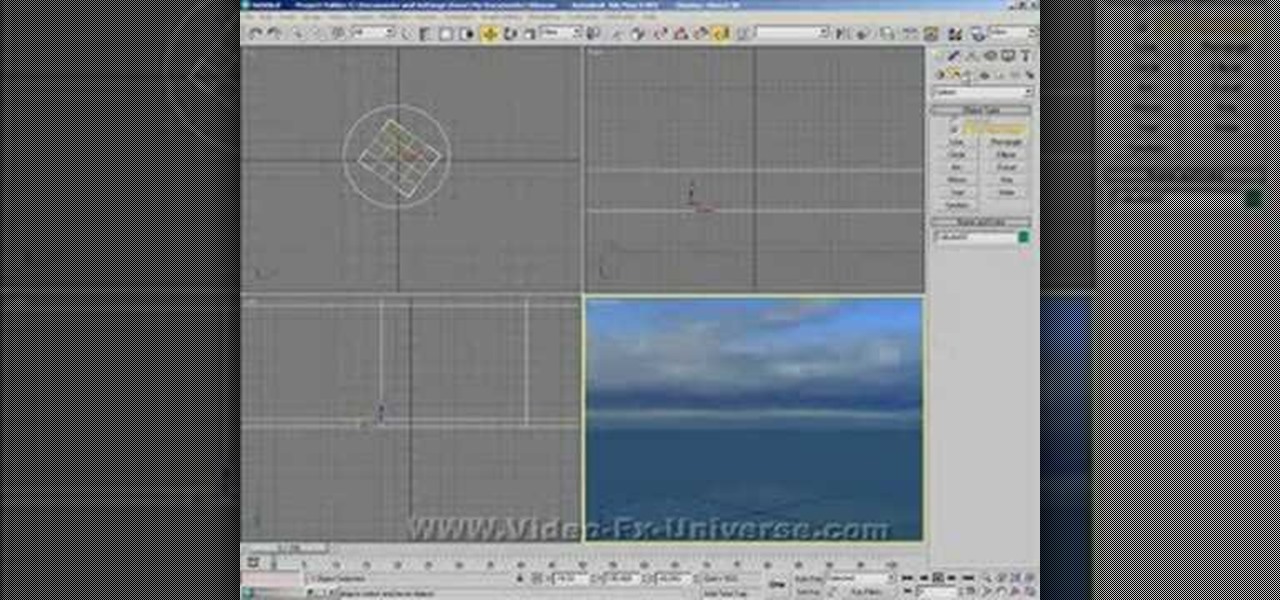
How To: Create an ocean in 3ds Max
how to create an Ocean in 3DS Max
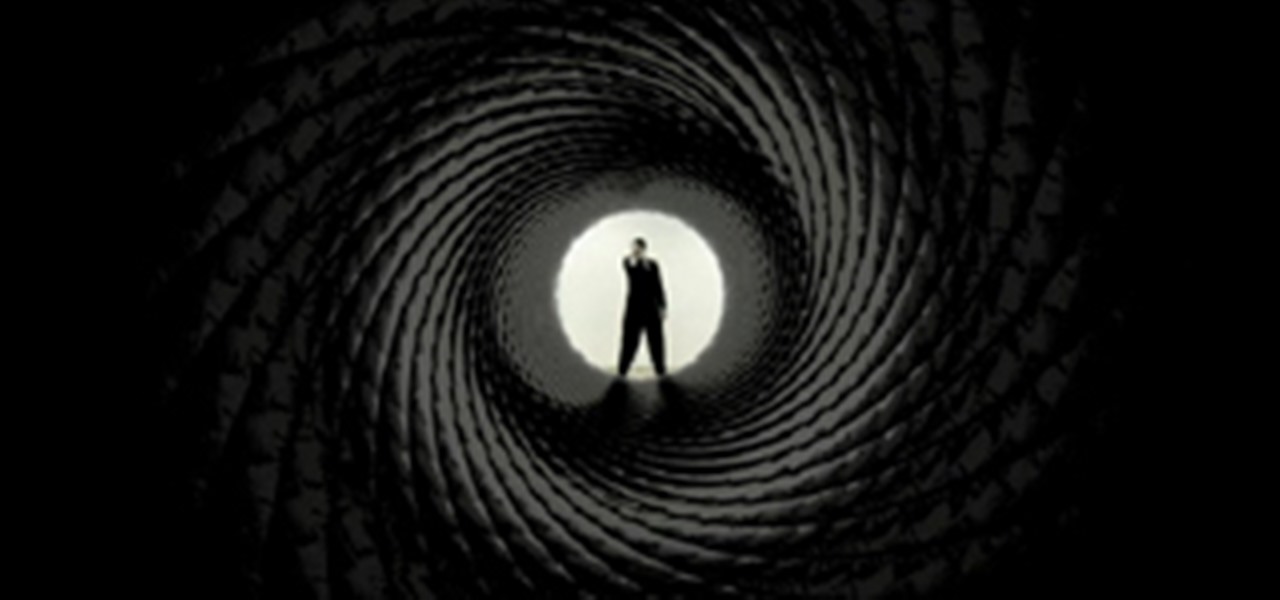
How To: Model the new James Bond intro with 3D Studio Max
In this video tutorial, Creative Cow leader Michael Park shows you how to recreate the opening gun barrel sequence from the two newest James Bond movies in 3d Studio Max using the default scanline renderer, minimal modeling, and only standard materials.
How To: Convert a mesh to hexagon polys in 3ds Max
This 3ds Max software tutorial covers how to turn your mesh into Hexagon poly’s which creates a smoother mesh. This is a technique Dave learned from Toru Hasegawa that he is sharing with all of us. You essentially triangulate a quad poly surface then collapse the triangles to have hexagons. Watch and learn how to convert a mesh into hexagon shaped polys with Classic Mesh Smooth in this 3ds Max modeling tutorial. Convert a mesh to hexagon polys in 3ds Max.

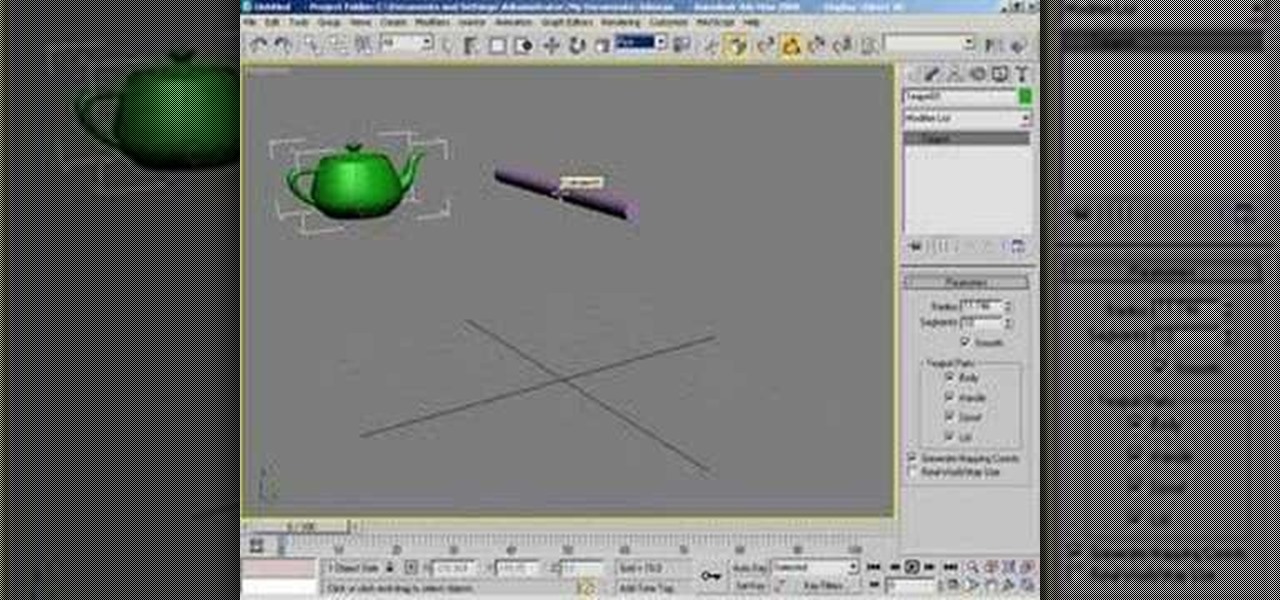
How To: Create a circular pattern with 3ds Max wire parameters
In this 3D software tutorial you will learn how to use wire parameters to create a scalable circular patterned object in 3ds Max. Using the wire parameters in 3D Studio Max you can create a scaling circular pattern based on the distance of the circle to a point object. This is a great way to model things with repetitive parts in 3ds Max. Learn how to create a circular panel with circular openings and attach it to a rectangle in 3ds Max. Create a circular pattern with 3ds Max wire parameters.

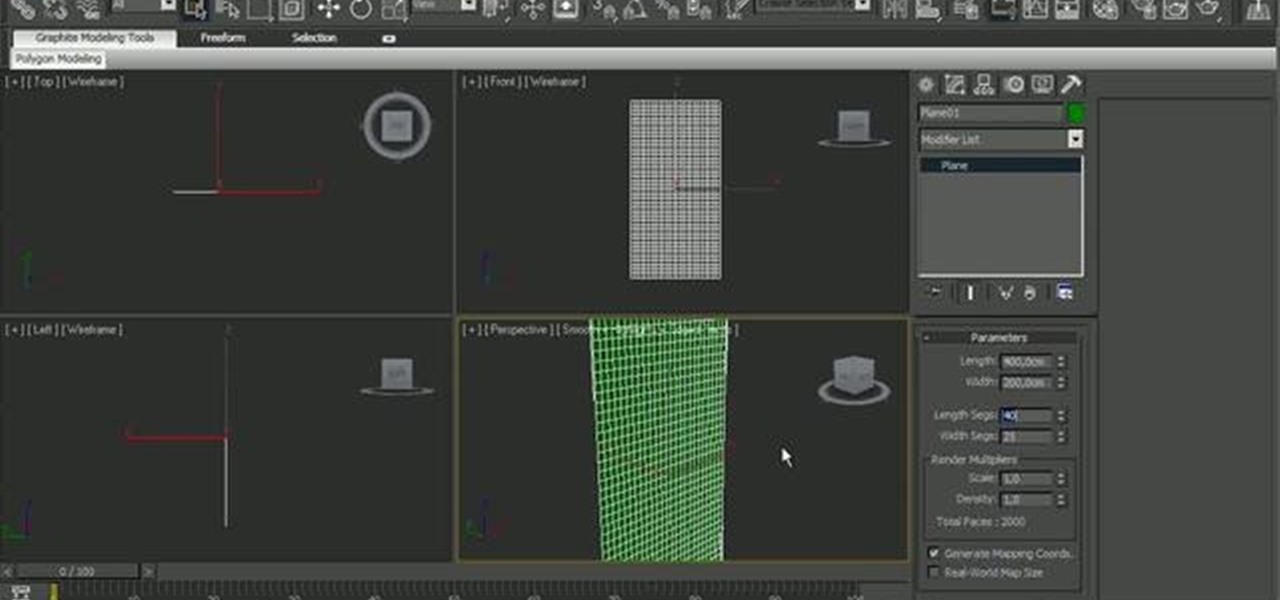
How To: Smooth geometry in 3ds Max
This short tutorial shows you how to smooth polygonal geometery so it renders smoothly from 3D Studio Max.

How To: Use the bend modifier in 3ds Max
The Bend modifier in Autodesk's 3ds Max lets you bend the current selection up to 360 degrees about a single axis, producing a uniform bend in an object’s geometry. You can control the angle and direction of the bend on any of three axes. You can also limit the bend to a section of the geometry.
How To: Rotate about another object in 3ds Max
Learn how to pick your rotation or rotate an object around another object in 3D Studio Max.
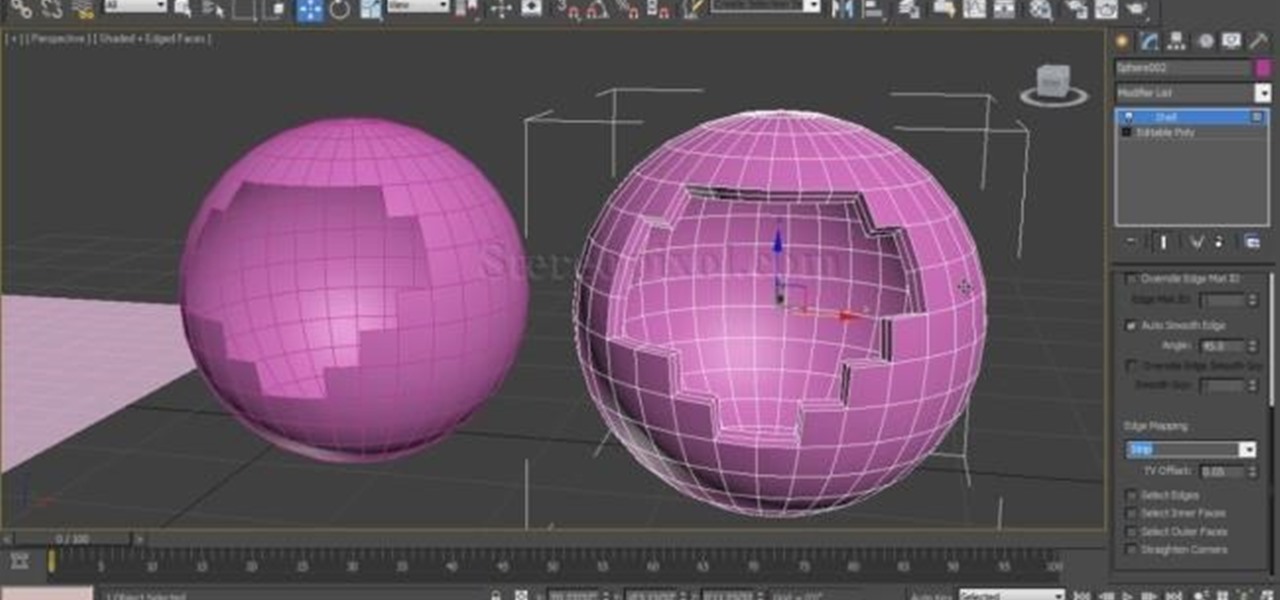
How To: Use Shell Modifier in 3Ds Max
Shell modifier is very useful to give a thickness in your model you make in Autodesk 3Ds Max. but the use of the modifier not only limit to giving thickness . you can make design around those thickness also. Go through the video to know more in details.

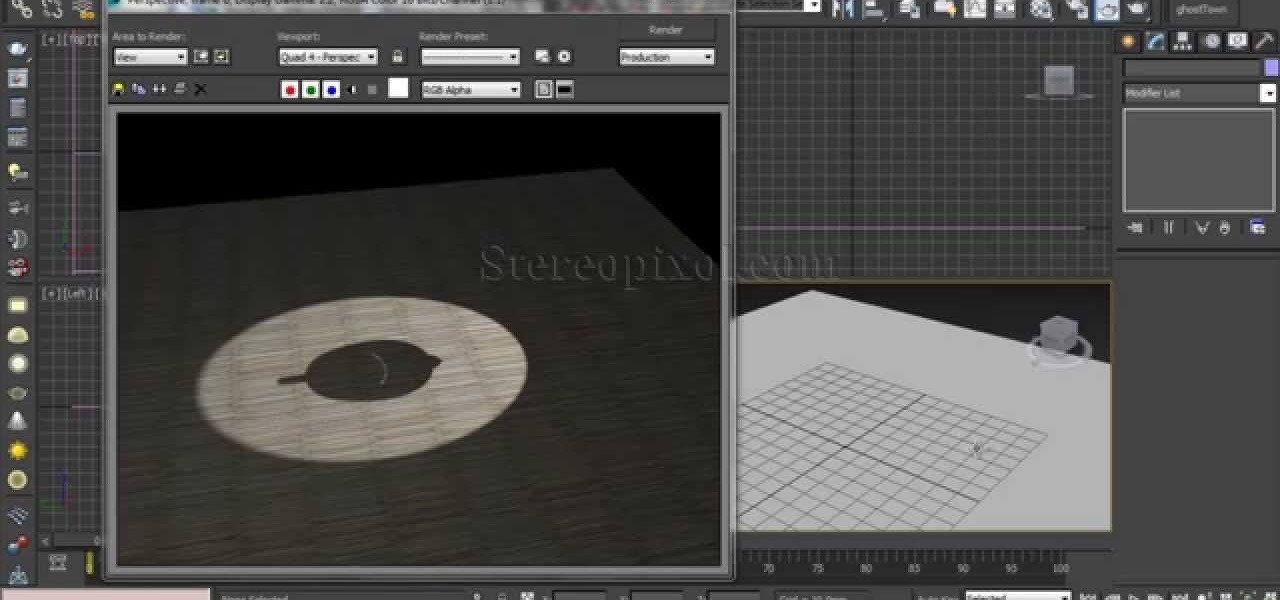
How To: Use Advance Effects Role Out in Autodesk 3Ds Max
Welcome to the 5th Chapter of the Lighting series in 3Ds Max. In this tutorial, you are going to learn about the Advance effect roll out in almost every lights in 3ds max. In the tutorial we have covered different option like contrast, soften edge, projector map etc. Hope you will enjoy this. Lights In Autodesk 3Ds Max – Chapter 05 | Stereopixol.
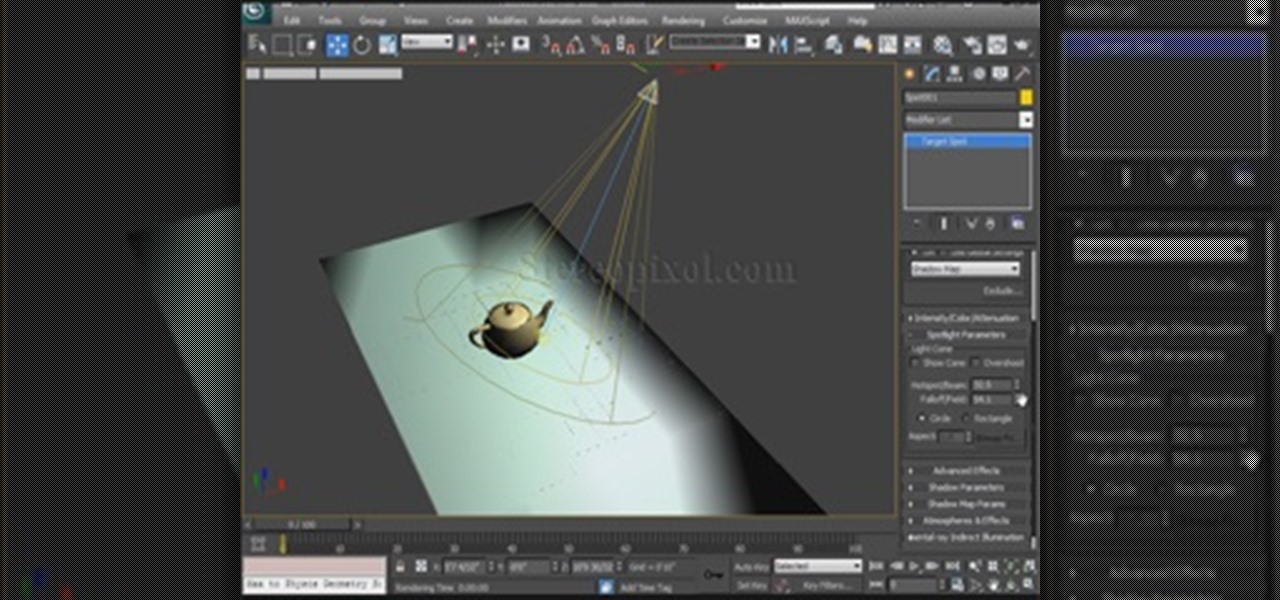
How To: Use Spotlight in Autodesk 3ds Max 2014
This 4th Chapter of Lights in Autodesk 3Ds max is fully concentrated on spot light. We will learn about the various spot light parameter of 3ds max like, Hotspot/Beam and falloff, then how to use overshoot or its limitations, how we can make the spotlight rectangular than circuler and many more. Hope you will enjoy.
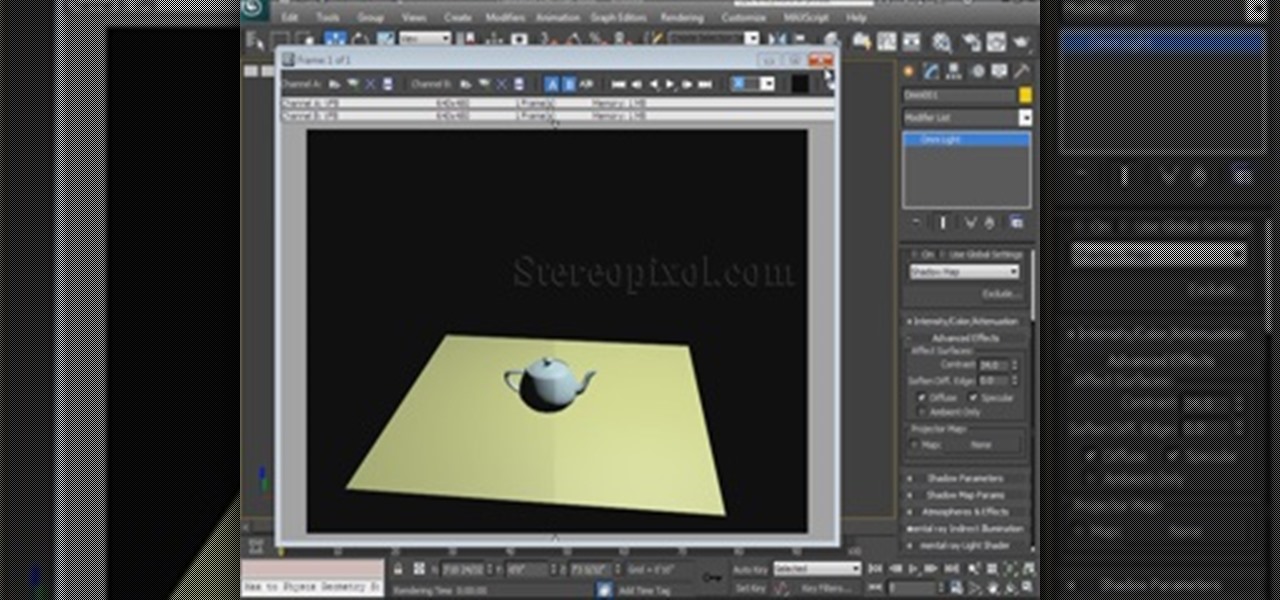
How To: Use Advanced Lighting Effects in Autodesk 3ds Max 2014
Welcome to the 5th Chapter of the Lighting series in 3Ds Max. In this tutorial, you are going to learn about the Advance effect roll out in almost every lights in 3ds max. In the tutorial we have covered different option like contrast, soften edge, projector map etc. Hope you will enjoy this.
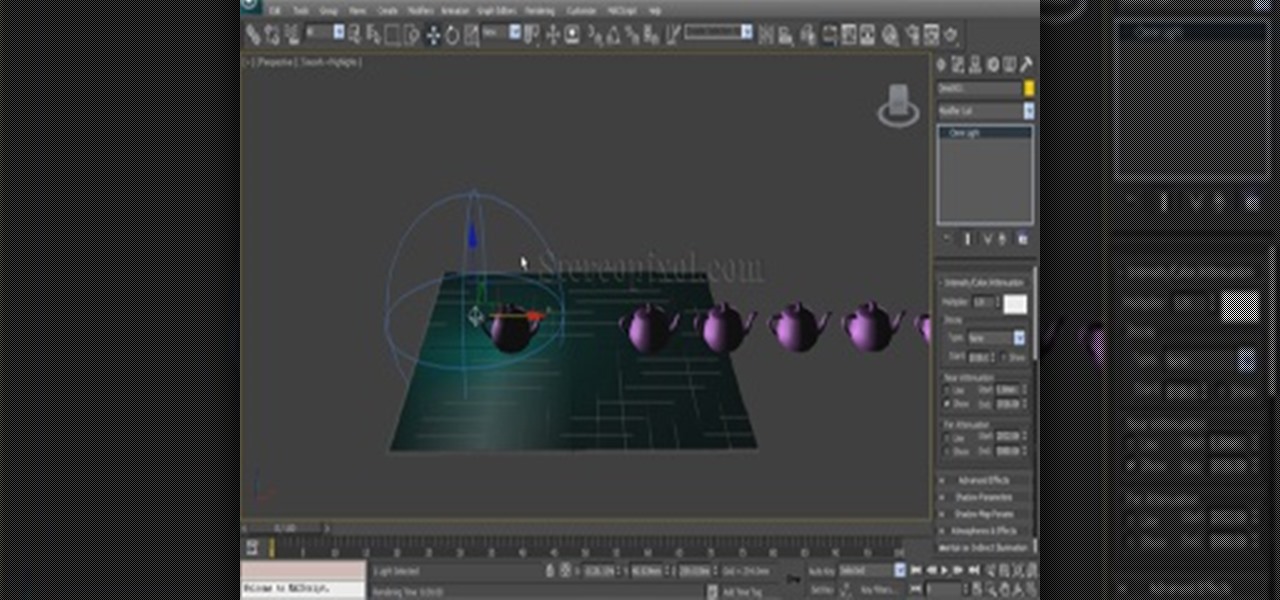
How To: Use Attenuation in Autodesk 3ds Max 2014
Hello and welcome to the 3rd Chapter of the Lights in 3Ds Max. In this chapter we are going to discuss about the attenuation of the lights. There are two kind of attenuation are out there in 3Ds Max , Near and Far , we will learn about the theory behind the attenuation and learn how to use them. Hope you will enjoy.

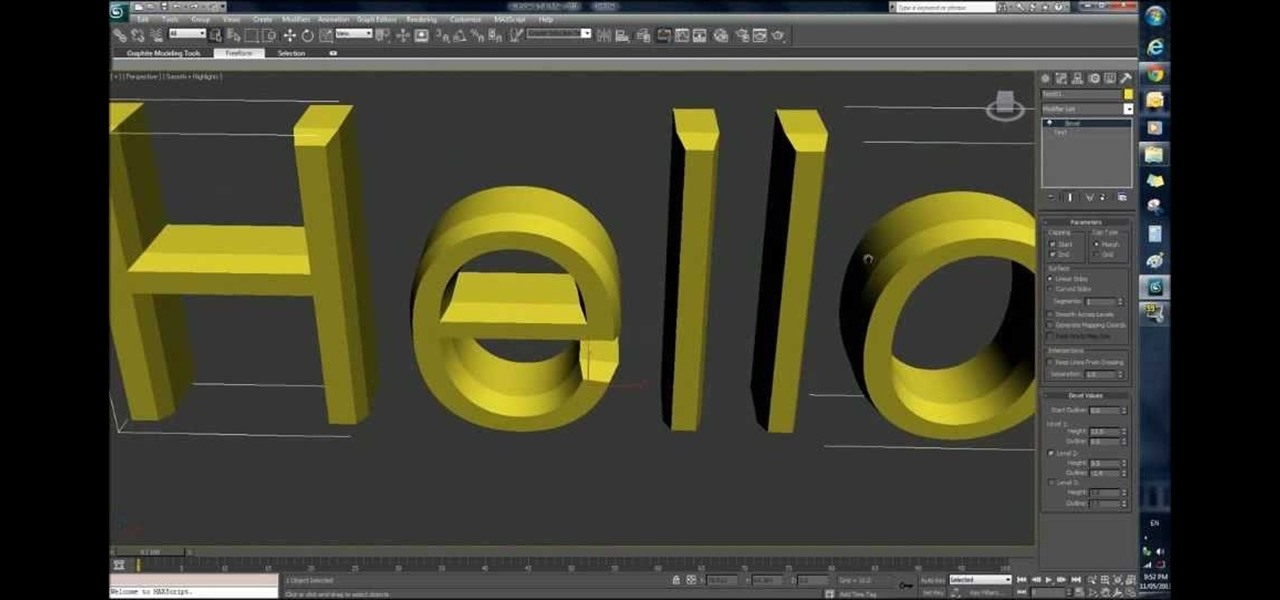
How To: Create and Render a Intro Title Using 3Ds Max
Video: . Do you have a problem in figure how to create an amazing title? Here is the tutorial for you. By using 3Ds Max software, the video illustrates you step by step how to make a cool title for an intro of a video and how to render it obviously!
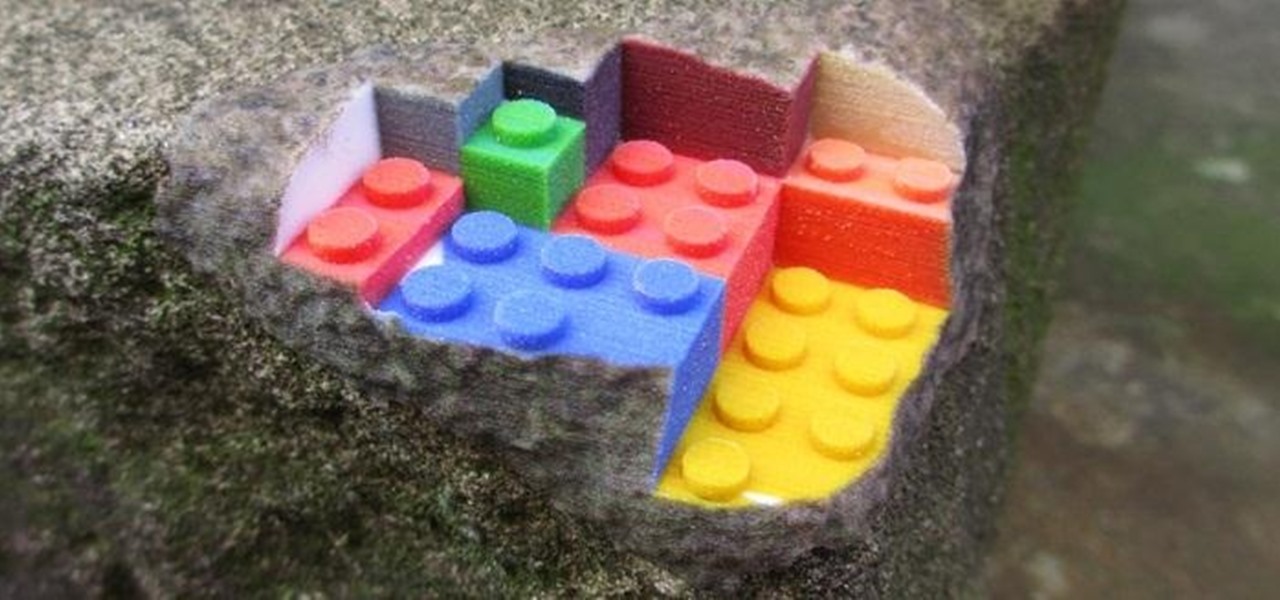
Street Art Tricks: How to Blend 3D Prints into Real-Life Objects
While graffiti may never be fully accepted by the masses, it has already become a very large medium for creative artists across the globe, who make mundane and austere cityscapes a little more interesting for the rest of us. Walking past this Banksy stencil on my way to class (at UCLA) made my day. Art like this can cause people to stop and appreciate the otherwise boring and blank walls that surround the city. It can stir up artistic feelings, pensive thoughts, and other emotions stored insi...

How To: Make a rotating text watermark with 3ds Max
Watermarks are essential for branding your online creations, but you may not always want a static image. If you're looking to create a rotating text or graphic logo, this tutorial is for you. Using 3D Studio Max, learn how to put your brand in motion!
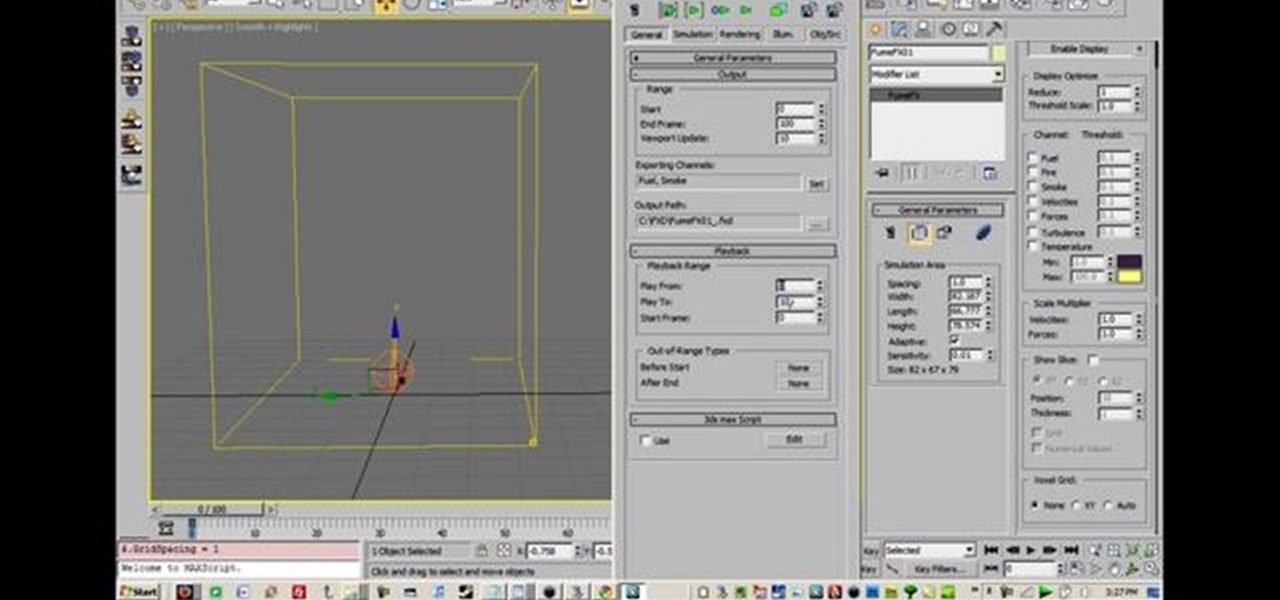
How To: Create fire, smoke and explosion effects using computer visual effects
This tutorial will work for most any 3D rendering program, such as Houdini, 3ds Studio Max or Maya. Learn how you can replicate the dynamic look of fire, smoke and explosions. Create digital fire and other fume effects with your computer.
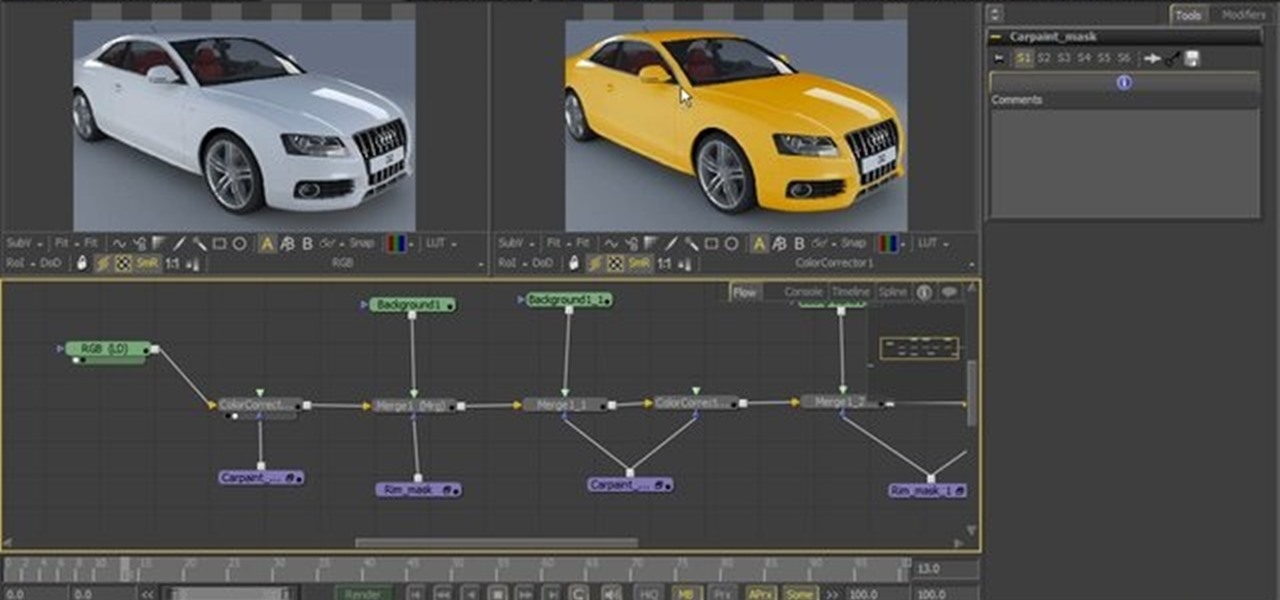
How To: Generate mattes and masks in 3ds Max and V-Ray
This tutorial shows you how you can generate mattes and masks to use in 3-D compositing. The video shows you which render elements to use for greatest effects for your project, such as changing the color of paint on a car.
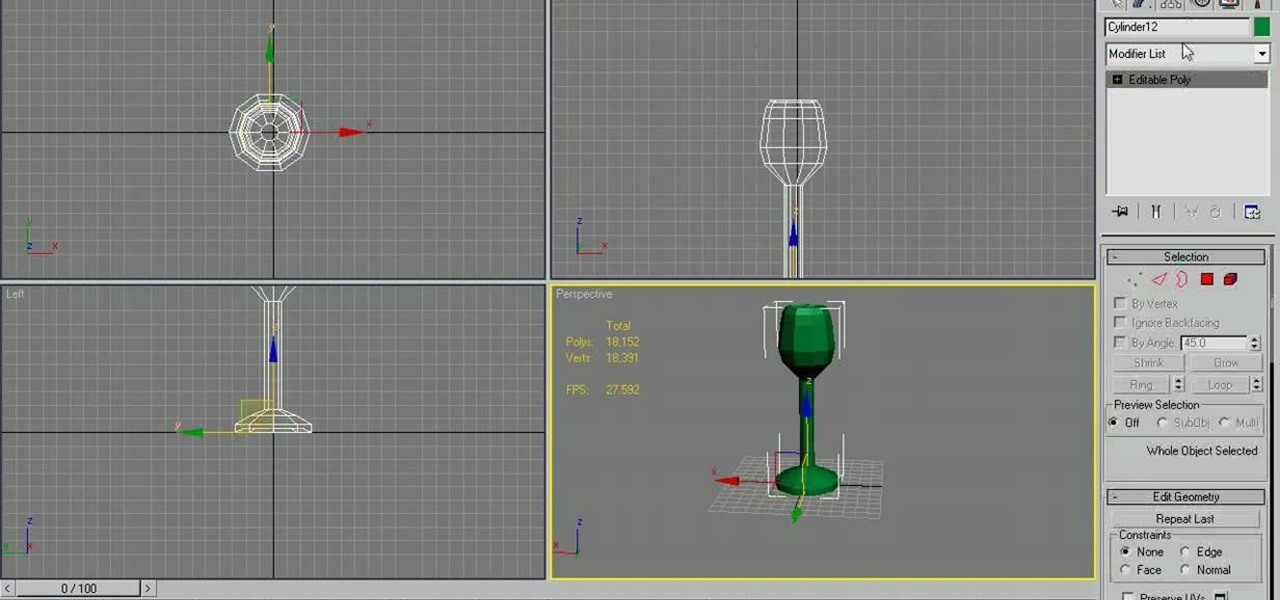
How To: Model a long-stemmed wine glass in Autodesk 3ds Max
In the need of a animated wine glass for your next animation masterpiece? If you have Autodesk 3ds Max, it can be done. As long as you follow the techniques used in this video tutorial on modeling a long-stemmed wine glass in 3ds Max. It's actually a simple design, just enough to get you going on a more detailed, custom design.
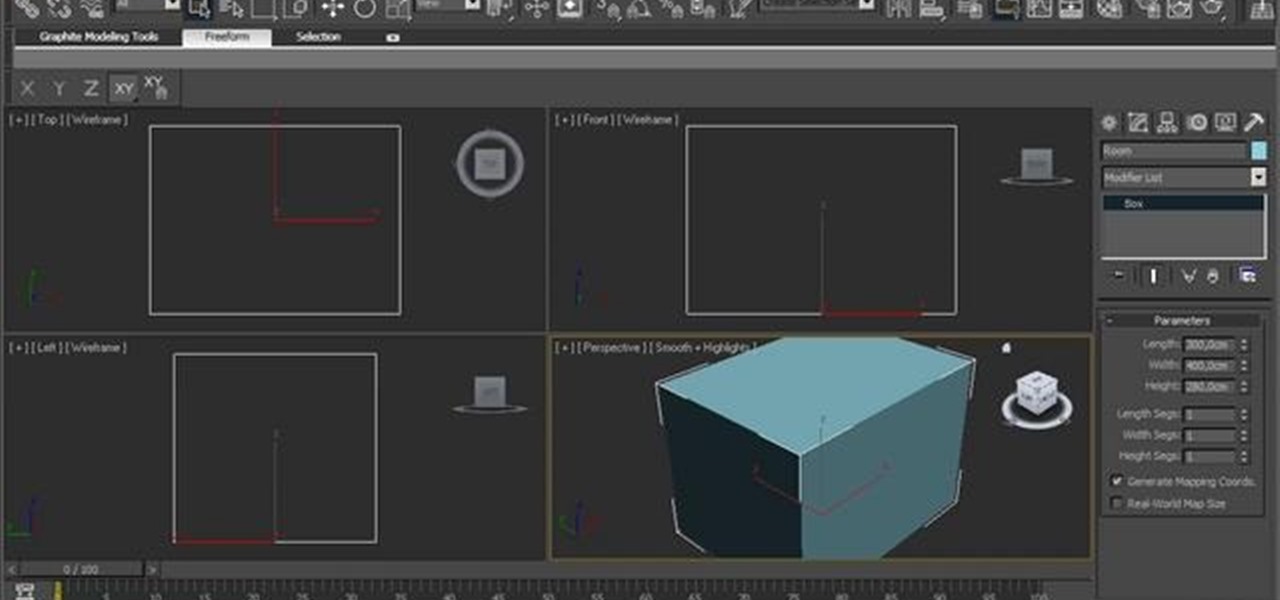
How To: Create a realistic model of a modern lamp in Autodesk 3ds Max 2011
In this video tutorial, we learn how to use create a realistic model of a modern lamp in 3ds Max 2011. Whether you're new to Autodesk's popular modeling software or a seasoned 3D artist just looking to better acquaint yourself with the 3ds Max 2010 workflow, you're sure to be well served by this video tutorial. For more information, and to get started using the lessons imparted by this free video software tutorial yourself, watch this free video guide.
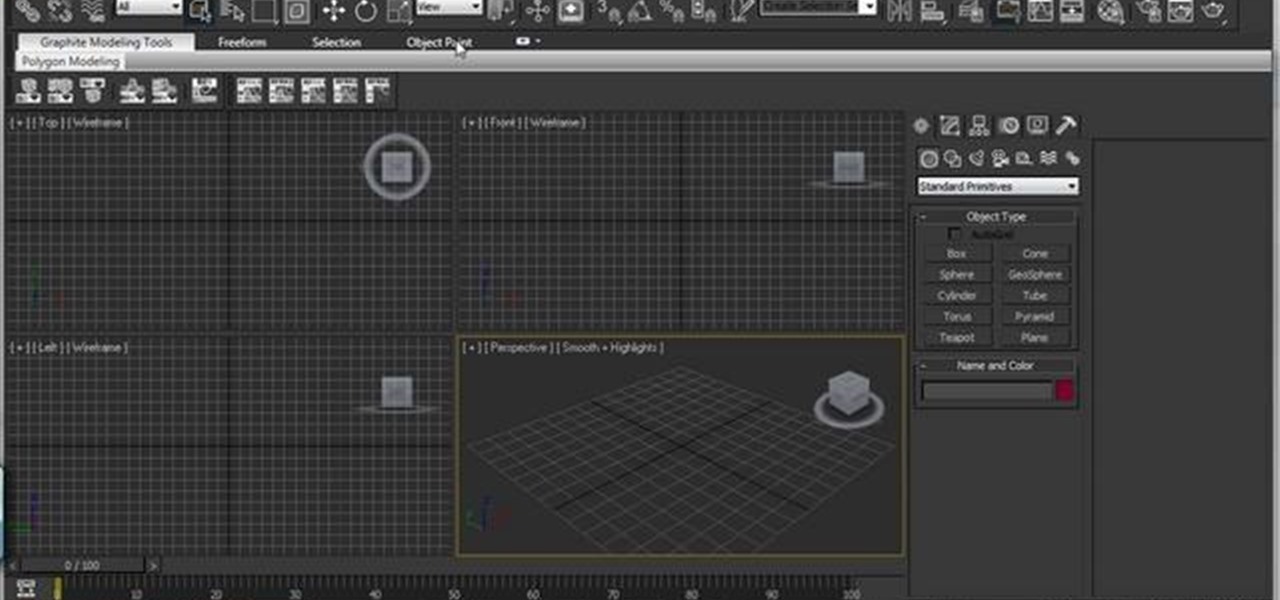
How To: Configure the Ribbon UI in Autodesk 3ds Max 2011
In this video tutorial, we learn how to configure the Ribbon UI within Autodesk 3ds Max 2010. Whether you're new to Autodesk's popular modeling software or a seasoned 3D artist just looking to better acquaint yourself with the 3ds Max 2010 workflow, you're sure to be well served by this video tutorial. For more information, and to get started using the lessons imparted by this free video software tutorial yourself, watch this free video guide. Configure the Ribbon UI in Autodesk 3ds Max 2011.
How To: Create a 3D shadow matte in 3ds Max
In this tutorial, we learn how to create a 3D shadow matte in 3ds Max. If you have a scene where you need a realistic looking background, you can trick doing this by using 3ds Max. First, go up to the rendering and go to environment. Add an environment map and then click on bitmap and find the image that you want to use. From here, make sure your map is highlighted, then right click and show the background. If you render this out, you will have a picture of the background you want. After this...
Next Page
Prev Page