

Everything Else


How To: Use the Parameter Collector tool in Autodesk 3ds Max
In this clip, you'll learn how to use 3ds Max's Parameter Collector tool. See how to use 3ds Max 2010's built-in grouping features to work on multiple meshes the same way you might work on a single object. Whether you're new to Autodesk's popular modeling software or a seasoned 3D artist just looking to better acquaint yourself with the application, you're sure to be well served by this video tutorial. For more information, and to get started taking advantage of the Paramater Collector tool y...
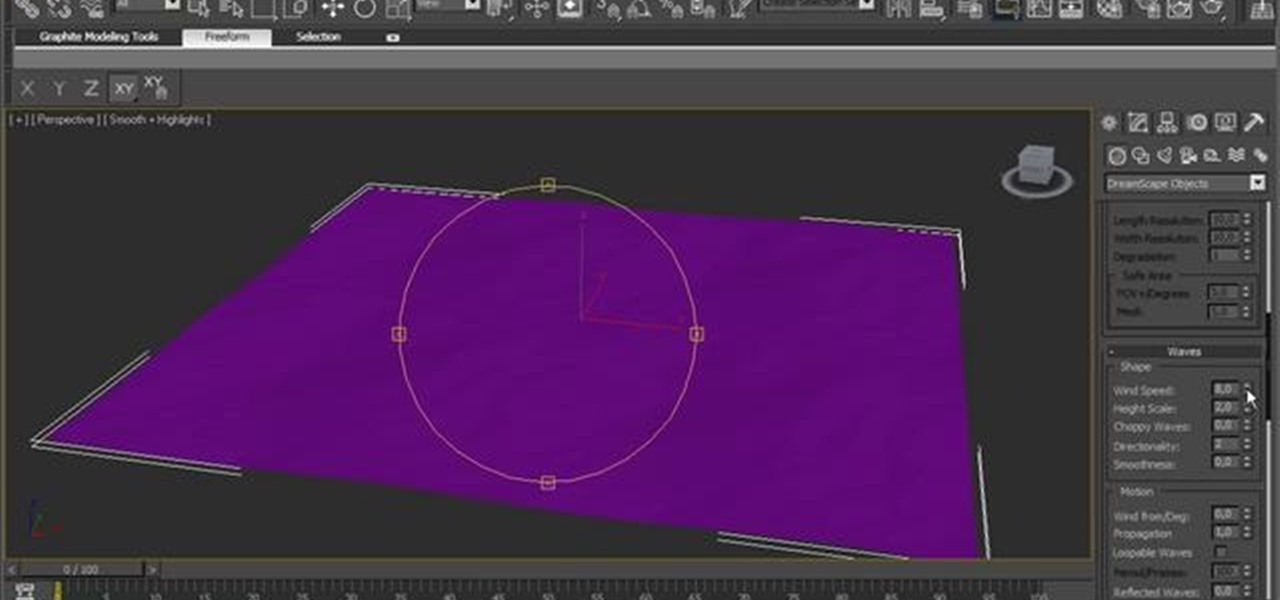
How To: Generate foam with the Dreamscape 3ds Max 2010 plug-in
See how to use Dreamscape to generate foam, how to export it as a bitmap sequence and how to control every single parameter to change its look. See how to use 3ds Max 2010's built-in grouping features to work on multiple meshes the same way you might work on a single object. Whether you're new to Autodesk's popular modeling software or a seasoned 3D artist just looking to better acquaint yourself with the application, you're sure to be well served by this video tutorial. For more information,...
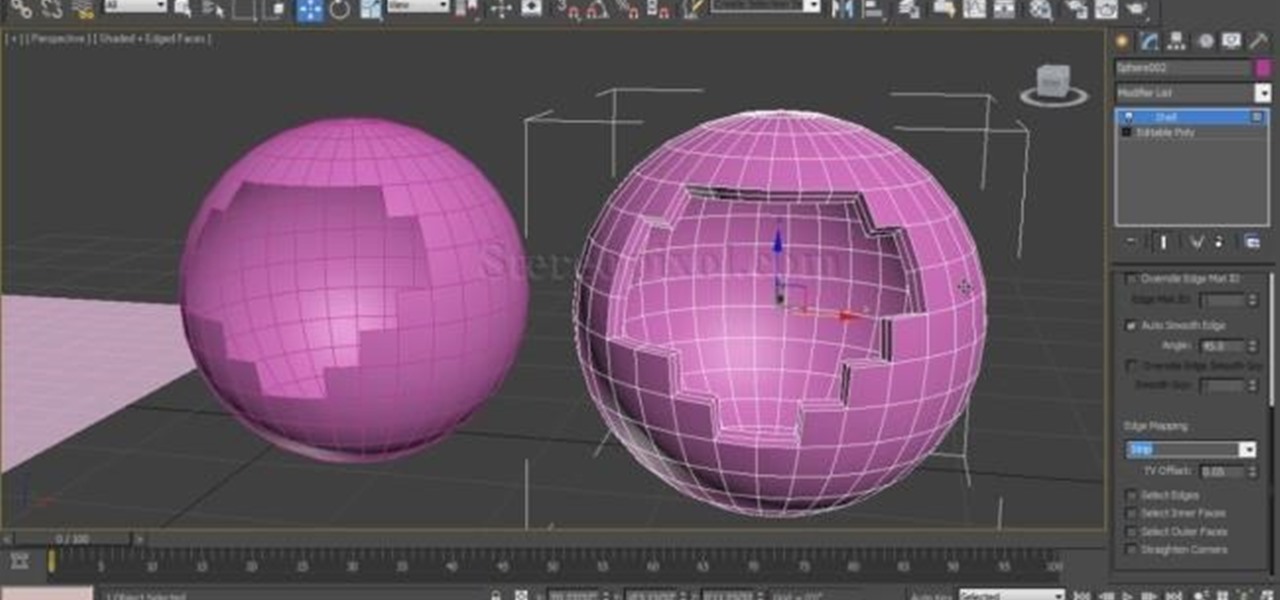
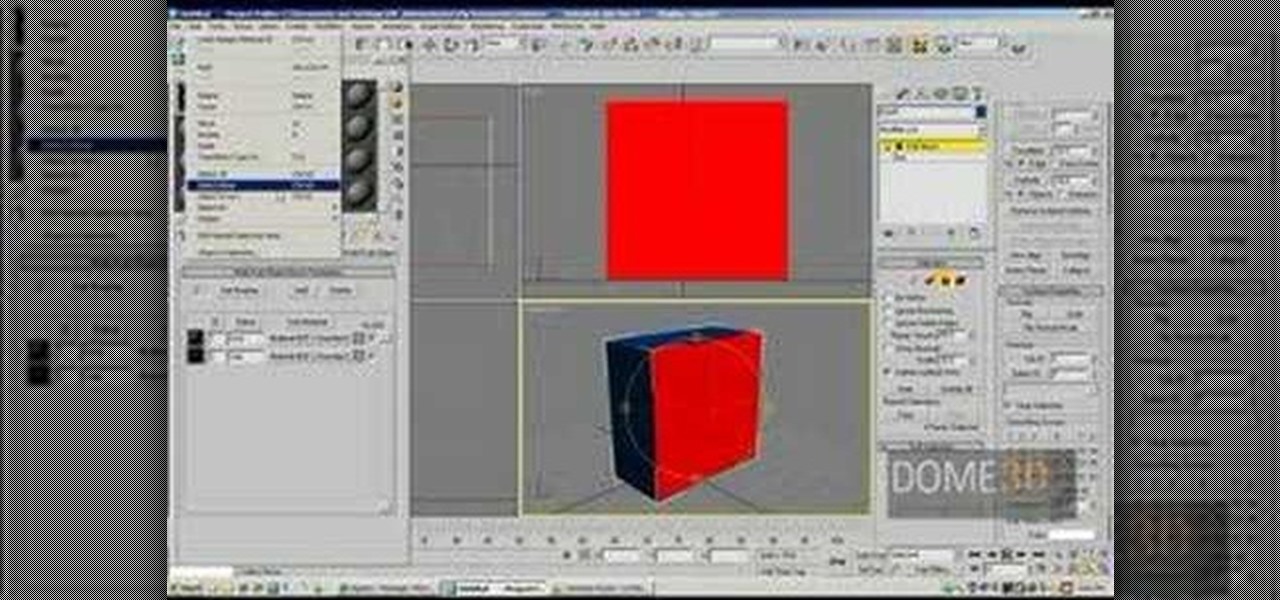
How To: Work with multi-sub materials in Autodesk 3ds Max 2010
See how to work with multi-sub materials in Autodesk 3ds Max 2010. Whether you're new to Autodesk's popular modeling software or a seasoned 3D artist just looking to better acquaint yourself with the application, you're sure to be well served by this video tutorial. For more information, and to get started taking advantage of the 3ds Max Assembly and Group tools yourself, take a look! Work with multi-sub materials in Autodesk 3ds Max 2010.
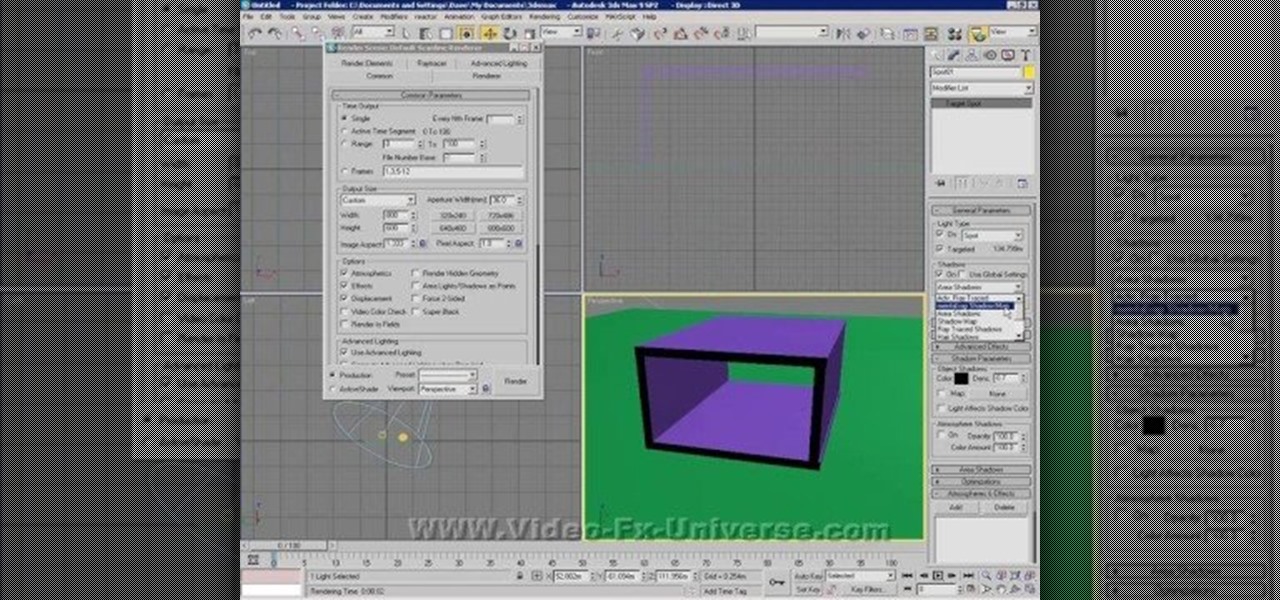
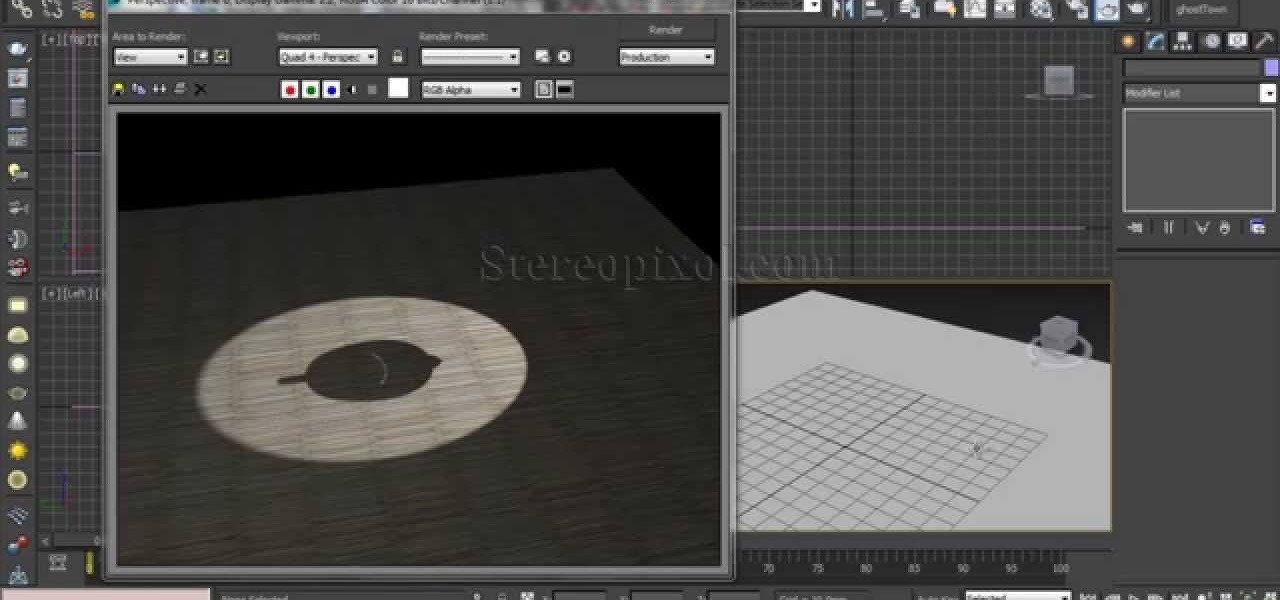
How To: Make basic use of light and shadows in 3ds MAX
Light and shadow are the fundamental intangibles that allow us to see our world. Creating realistic simulacra of them on the computer is very challenging. This video will show you how to create and use light and shadow in 3DS MAX to make your 3D models look more realistic (or more fake, depending on your goal).
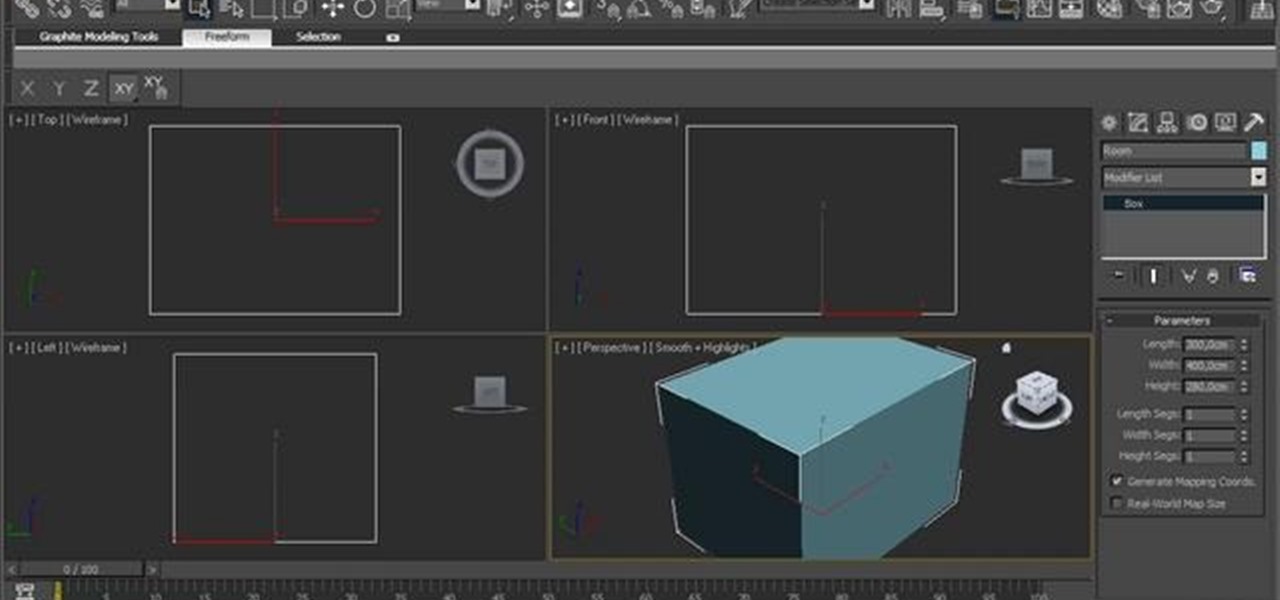
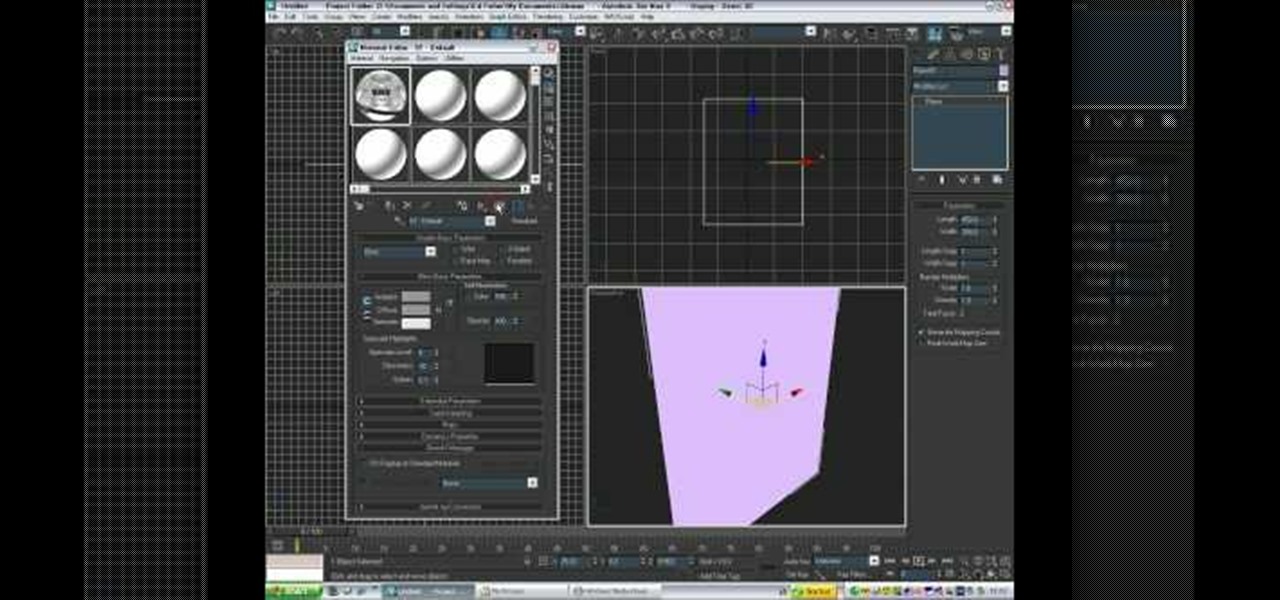
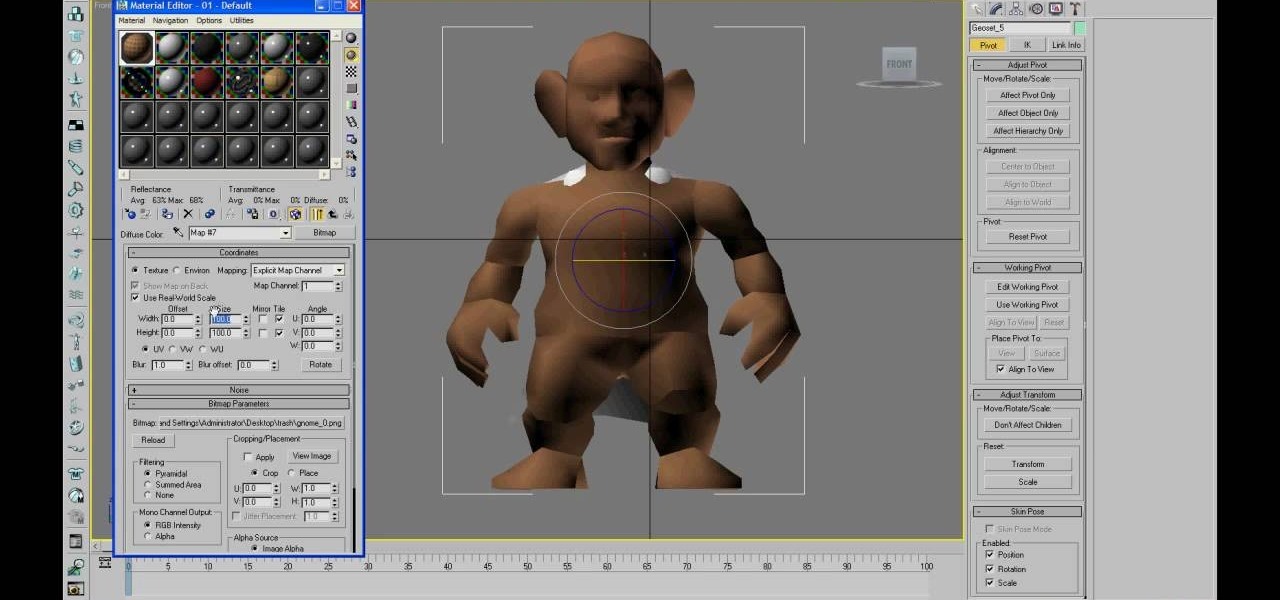
How To: Map multi-sub objects in 3D Studio Max
This video tutorial is in the Software category which will show you how to map multi-sub objects in 3D Studio Max. What this means is you can apply two textures to a single 3D object. First you select the 3D object, say a box and go to editor > standard > multi sub-object > OK. Now change the number of materials from 10 to 2 and follow through the next steps to select the two textures. Then go to modify panel > edit mash. Select polygons, and apply the texture to the front of the box, move ar...
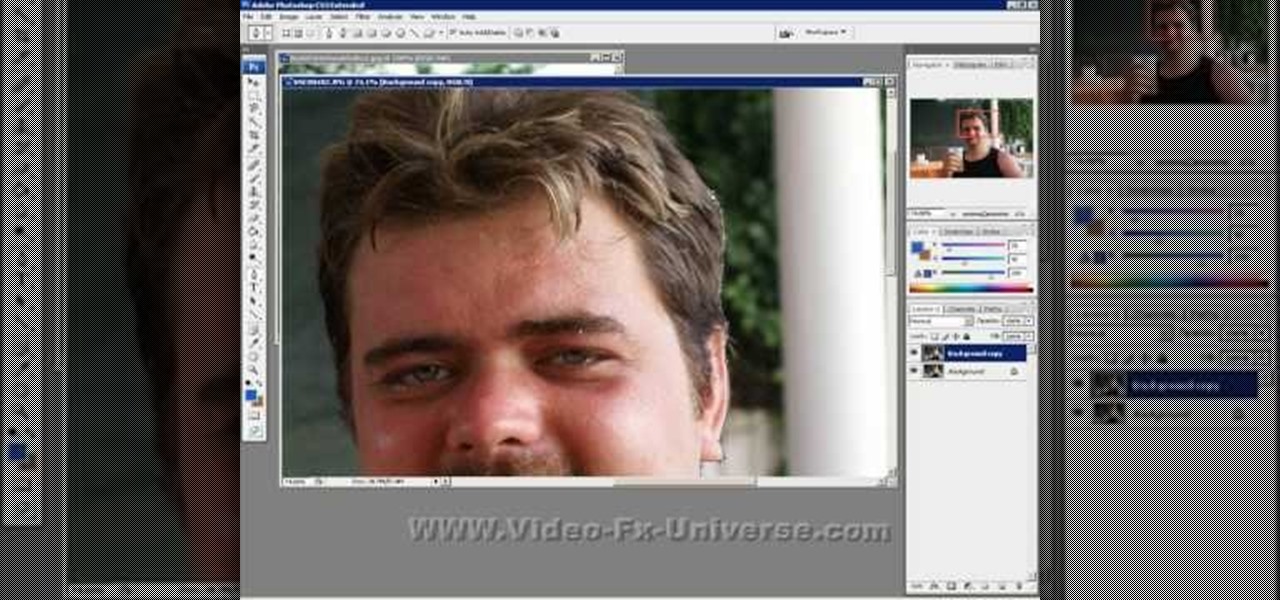
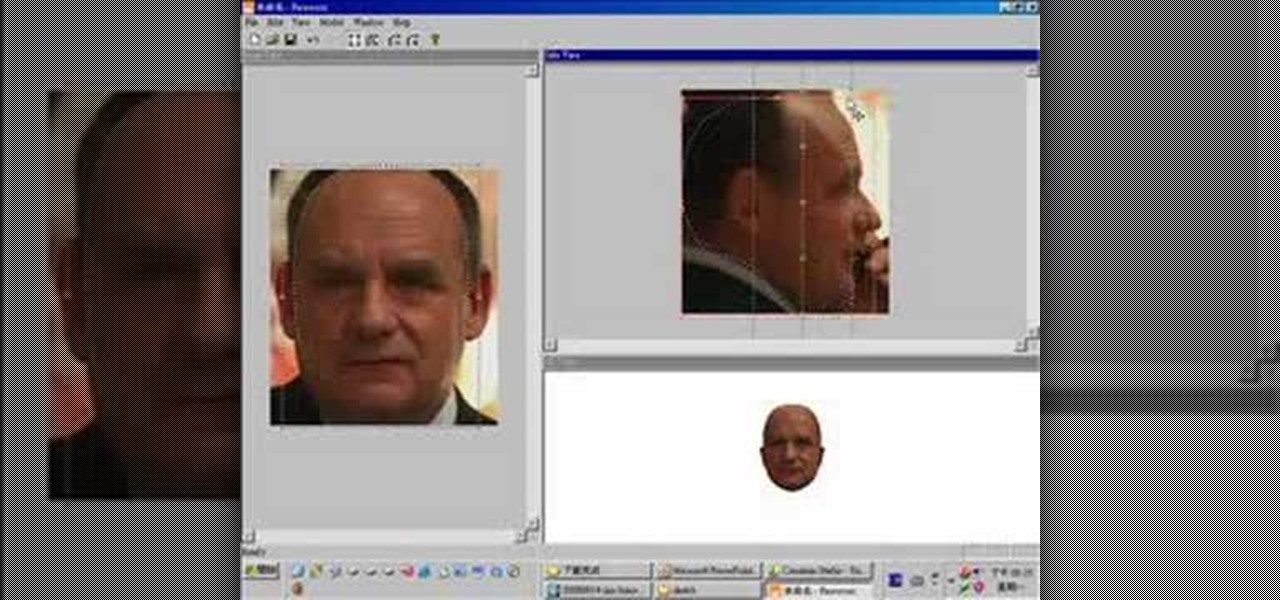
How To: Put your face into someone else's photo with Photoshop
For years, people who wanted to make fake photos of themselves with celebrities or crushes had to make due with cutting out a picture of their own face and gluing it onto a photo in place of the person they wished to replace. Now there is a more elegant, cleaner way to do it. This video will show you how to replace one head with another in photos using Photoshop. Now you too can shake hands with George W. Bush! At least in a fake photo. And we're not sure why you'd want to anyway.

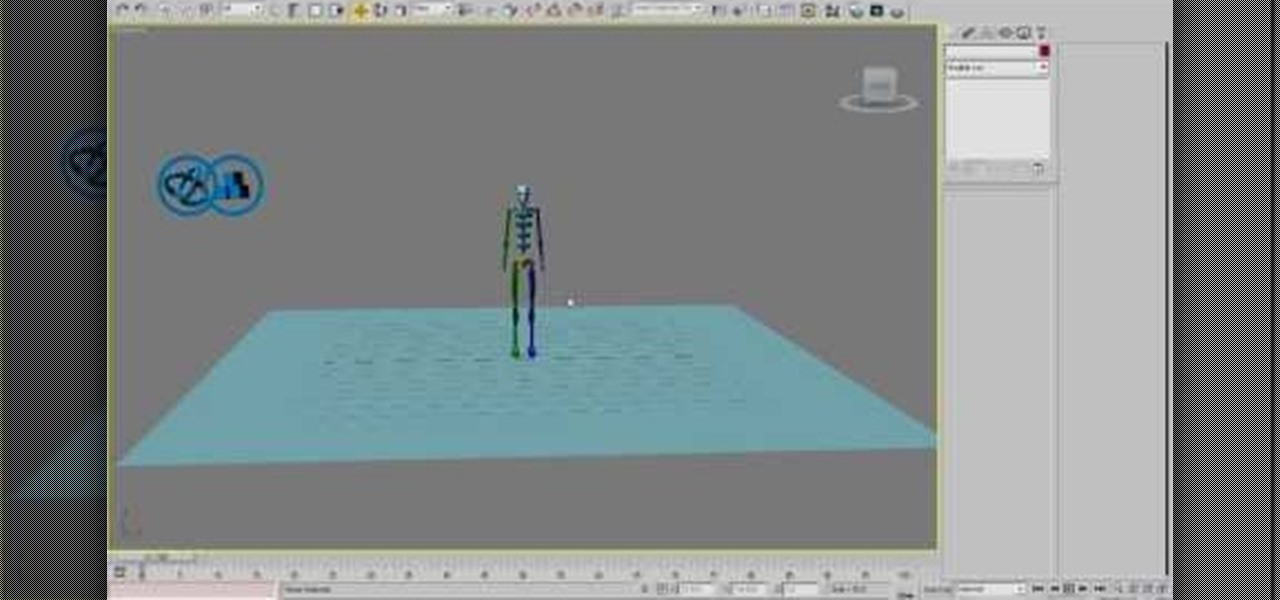
How To: Animate a biped model in 3ds MAX
Once you've made a 3D model of a character, you are going to have to make them do something. This video is about that. It will teach you how to animate basic motions on a bipedal 3D model in 3D Studio MAX, allowing it to do anything from armwrestle to hug. The video is pretty basic, so you're going to have to extrapolate these techniques to create those more advanced actions.
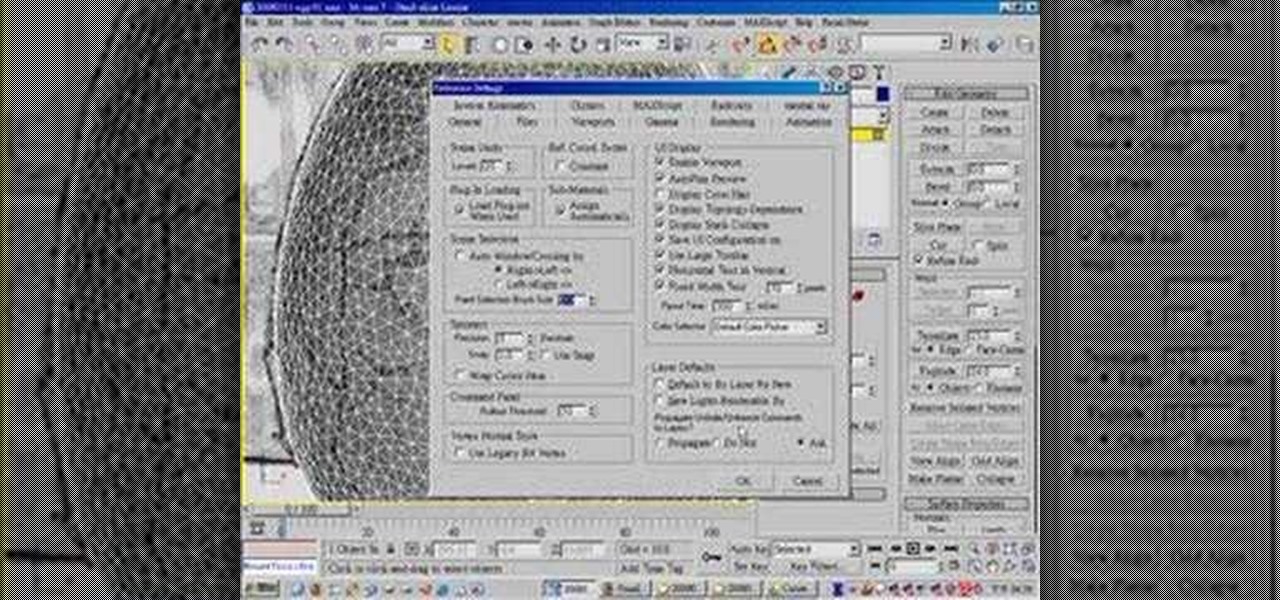
How To: Animate a bullet hitting an egg model in 3ds MAX
If you want to make an omelette, you're going to have to break a few eggs. Or shoot them! This video will walk you through the process this artist took for creating 3D movie of a bullet passing through an egg, destroying it. This is very good educational exercise for 3D artists, even if you prefer you eggs over-hard to scattered-all-over-by-a-bullet.
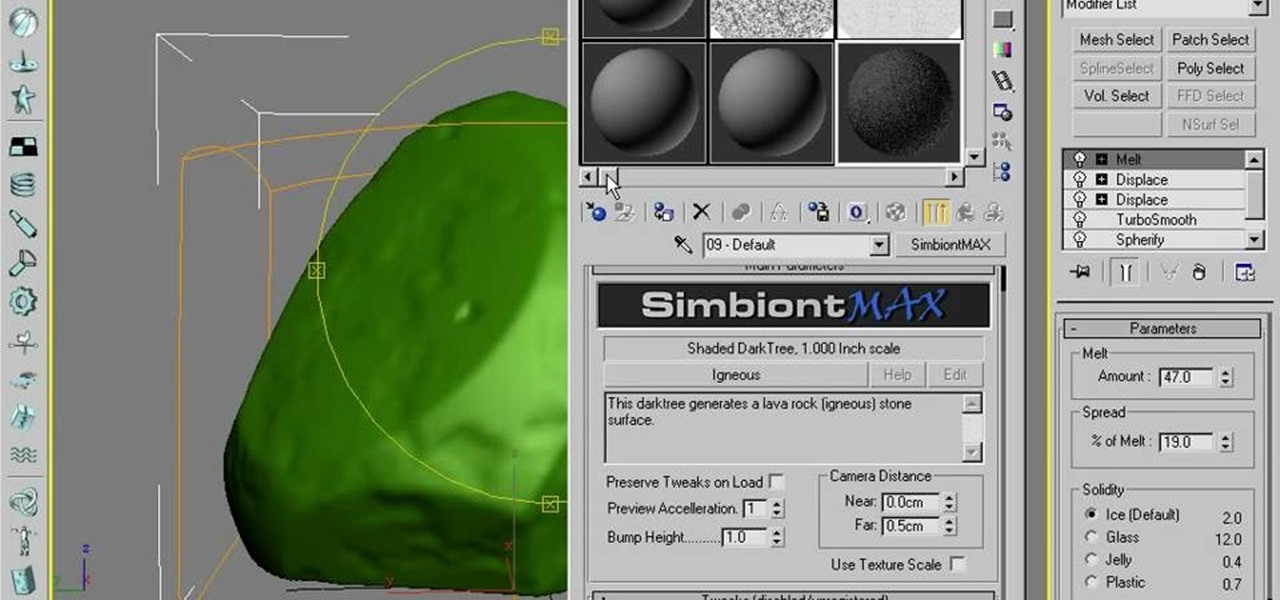
How To: Use procedural modeling to create a rock in 3DS MAX 9
The noble rock may not seem like the most fun thing to create a 3D model of. They are a useful example though because their basic shape and lack of movement make them manageable for beginners to work with while their many facets and textures present fun areas to work with. This video will teach you how to use procedural modeling and texturing to Create a 3D model of a rock using 3D Studio MAX 9. The end result looks positively stony, and the lessons you learn here will help you with all your ...
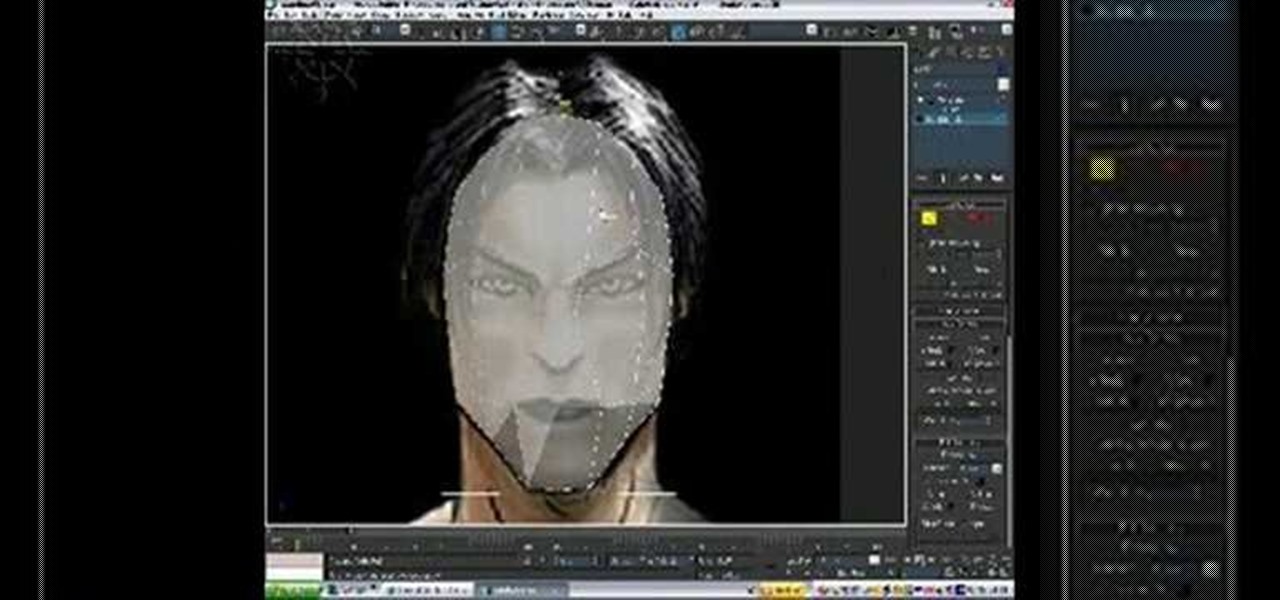
How To: Make a realistic 3D model of a head in 3ds Max
If you want to create really good 3D models on your computer, you need to be able to use more than just 3DS MAX or whatever other modeling program you have. It takes a whole family of specialized programs to handle the diverse tasks involved in creating really good models. This video will teach you how to create a male human head model using a combination of Faceworx, Mudbox, 3DS MAX with plugins, and Sony Vegas. By using all of these different programs, you can play to their individual stren...
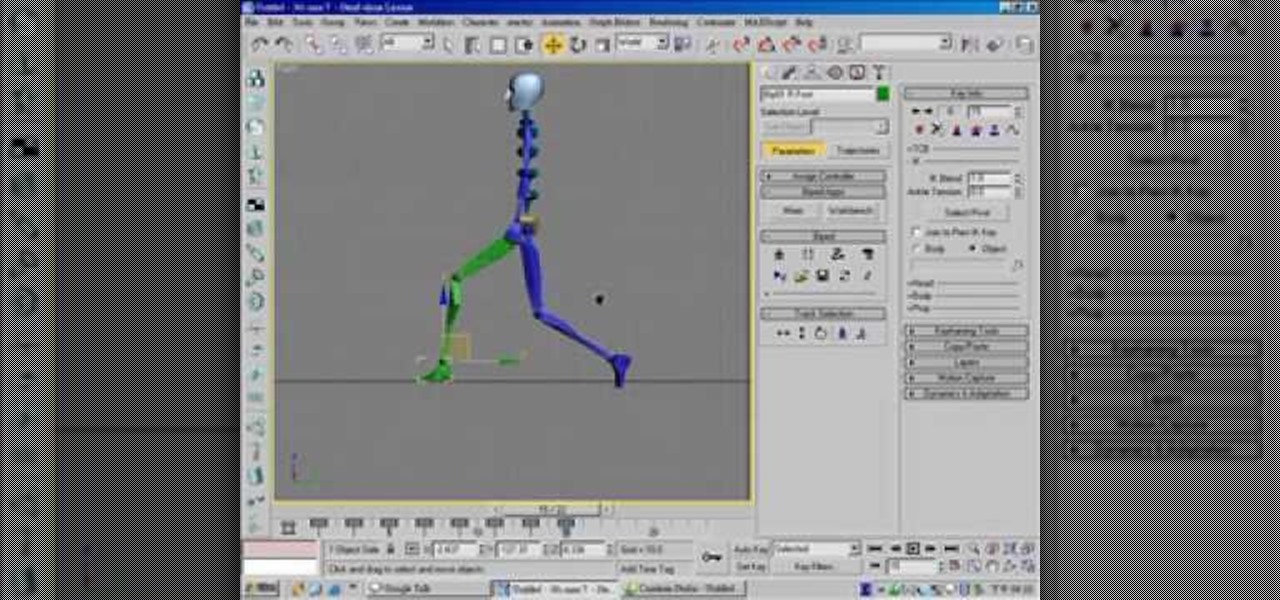
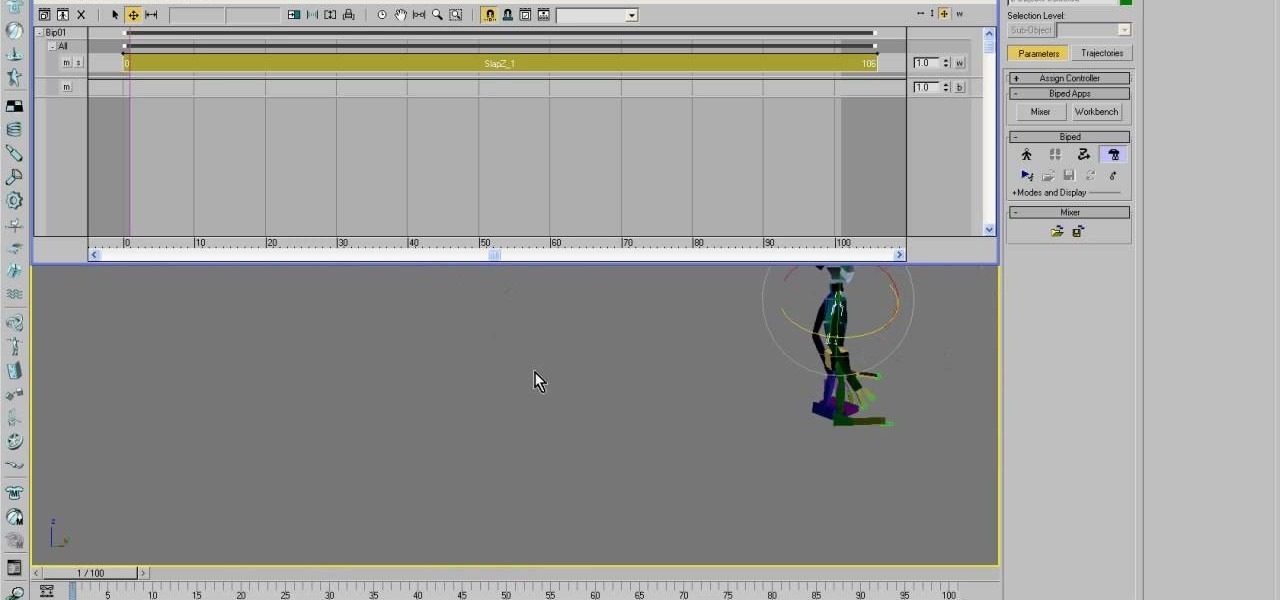
How To: Animate a basic walk cycle for a biped in 3ds Max
Making a 3D model bipedal character walk is one of the most basic and necessary things that you can do to them. If you are going to use them in a movie or game, chances are they will have to move themselves from one place to another right? This video will teach you how to create a basic walk cycle for one of your bipeds in 3D Studio MAX, allowing you to animate them walking to all kinds of places quickly and easily.
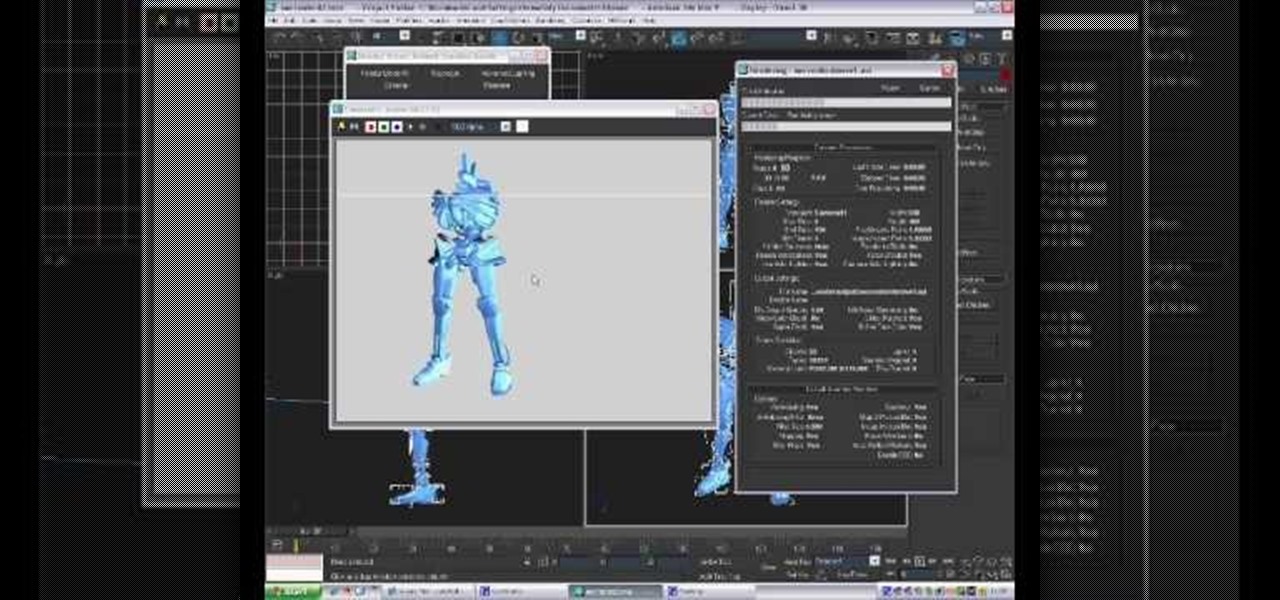
How To: Render a video to AVI format using 3ds Max
If you want to demonstrate your 3D model on a turntable or create some other sort of short animation with your models without having to use more specialized software, you can render an AVI video inside 3D Studio MAX. This video will show you how to do this quickly and easily, assuming that you already know how to animate your character. Now, let the world see your beautiful 3D work!
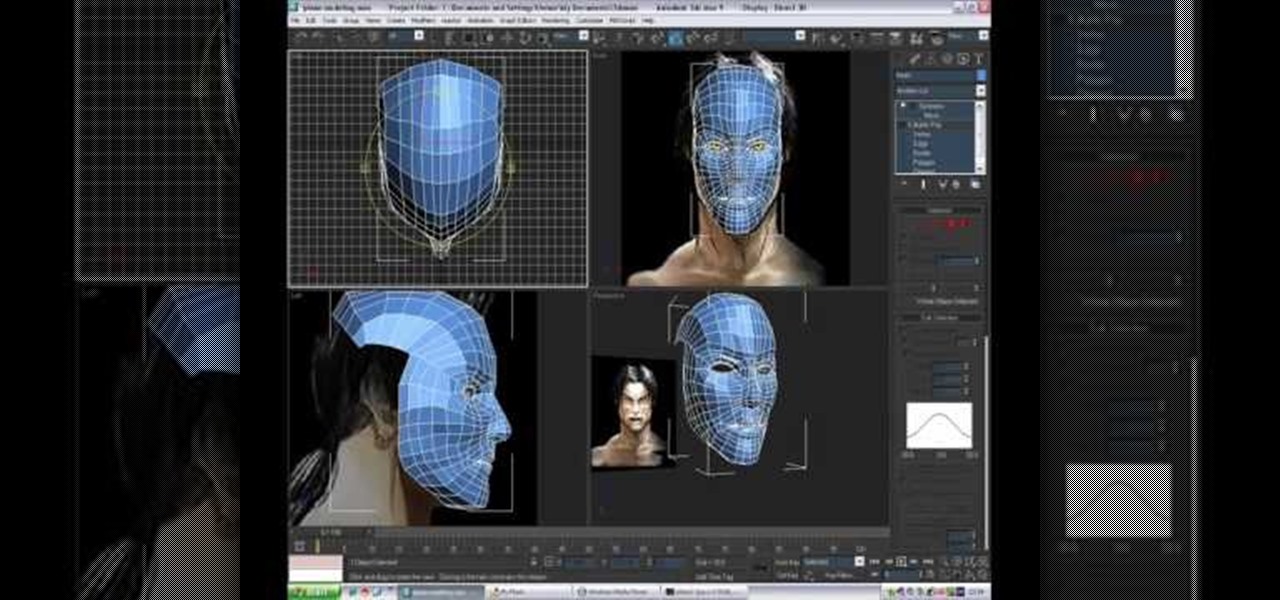
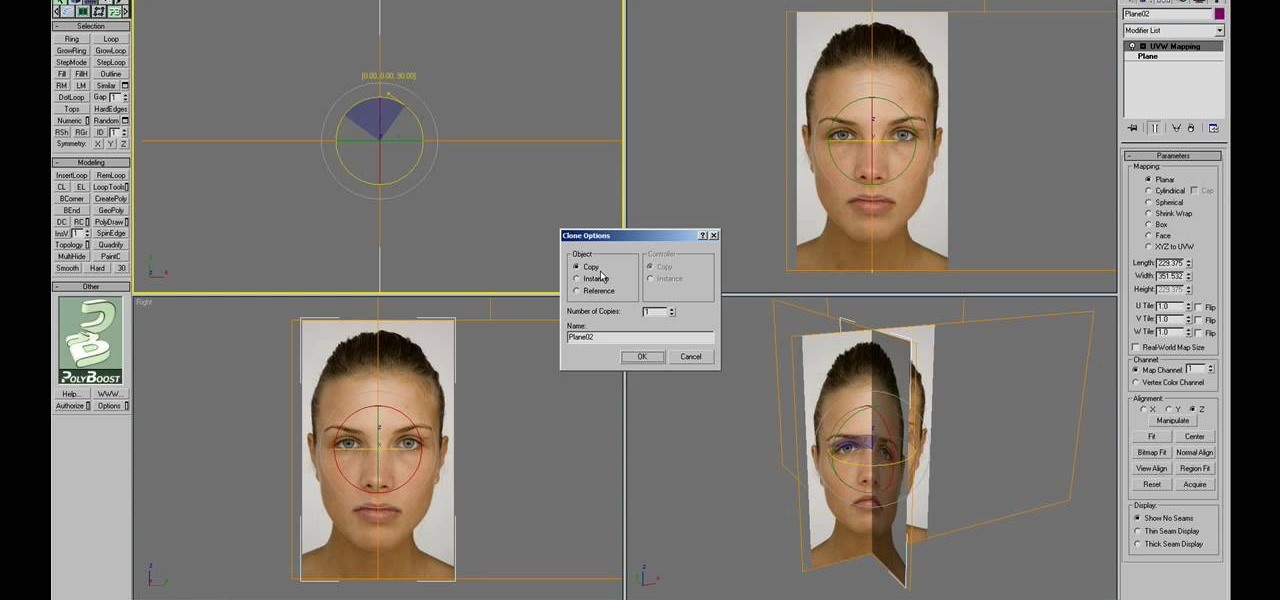
How To: Use plane modeling to model a head in 3ds Max
So you're mastered the basics of modeling 3D characters in 3D Studio MAX. Good for you. Where to now? This video perhaps? It will teach you how to use plane modeling to create a model of a human head. This technique requires some skill and experience at using 3ds Max, but if you've got that and need to move on to the next level, watch this video.

How To: Model a mace for beginners in 3ds Max
3D modeling is a difficult but lucrative trade that can take many years to master. Let this video be your first step along that road. It's aim is to teach the basics of 3D Studio MAX to beginners by demonstrating the modeling of a mace (or morning star). This tutorial is designed for those with no experience in 3D modeling, so if you're just getting started, start here! Model a mace for beginners in 3ds Max - Part 1 of 2.
How To: Create a head model in 3ds Max
Creating 3D models of the human head that will show emotion, eat, and do all the other things that heads do properly is hard. Fortunately, this video is here to help you get started. It demonstrates the basics of 3D head modeling using 3D Studio MAX. Follow these instructions and you'll be well on your way to creating all sorts of cool original character heads.
How To: Model a basic character in 3D Studio MAX
So you finally shelled out for 3D Studio MAX. Congratulations. Now you need to make something with it! This video for beginners will walk you through the basics of modeling a character in 3D Studio MAX. It covers setting up a reference image (the one from the video is here), creating a rough body, connecting body parts, head modeling, and paint deformation. After you watch these three videos you should have all the tools you need to model a basic character in 3D Studio MAX. Now then, on to th...
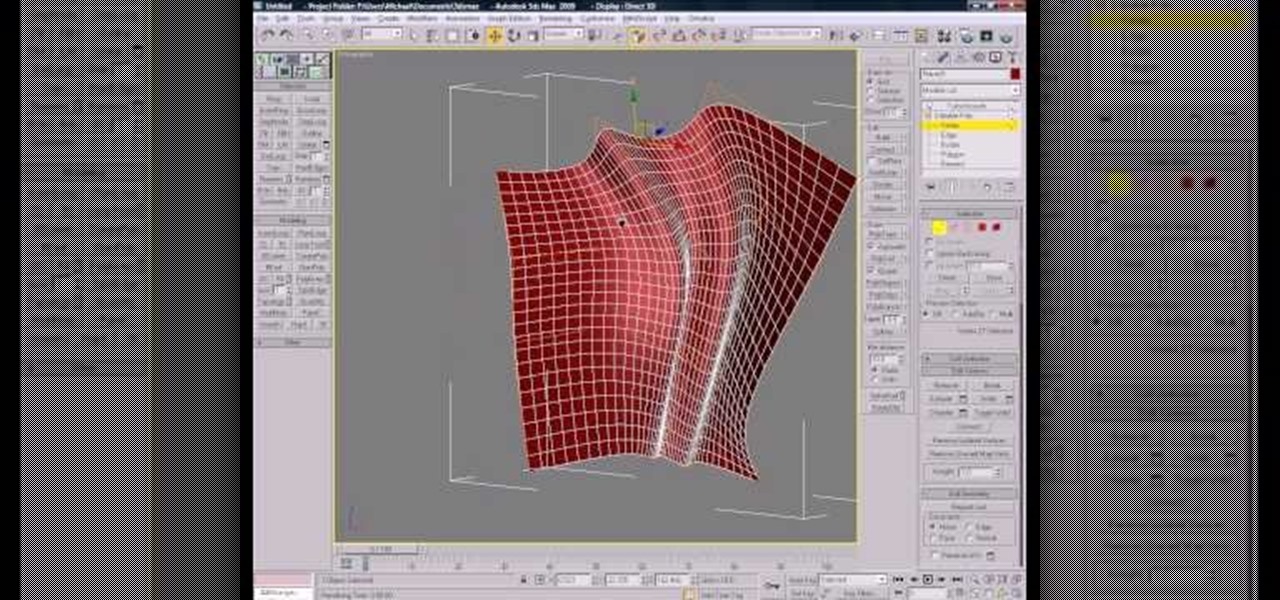
How To: Model a 3D human head using 3D Studio MAX
An image of a human head can consist of a single penstroke or a thousand polygons. The head model that you will be learning to create in this three-video series leans very much towards the latter. The videos will teach you how to create a 3D model of the human head using 3D Studio MAX from a photo. It assumes some knowledge of 3DS MAX, but not too much, so don't be scared! Watch this baby and start modeling!
How To: Use polygon modeling in 3D Studio MAX
Almost every 3D image depicted on a digital screen is made from thousands of tiny polygons. Modeling with them is the most fundamental part of 3D modeling. This video will introduce you to the basics of 3D polygon modeling, helping you to create a 3D shape that is smooth and cool-looking, if not terribly similar to any real-world object.
How To: Make a gnome explode in 3D Studio MAX using Reactor
Gnomes are annoying little creatures. Any full-sized person should be delighted by the sight of one exploding! This video will show you how to start creating your very own exploding gnome using 3D Studio MAX and Reactor. Several of this creator's videos work with the exploding gnome example, and they can all be found here on site, so start watching and you too can own your very own exploding 3D gnome.
How To: Make a Reactor ragdoll for a biped in 3D Studio MAX
Ragdoll physics are all the rage in 3D shooter games, causing characters to die in glorious realism before glitching as soon as they get anywhere near a wall. This two-part video will teach you how to create a basic ragdoll for a biped model using the Reactor engine within 3D Studio MAX. This is a very basic discussion of ragdolls, but will get you started in the right direction perfectly.
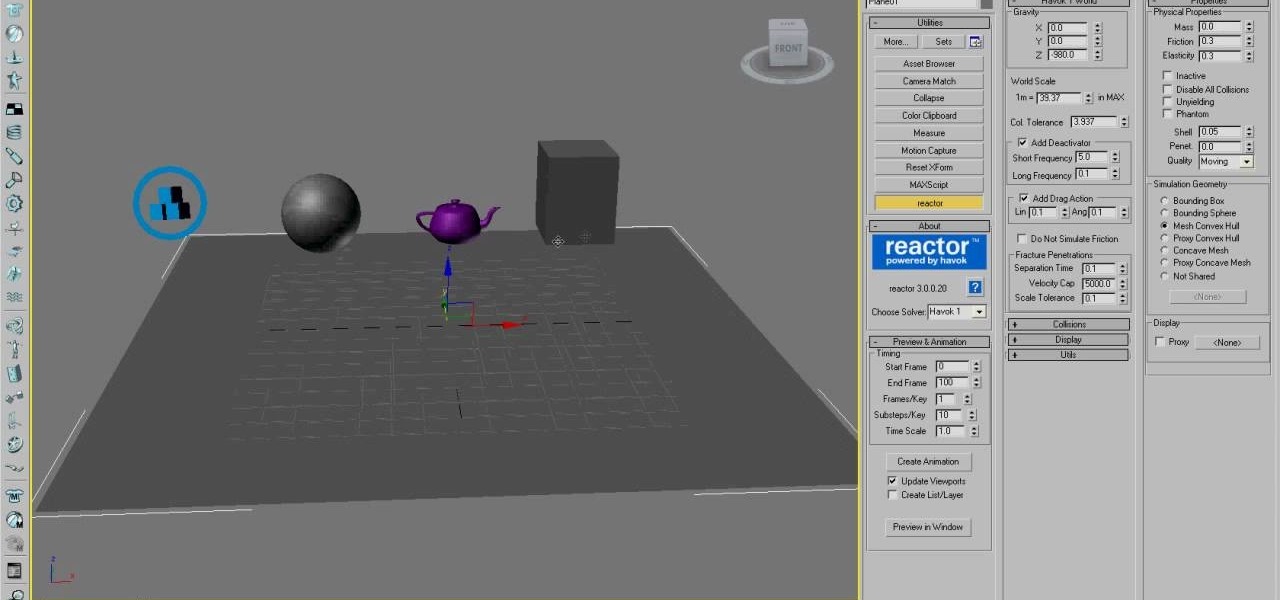
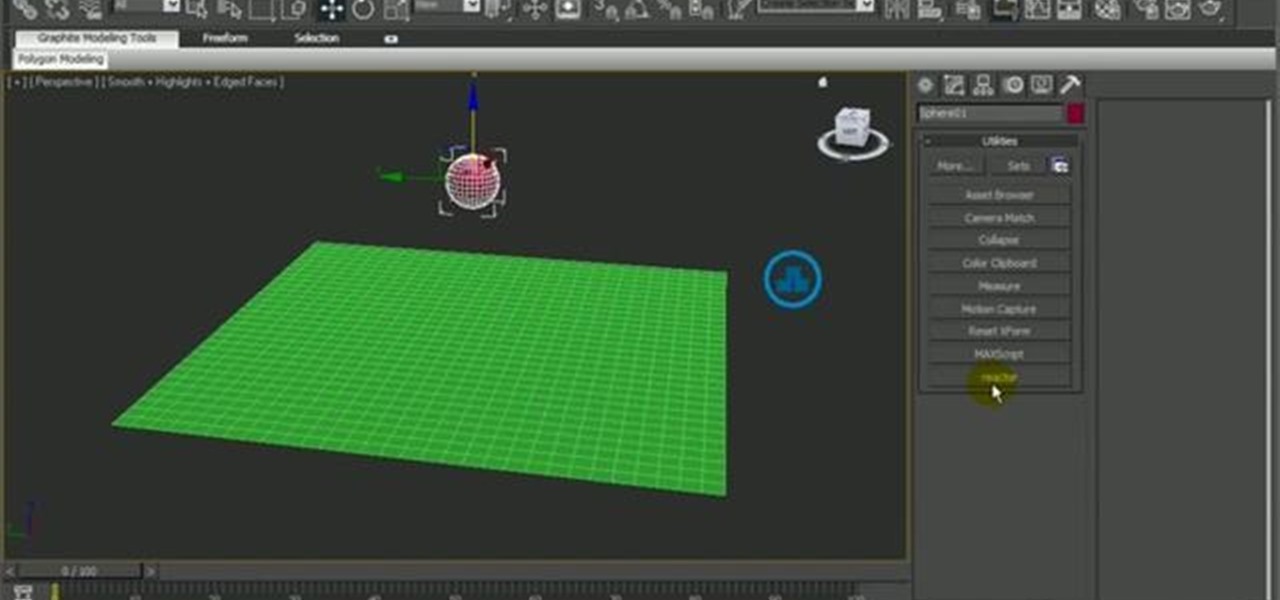
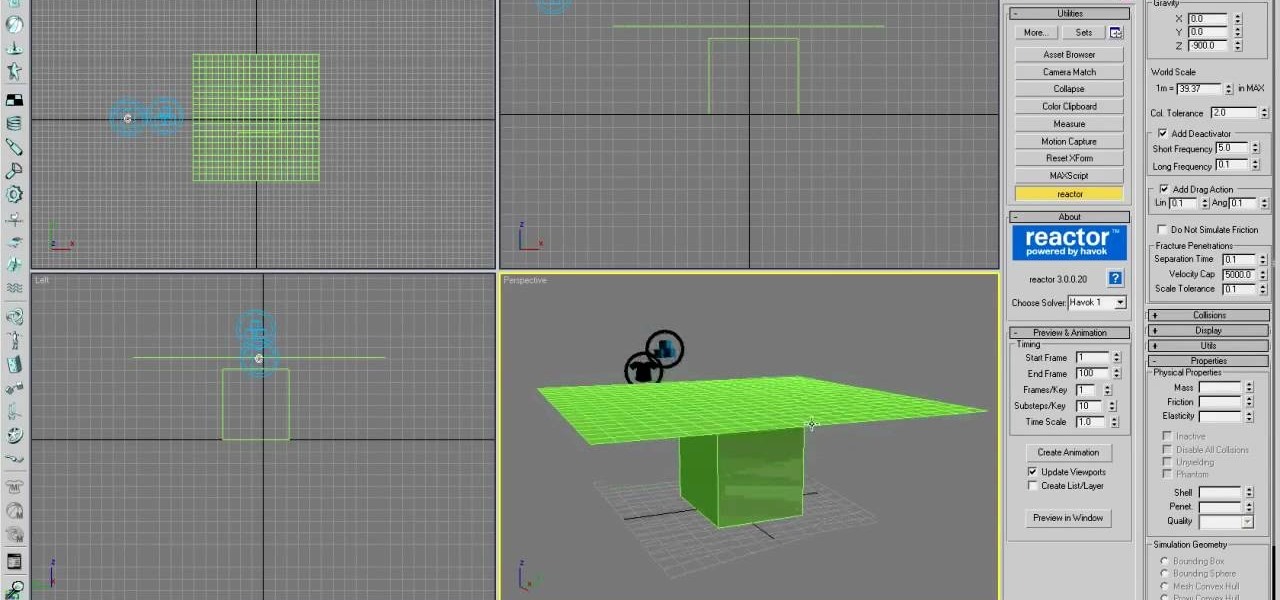
How To: Master the basics of using Reactor in 3D Studio MAX
Reactor is a physics engine contained in 3D Studio MAX that allows you to simulate the effects of physics on your 3D models without having to animate them manually. This video will teach you the basics of using Reactor, including a discussion of when you should use Reactor in the first place.
How To: Use basic box modeling in 3D Studio MAX
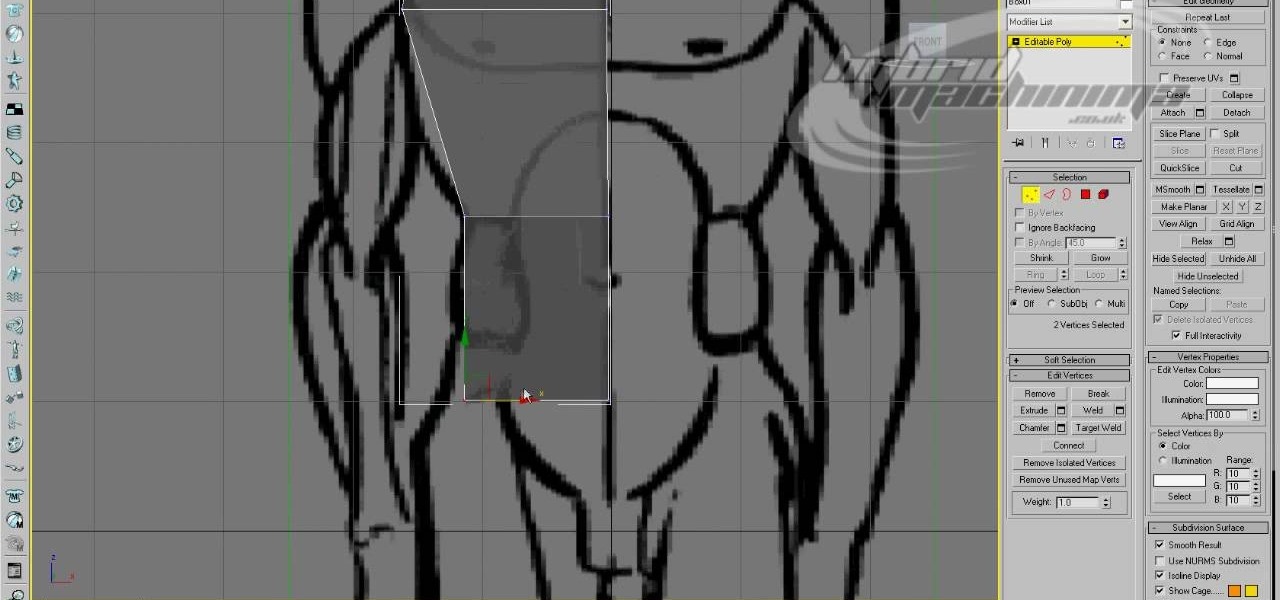
Box modeling is the most fundamental type of modeling in 3D Studio MAX, allowing you to model elaborate 3D images out of many tiny boxes. This video for 3DSMAX beginners will walk you through the basics of box modeling a human body from a blueprint. You may move past this technique as your skills grow, but you need to know it before they can.
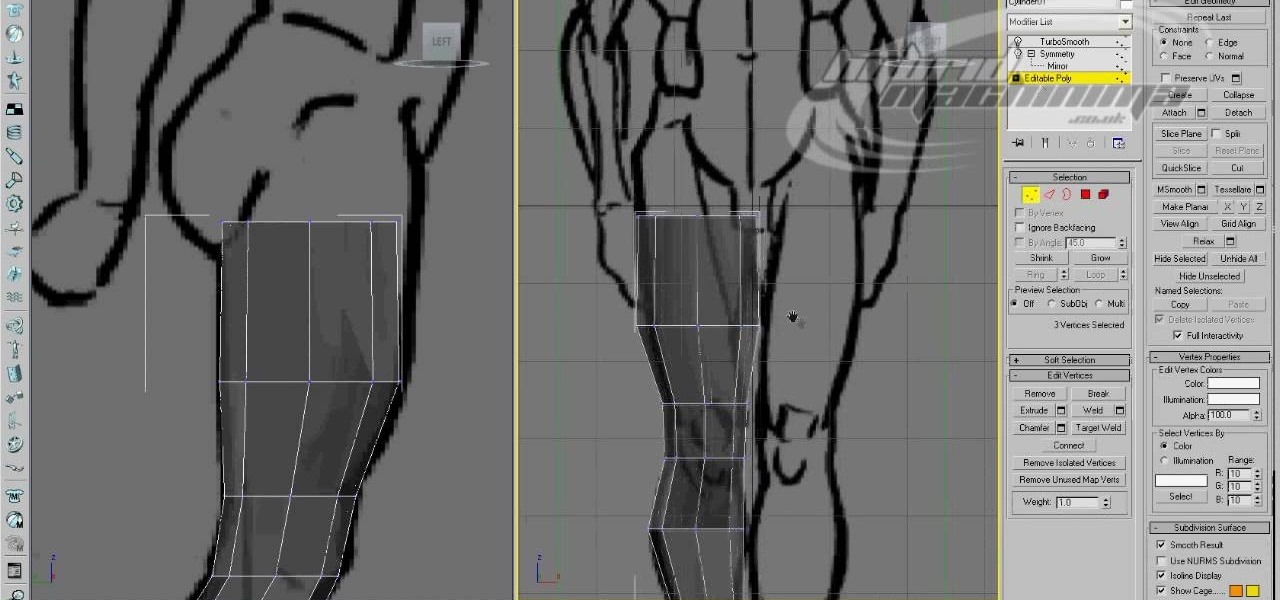
How To: Use edge loop character modeling in 3D Studio MAX
Edge loop character modeling in 3D Studio MAX allows you to create smooth, natural-looking characters. This video will introduce you to using edge loop modeling to model a character from a blueprint (get it here). This is one of the most fundamental techniques in 3D modeling, so get used to doing it!
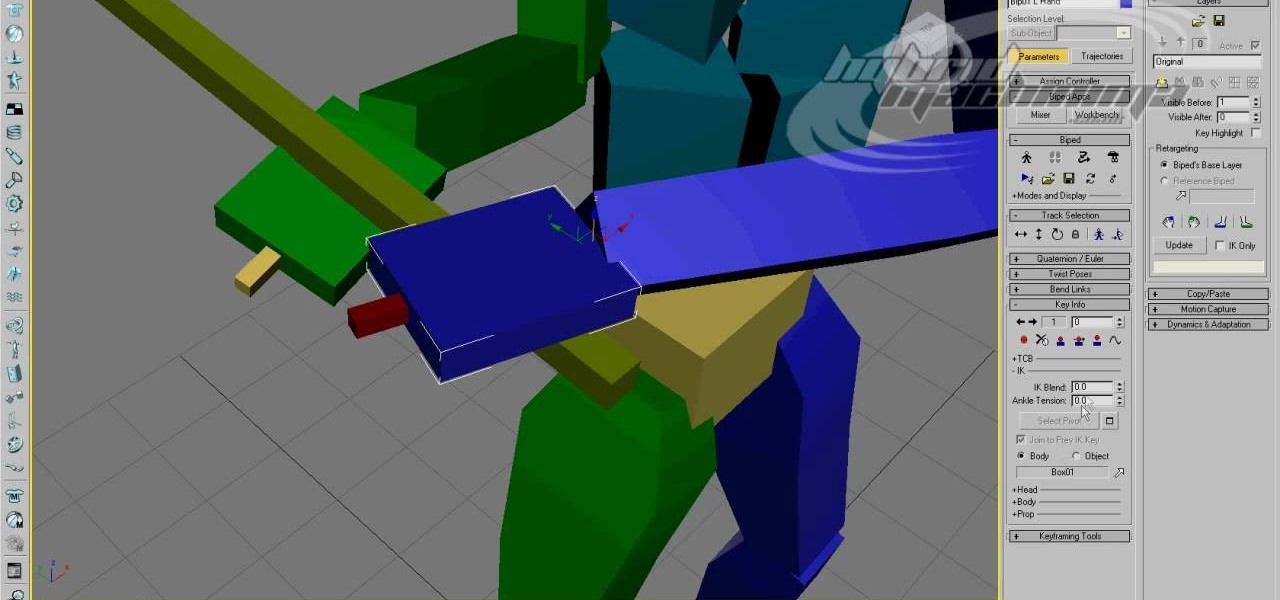
How To: Model a biped with a two-handed sword in 3D Studio MAX
If you are making games or hybrid machinima in 3D Studio MAX, the occasion may arise where you want to give one of your characters a massive two-handed weapons like a sword or machine gun. This video's sole intent is to teach you how to do that. It focuses on how to link parts of a biped to an object using an IK (inverse kinematics) object chain. Doing this will make your character move correctly in relation to the weapon, allowing them to do whatever you want them to with their shiny giant s...
How To: Use garment maker in 3D Studio MAX to model clothes
Clothing a 3D model properly is almost as hard as making the model in the first place. Fortunately, 3D Studio MAX and this video are here to help. Watching this you will learn how to create splines, simulate cloth animation, and use good smoothing techniques, among other things. Now your 3D models can be as stylish as you! If not more so.
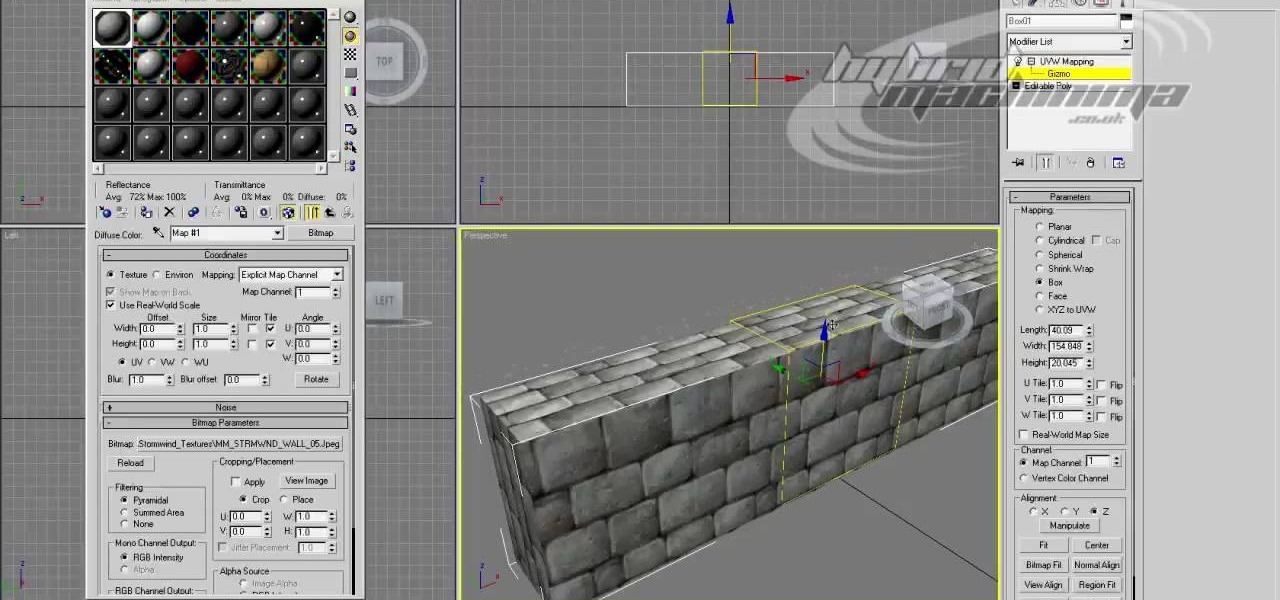
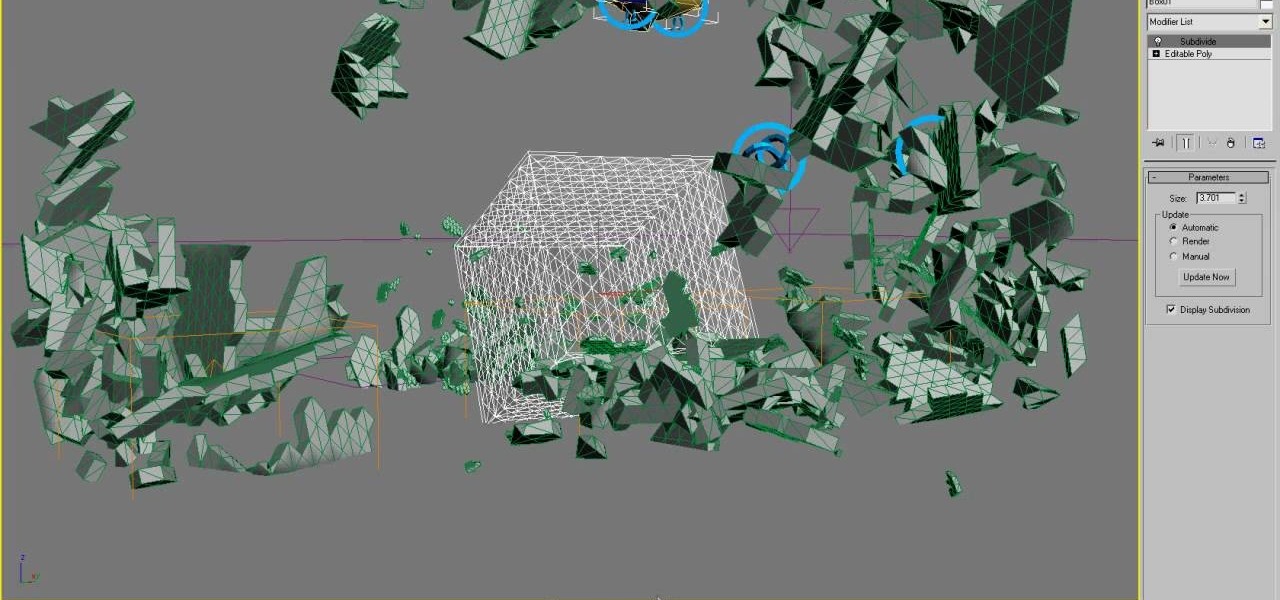
How To: Use the procutter tool and booleans in 3D Studio MAX
If you are modeling a 3D game in 3D Studio MAX, you are going to need to know how to correctly model the destruction of many of your beautiful 3D models. This video is focuses largely on that. It will show you how to use the procutter tool and booleans in 3DS MAX to break up a wall without making it unrecognizable, and also how to use the fracture reactor constraint to simulate an object making impact on the wall. Your poor wall will never know what hit it.
How To: Model basic cloth using Reactor in 3D Studio MAX
Creating a good 3D model in 3D Studio MAX is hard enough. Now I've got to model clothes onto them too? Why can't all 3D game characters be naked?
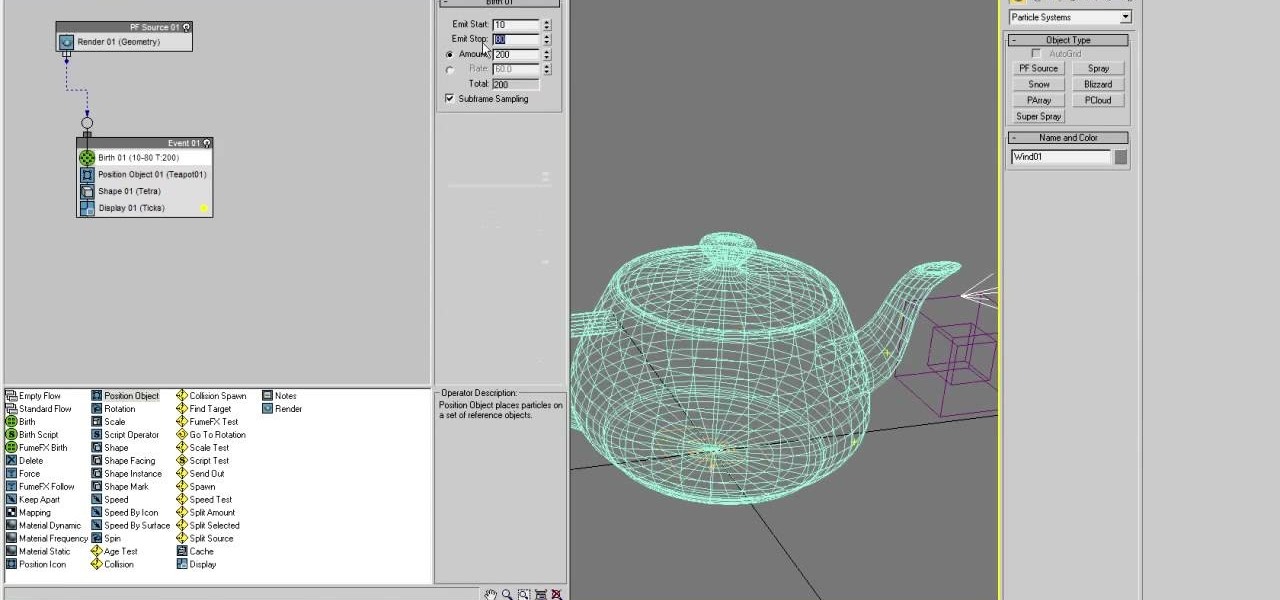
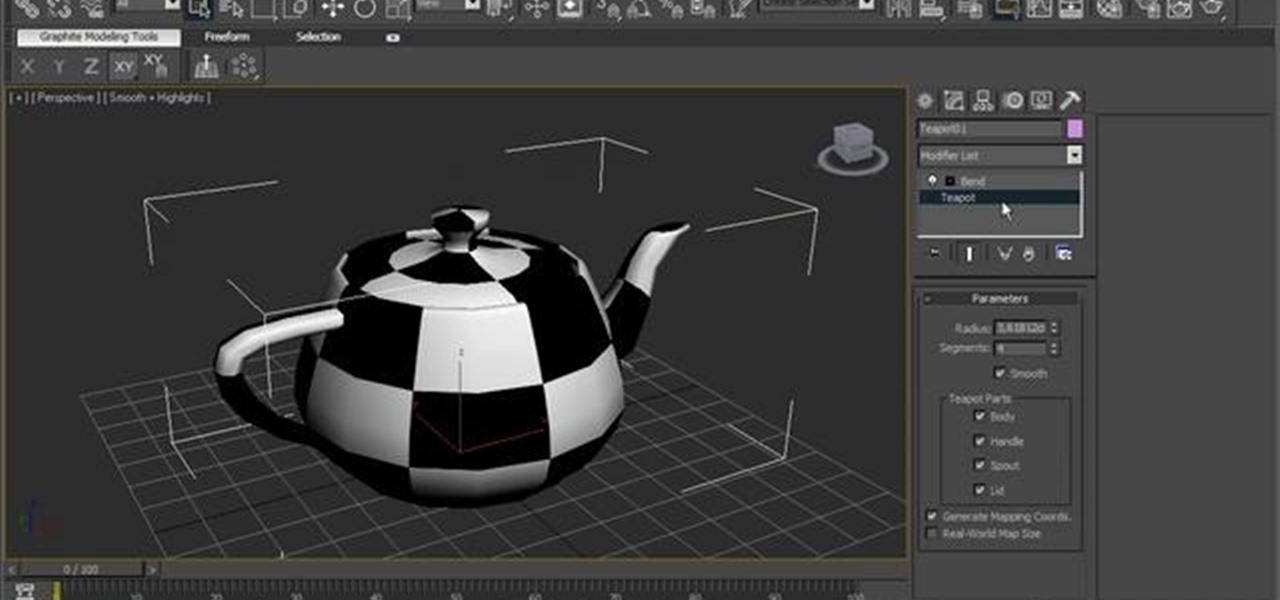
How To: Model particle dispersion in 3D Studio MAX
The teapot dispersion method is a standard technique for teaching particle dispersion in 3D Studio MAX. This three-part video seeks to use the infamous example to explain particle dispersion as effectively as possible. It explains basic particle systems and material animation properties, and by the end you should be able to model a 3D teapot turning into a million little teapot particles.
How To: Model realistic arrow impacts in 3D Studio MAX
If you want to make fantasy 3D games, and if you're watching this video there's a really good chance that that is the case, you are probably going to have to model an arrow hitting an object at some point. Do it right! This two-part video will show you how to 3D model an arrow striking a treasure chest in 3D Studio MAX, including how to animate the arrow's motion right down to the wiggles it makes when it hits the object. Now get back into your modeling console and start putting WoW in its pl...
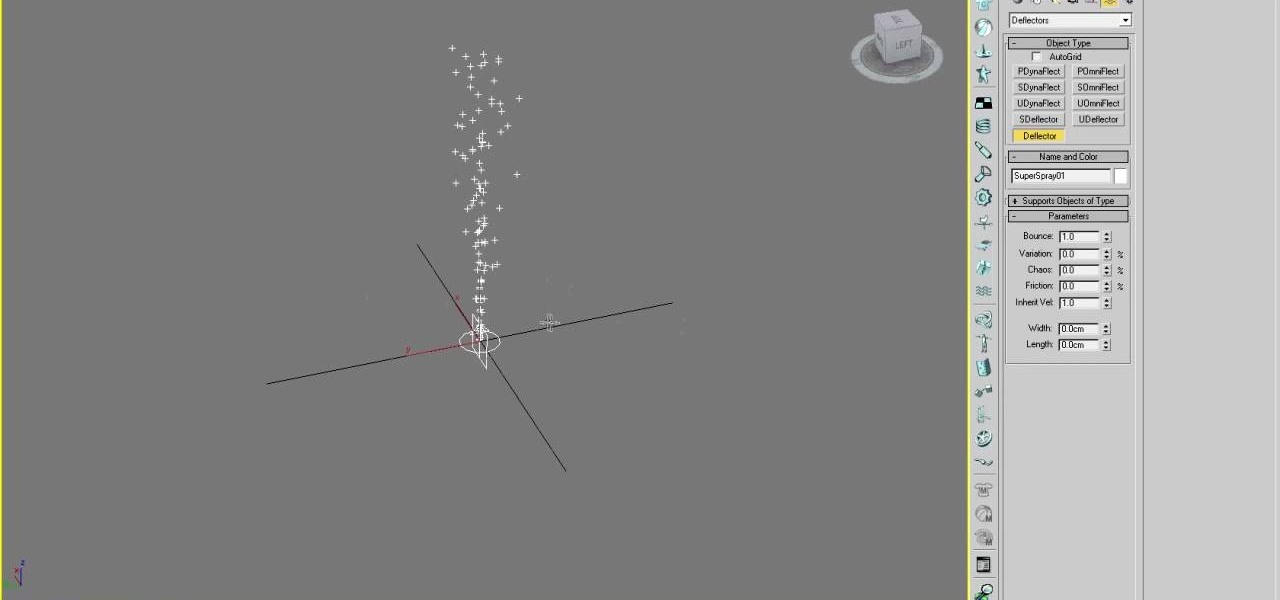
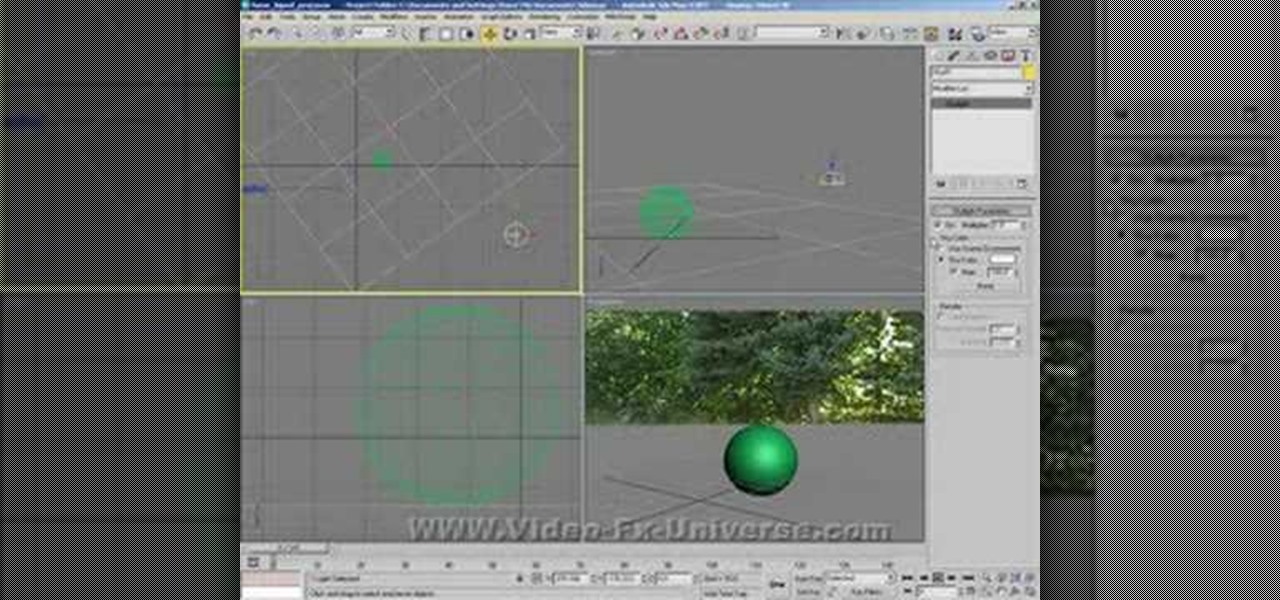
How To: Use the basics of particles in 3D Studio MAX
3D particles allow you to create all sorts of cool effects in 3D Studio MAX, like 3D fire, clouds, and other visible gases. This video is an introduction to the use of particles in 3DS MAX, covering the basics of particle presets, defectors, and gravity space warps. These tips will have you well on your way to creating really cool particle effects.
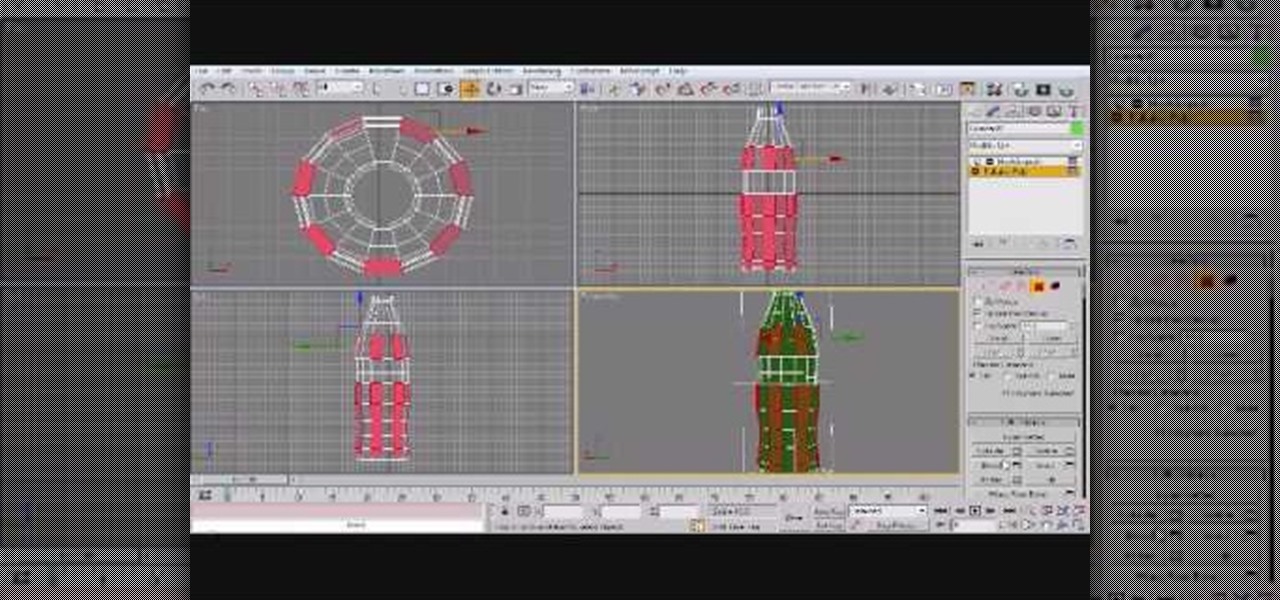
How To: Model a glass coke bottle in 3ds Max
In this 3ds Max software tutorial, you'll learn how to model a glass-type bottle from scratch. Specifically, this deals with creating a Coke bottle from scratch. It will not show you how to texture the bottle, just how to build it. Learn the basic techniques for modeling the Coke bottle.
How To: Import WoW models into 3DS MAX with textures intact
If you want to make a hybrid machinima movie using WoW characters, you are probably going to have to import them into 3DS MAX at some point. Unfortunately, you cannot just do this straight away. This video will teach you how to use a program called Milkshape 3D to prepare a character for importing and then import them into 3DS MAX, where they are ready for animating!
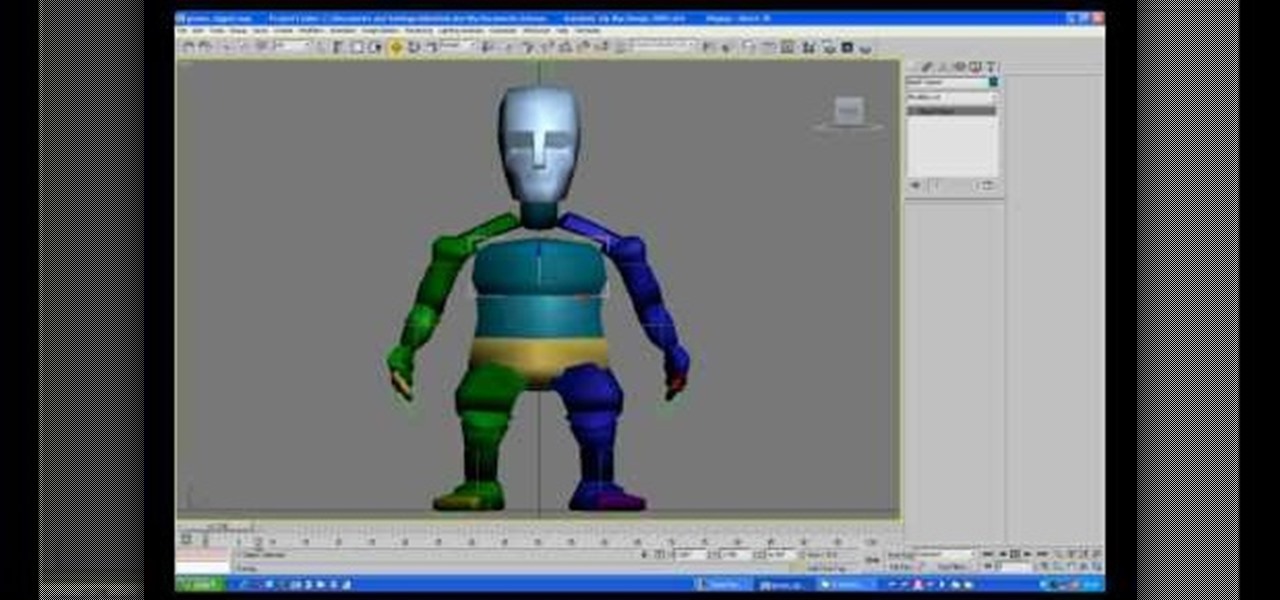
How To: Use motion capture on bipeds in 3DS MAX
Using motion capture is one of the easiest and most effective ways to animate the motions of a bipedal character who is proportional to a normal human. When the character is not in proportion, like the World of Warcraft low-poly models in this video, it gets a little more complicated. This video will teach you how to use motion capture in 3DS MAX to animate a goblin WoW character, making them almost ready to use in your hybrid machinima videos.
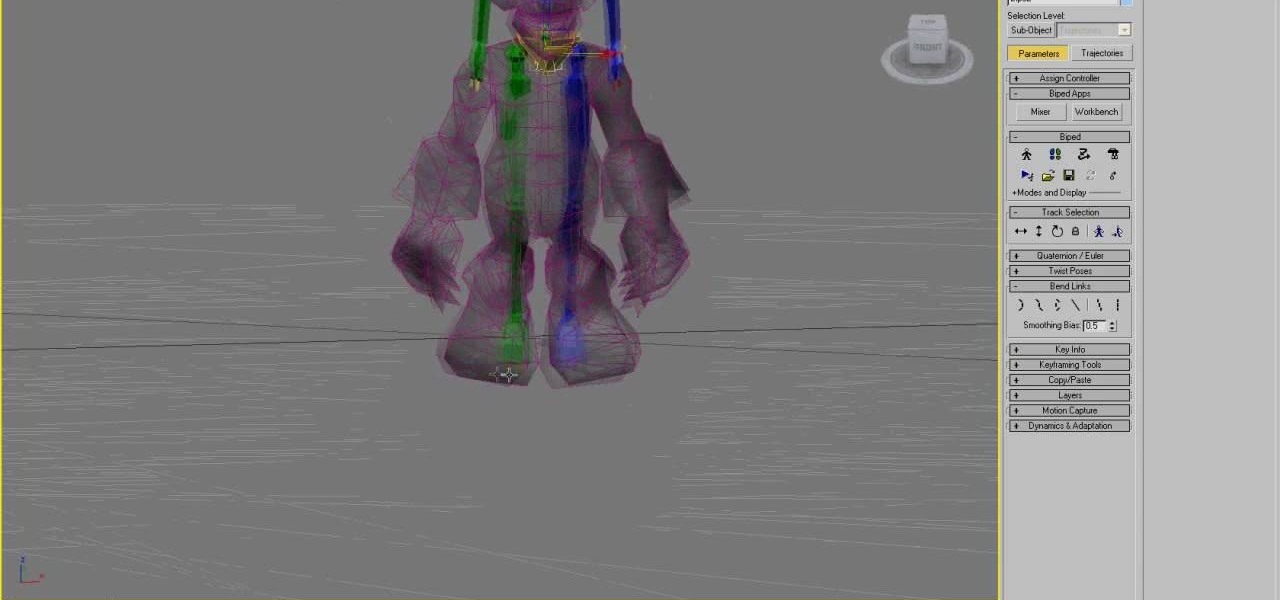
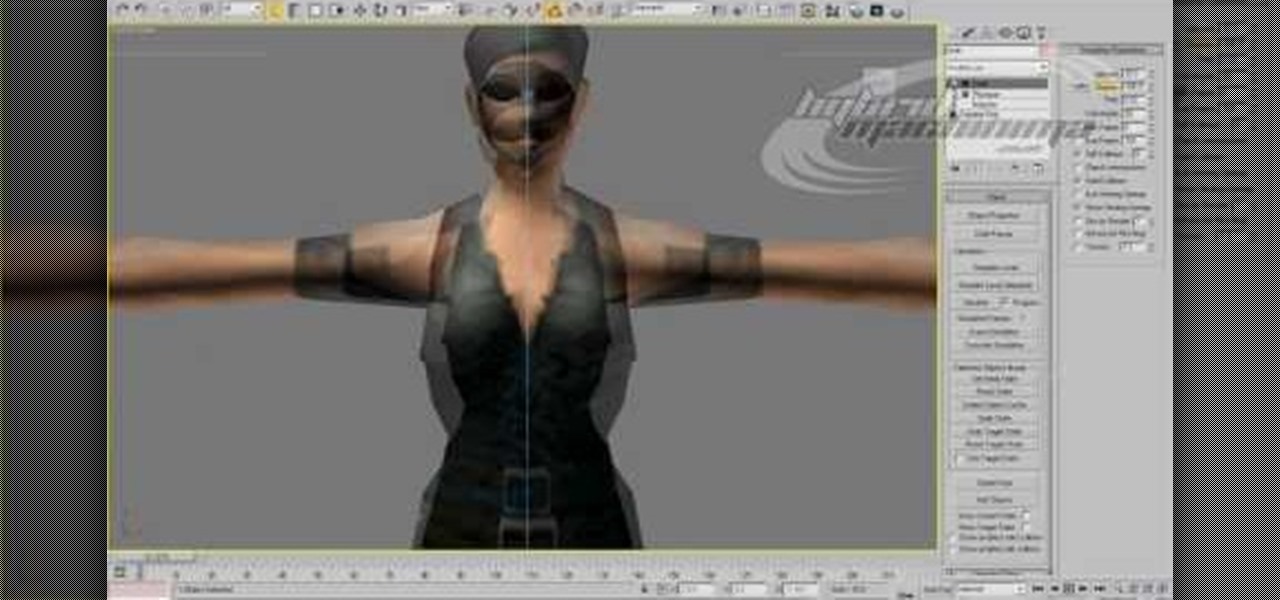
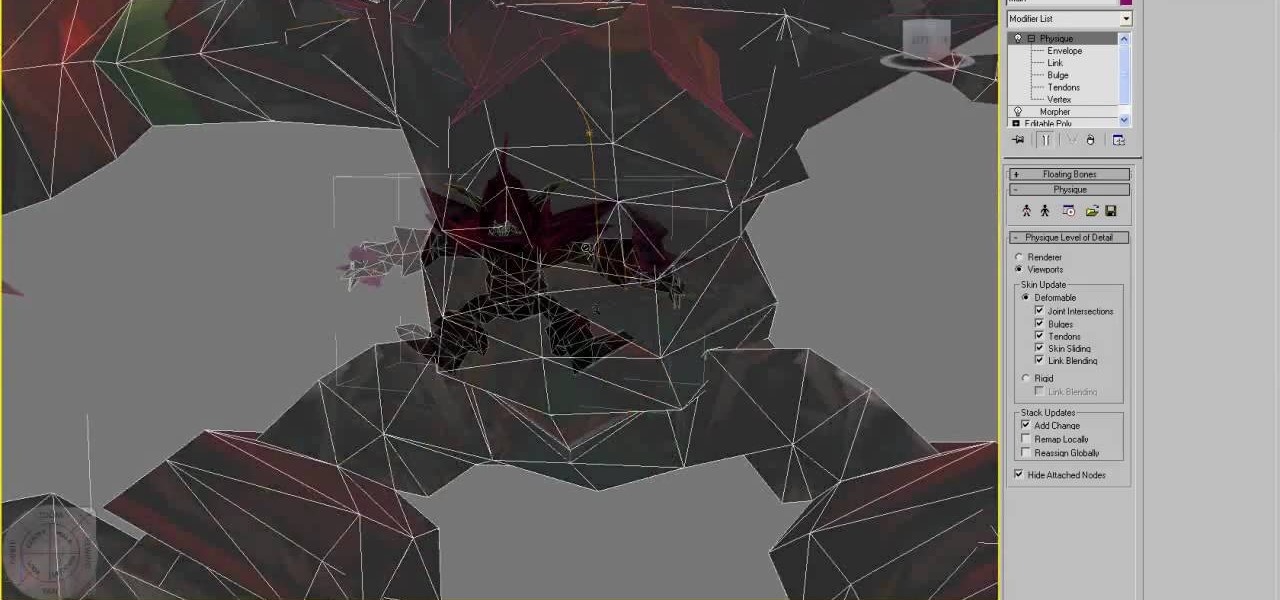
How To: Vertex rig a WoW character in 3DS MAX
Rigging low poly character models with vertices and physique is one of the most important parts of animating a character in 3DS MAX. This four-part video series will show you how to vertex rig a World of Warcraft low-poly character model, allowing you to use them in your hybrid machinima projects.
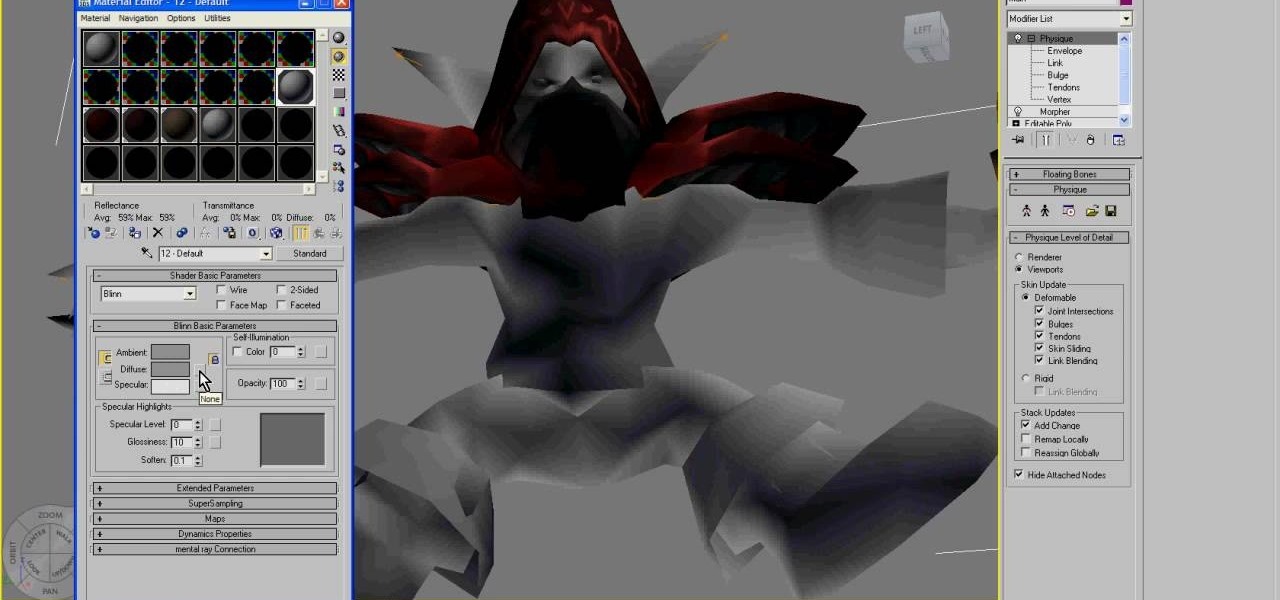
How To: Work with materials in 3D Studio MAX for beginners
Some of the most fundamental parts of 3DS MAX 2009 that users have to learn how to use are materials. This quick video for 3DS MAX beginners will introduce you to the basics of working with materials. This will allow you to use bitmaps and other tools to create all sorts of different character models.
How To: Use hotkeys to navigate 3DS Max for beginners
For 3D artists new to 3DS Max, learning your way around this massive piece of software can take a long time. It need not do. This video will teach you how to use some of the many hotkeys in the program to navigate it like a pro, easily accessing all of the most popular tools and allowing you to save a lot of time modeling. Now that you know what buttons to press to access functions, watch some of our other 3DS Max tutorials for more advanced functions.
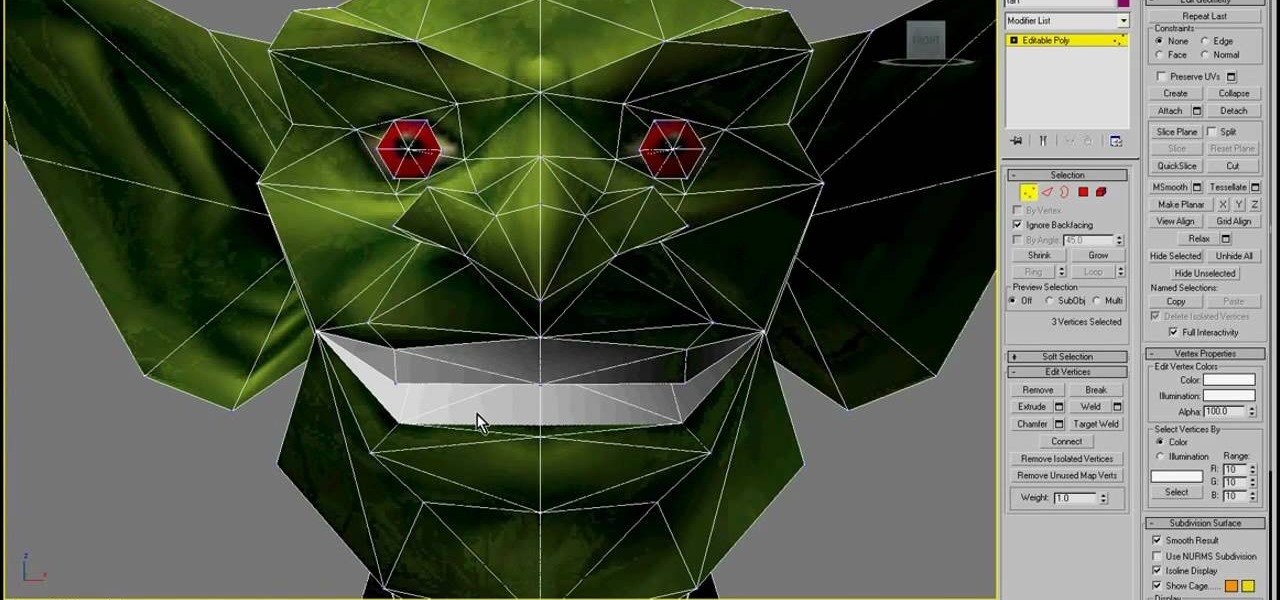
How To: Morph targets in 3DS MAX with WoW characters
The silent film era ended long before anyone had conceived of something like machinima, so your machinima movie had better have some talking! This movie will teach you how to use morph target in 3DS MAX to give your imported World of Warcraft characters facial expressions and animate their mouths to make them appear to be talking. You'll also learn how to make your model sneer, smile, and perform other facial actions.
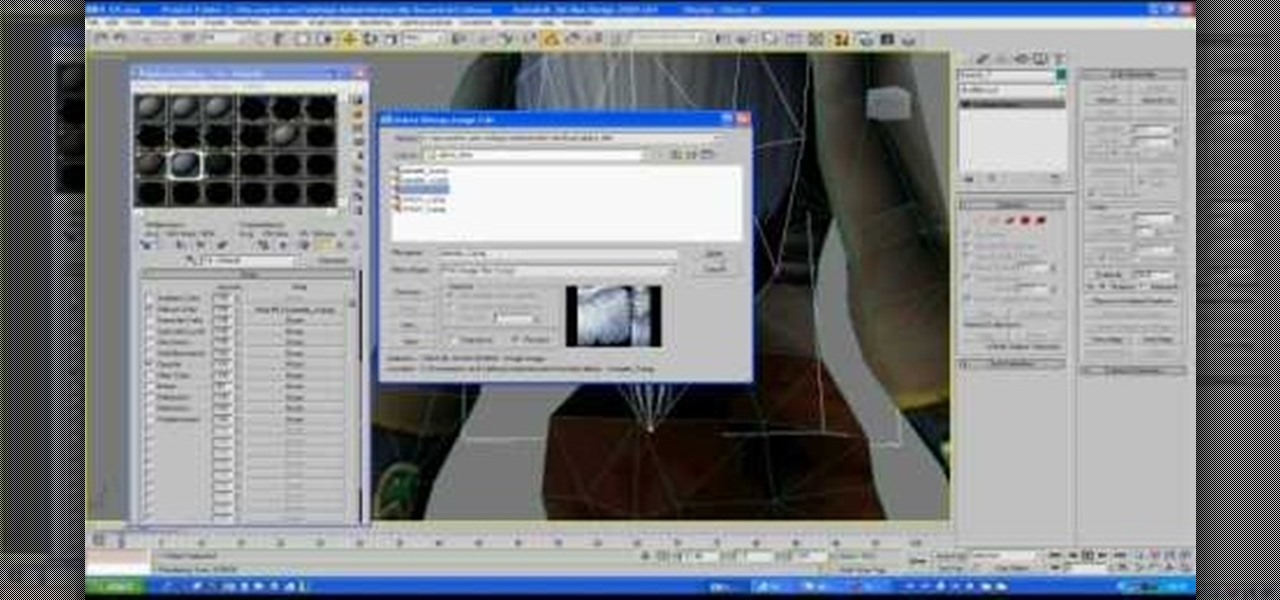
How To: Work with WoW alpha channel textures in 3DS Max
Alpha channels are powerful tools for creating low-space 3D images, but 3DS Max cannot work with them properly. This is a major problem if you are working with World of Warcraft characters since they are largely constructed of alphas. This video will teach you how to work with alpha channel textures in 3DS Max and Photoshop in tandem. This will improve the look of your characters immensely, especially their hair.

How To: Work with cloth in 3DS Max
If you want to model a character in 3DS Max and don't want them to be nude, you are probably going to have to work with 3D cloth. This three-part video will teach you how to create cloth in 3DS Max (without using Reactor), attach it to your character, and make it animate properly with the character. It makes use of the Garment Maker mod for for 3DS Max, and should have your characters clothed realistically in no time.
How To: Use Biped to do motion capture in 3DS Max
Causing World of Warcraft characters to do what you want them to do in your machinima film can be a major challenge. Motion capture is one useful tool that you can use to solve the problem. This video will teach you the basics of using the Biped plugin for 3DS Max to animate WoW characters with motion capture data. Give your models the realistic stride that they've deserved all along.