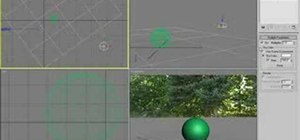
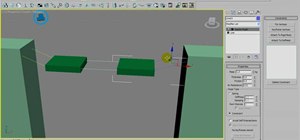
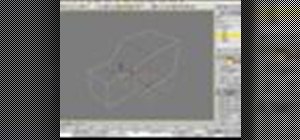
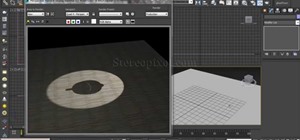
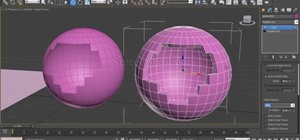
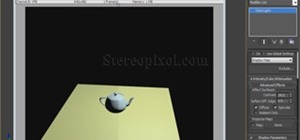
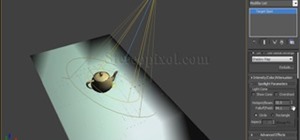
In this tutorial, we learn how to create a 3D shadow matte in 3ds Max. If you have a scene where you need a realistic looking background, you can trick doing this by using 3ds Max. First, go up to the rendering and go to environment. Add an environment map and then click on bitmap and find the image that you want to use. From here, make sure your map is highlighted, then right click and show the background. If you render this out, you will have a picture of the background you want. After this, bring an object into the frame and render it out so it doesn't look like it's in the background. Then, use the shadow matte to create a plane. Next, line it up with the background. Once finished, you will have a realistic looking image, save and enjoy!
Just updated your iPhone? You'll find new emoji, enhanced security, podcast transcripts, Apple Cash virtual numbers, and other useful features. There are even new additions hidden within Safari. Find out what's new and changed on your iPhone with the iOS 17.4 update.



1 Comment
Cheers for this, I am learning lights in 3D Max now and I never knew this. :)
Share Your Thoughts