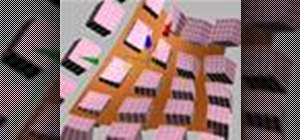
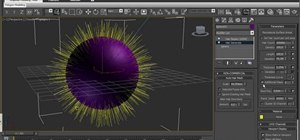
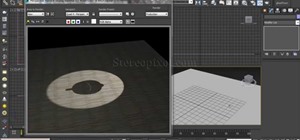
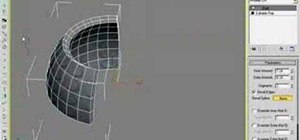
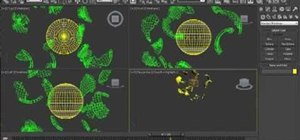
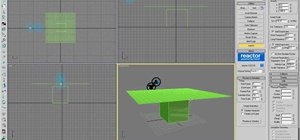
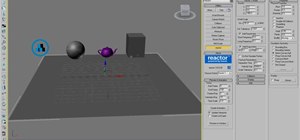
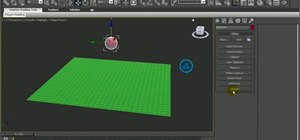
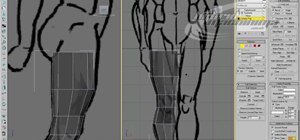
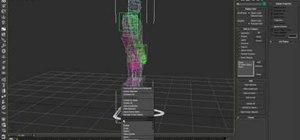
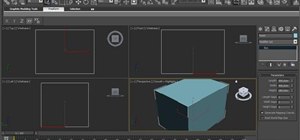
The PatchDeform modifier in 3ds Max deforms an object based on the contours of a patch object. This modifier works similarly to the PathDeform modifier, but uses a quad-based patch object instead of a spline shape or NURBS curve path. Patch Deform is a great tool for mapping geometry on a surface or the distribution of component on a surface in 3ds Max. The only catch is that the distribution geometry has to come from a surface originally made as a Patch. The surface cannot come from a set of cross sectioned splines with a surface modifier. The surface needs to be made from the command panel as a patch in order for this modifier to work. This 3D Studio Max tutorial explains some of the work arounds for using the modifier on multiple objects as well as moving your deformed geometry to the distribution object.
Use the patch deform modifier in 3ds Max
Just updated your iPhone? You'll find new emoji, enhanced security, podcast transcripts, Apple Cash virtual numbers, and other useful features. There are even new additions hidden within Safari. Find out what's new and changed on your iPhone with the iOS 17.4 update.





Be the First to Comment
Share Your Thoughts