

Autodesk 3ds Max Features


How To: Use particle flow to make liquids splatter in 3DS MAX
Working with particle flow in 3DS MAX allows you to create all sorts of awesome effects, including swarms of small characters or, in this case, realistic liquids. Specifically, this video series will show you how to use pflow to create a liquid splatter effect, which can be used to make rain, explosions, and all sorts of other things. Watch this video and hone your skills.

How To: Create planet earth in 3ds Max
This three part 3D Studio Max tutorial will show you how to build and texture a realistic looking earth and moon.
How To: Switch from wireframe to solid view in 3ds Max
In this 3ds Max video tutorial you will learn how to switch from wireframe to solid (shaded)view. Wireframe view provides faster rendering time, while solid view gives you a more polished look of what your work will look like when rendered. Make sure to hit "play tutorial" in the top left corner of the video to start the video. There is no sound, so you'll need to watch the pop-up directions. Switch from wireframe to solid view in 3ds Max.

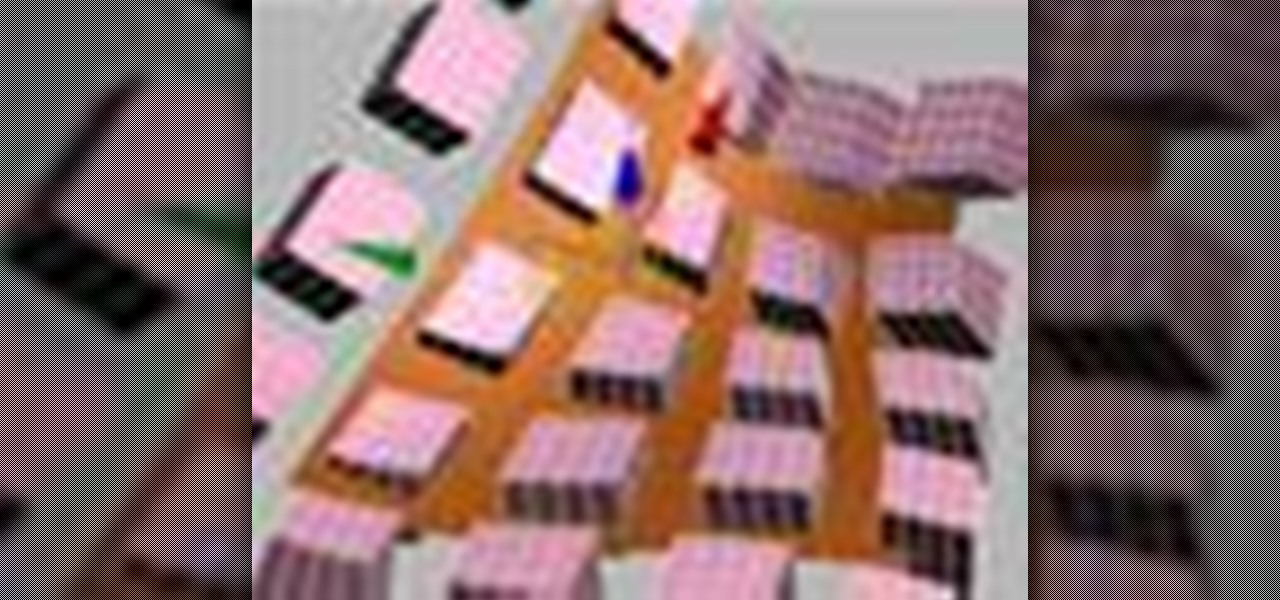
How To: Build a spline tower in 3ds Max
This 3ds Max software tutorial shows you how to build a spline tower. Using modifiers such as Cross Section, Skin, Shell and Spline IK we build a spline based system that uses reference geometry to build parametric relationships in 3D Studio Max. The video is best viewed full screen and you should already be familiar with 3ds Max to really follow along. Build a spline tower in 3ds Max.
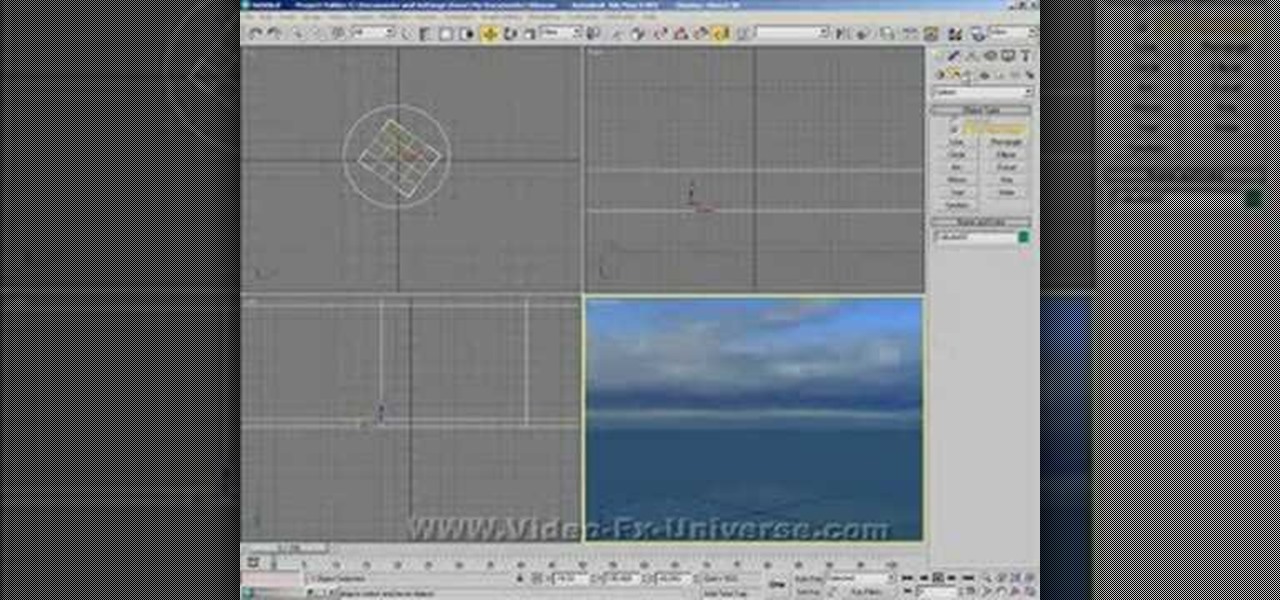
How To: Create an ocean in 3ds Max
how to create an Ocean in 3DS Max
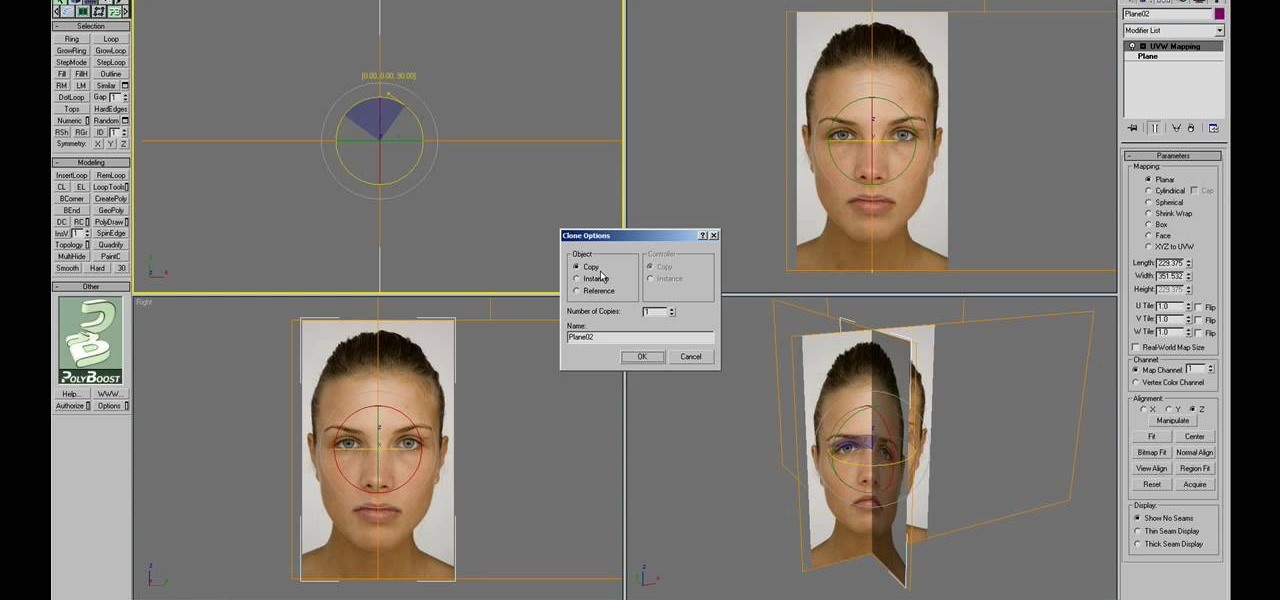
How To: Use splines to model a head in 3ds Max 8
Check out this two-part 3ds Max video tutorial which exploits a little known capability of Max to create a head. You'll find this technique easier than box modeling for heads since your topology and edge flow are there from the beginning. With box modeling, there's a lot of division, connecting, turning, etc. to get basic topology in place.

How To: Render an object in 3DS MAX to reveal their wireframe
3DS MAX is one of the most powerful 3D modeling and rendering tools available today. This video tutorial offers instructions for using the software to render a 3D image, allowing you to see and manipulate its wireframe. This is essential knowledge for using 3DS MAX, so watch on and then get to rendering!
How To: Import WoW models into 3DS MAX with textures intact
If you want to make a hybrid machinima movie using WoW characters, you are probably going to have to import them into 3DS MAX at some point. Unfortunately, you cannot just do this straight away. This video will teach you how to use a program called Milkshape 3D to prepare a character for importing and then import them into 3DS MAX, where they are ready for animating!
How To: Create a basic landscape in 3ds Max
This is a simple tutorial aimed at beginners that shows you how to create a basic landscape in 3D Studio Max.

How To: Link 3D objects in 3ds Max
Hierarchy is one of the object association types in 3ds Max. It is based on a parent-child relationship, which can be created by linking objects. Learn how to create hierarchies by linking a child and parent object together within 3DS Max. Learn how object linking takes place and how to create 3D object relationships. This tutorial shows how to create the relationship by linking objects in 3ds Max. Link 3D objects in 3ds Max.

How To: Use the bend modifier in 3ds Max
The Bend modifier in Autodesk's 3ds Max lets you bend the current selection up to 360 degrees about a single axis, producing a uniform bend in an object’s geometry. You can control the angle and direction of the bend on any of three axes. You can also limit the bend to a section of the geometry.
How To: Box model a jet in 3DS Max for PaperVision3D
This software tutorial series teaches you how to box model in 3DS Max. Specifically, you will learn the basics of box modeling in 3D Studio Max, then box model a jet and animate it for PaperVision3D.
How To: Use camera mapping in 3ds Max and Photoshop
Mapping the camera properly in 3DS Max is, like doing most things in 3DS Max, a bit of a challenge but very rewarding when you get it right. This six-part video will teach you how to use Photoshop and 3DS Max together to create a simple animation of a title and some punching bags with proper camera mapping, using Photoshop to prepare an image for manipulation and 3DS Max to do the manipulating.
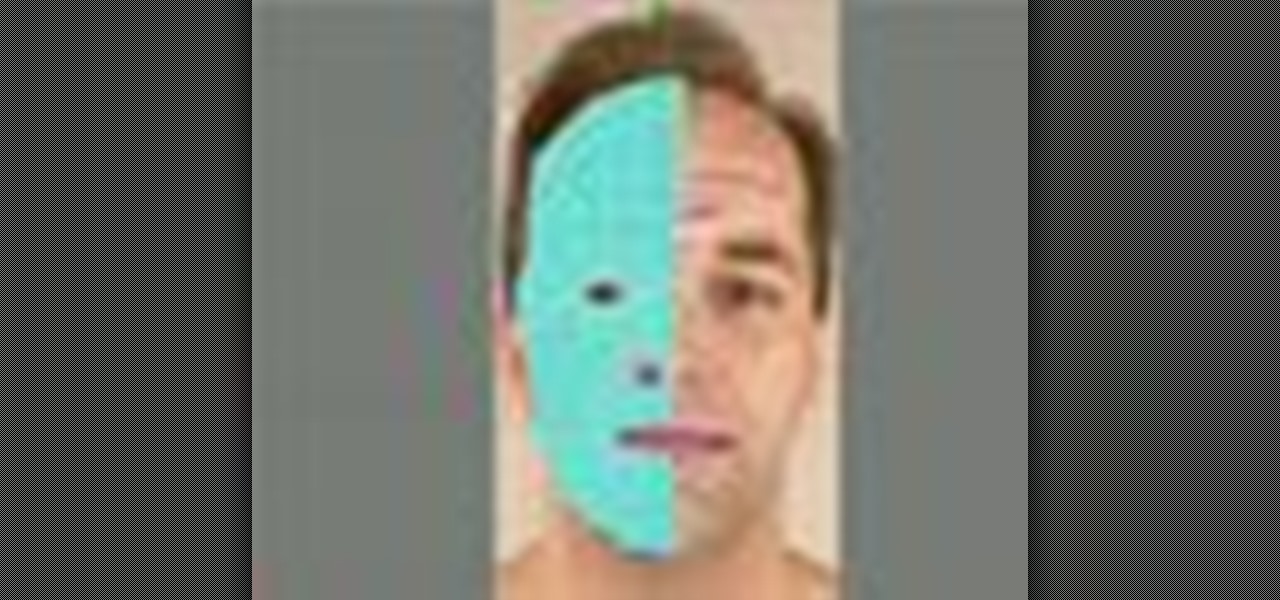
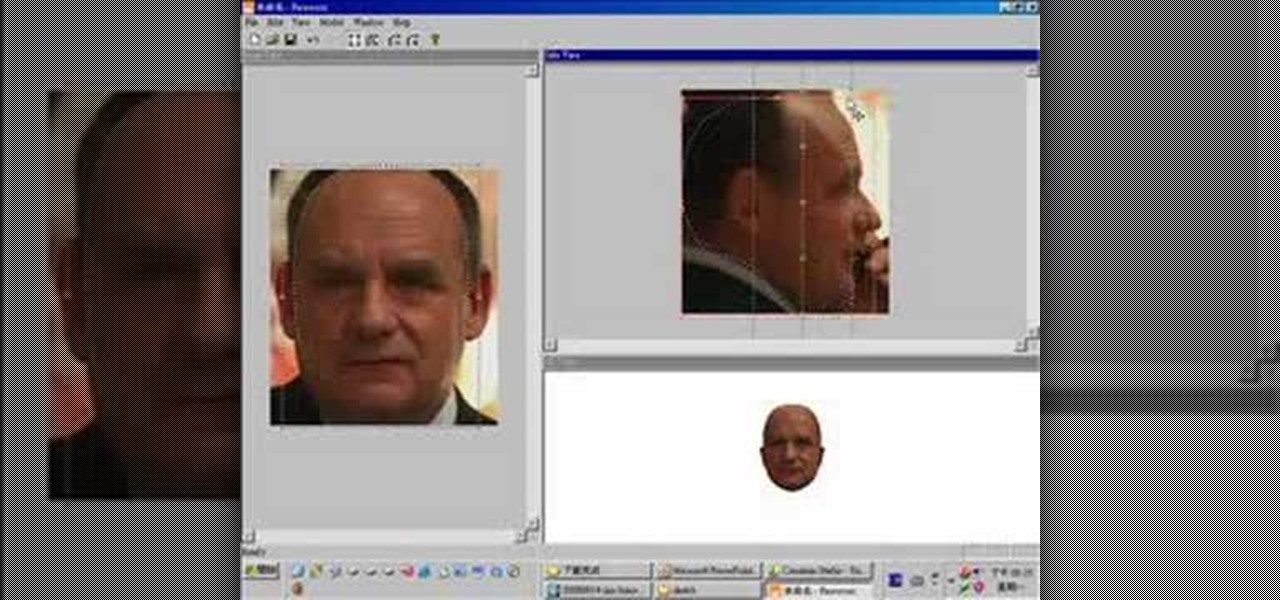
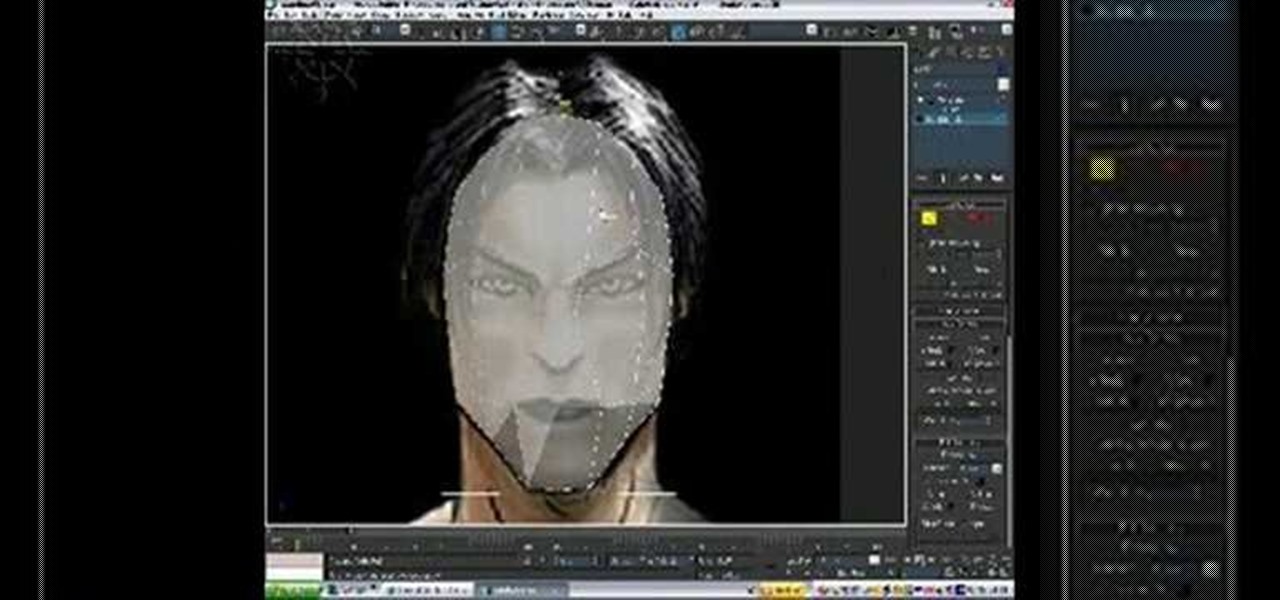
How To: Model a 3D human head using 3D Studio MAX
An image of a human head can consist of a single penstroke or a thousand polygons. The head model that you will be learning to create in this three-video series leans very much towards the latter. The videos will teach you how to create a 3D model of the human head using 3D Studio MAX from a photo. It assumes some knowledge of 3DS MAX, but not too much, so don't be scared! Watch this baby and start modeling!
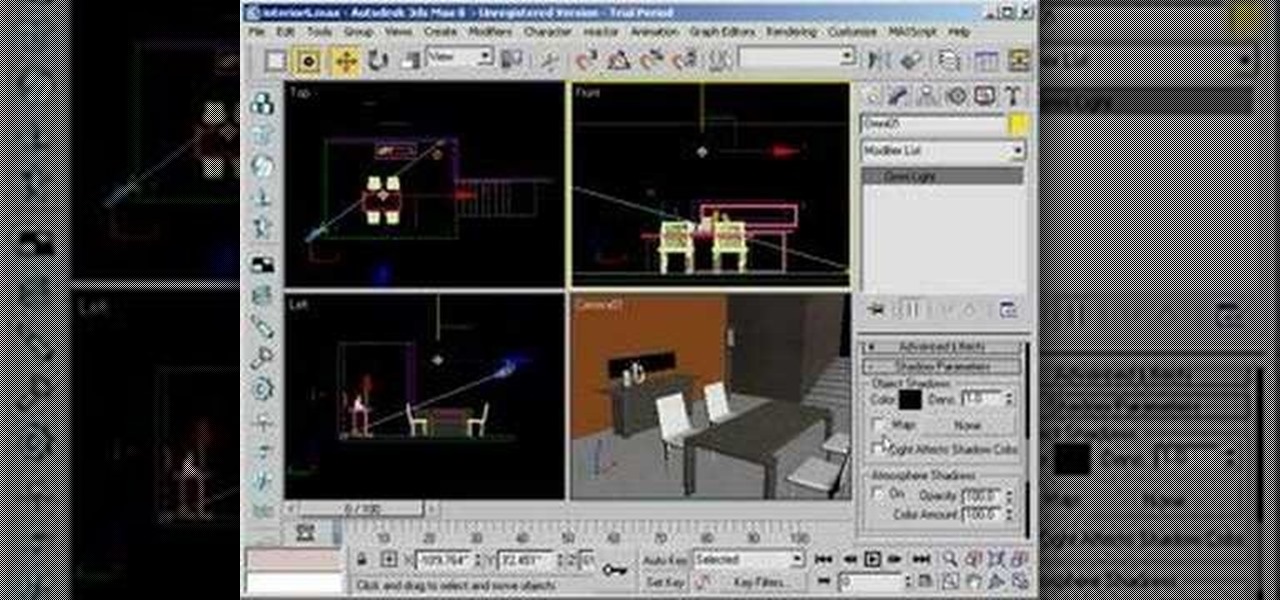
How To: Use omni lighting in 3ds Max
Check out this video tutorial on how to use Omni Lights in 3ds Max. You'll learn how to make the light dimmer and create shadows in your 3D animation.
How To: Start organic modeling in 3D Studio Max 8
Watch this 3ds Max video for an introduction to a complete series of tutorials for modeling and texturing a human head sponsored by Ego Farms. This is the very start of learning how to use this digital animating software. You'll also get insight on Adobe Photoshop, since you'll be working with that, too.
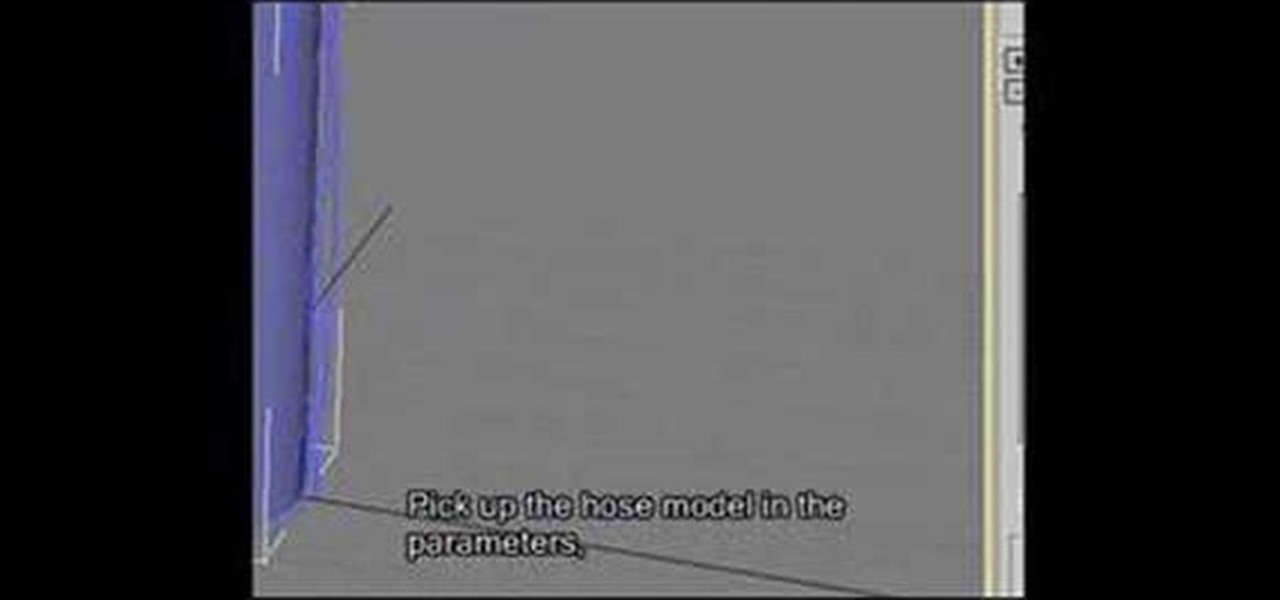
How To: Apply normal maps in 3D Studio Max
In this video, we learn how to apply normal maps in 3D Studio Max. First, go to the cylinder button and name it. Then, change the radius and height how you would like them. After this, select "extended primitives" from the drop down menu on the top. From here, enter in the diameter and sides for the round hose and then select the diameter of the cylinder. This will create a cylinder but with the look of a hose instead. Use the bottom toolbar to edit the sizes of the map and then save this whe...

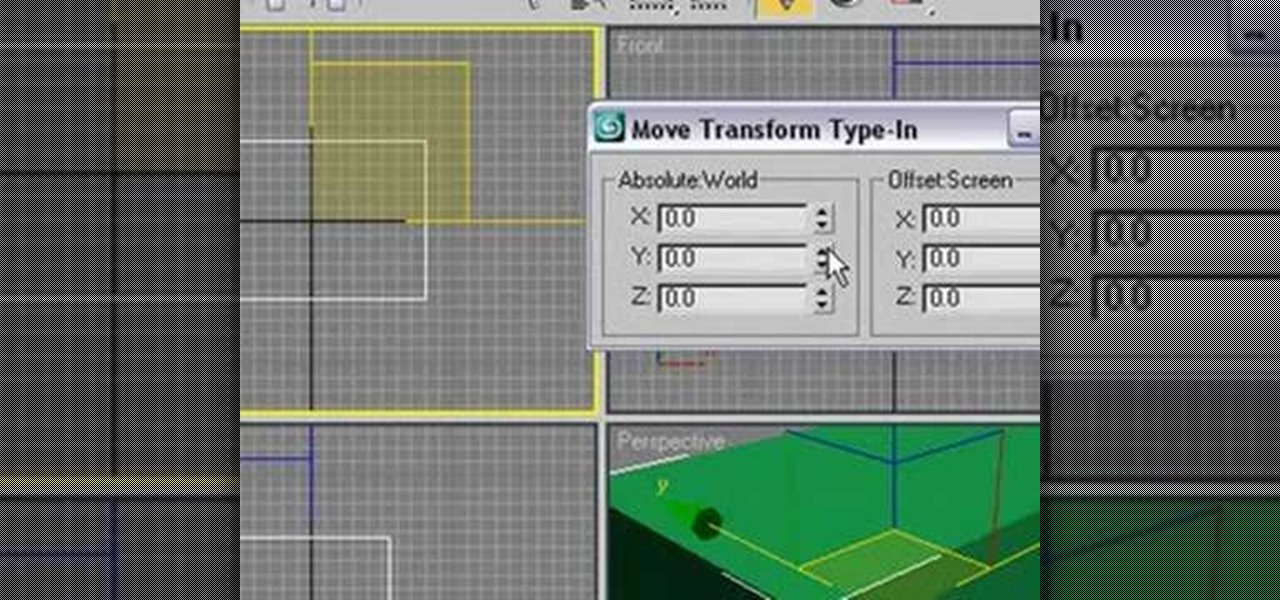
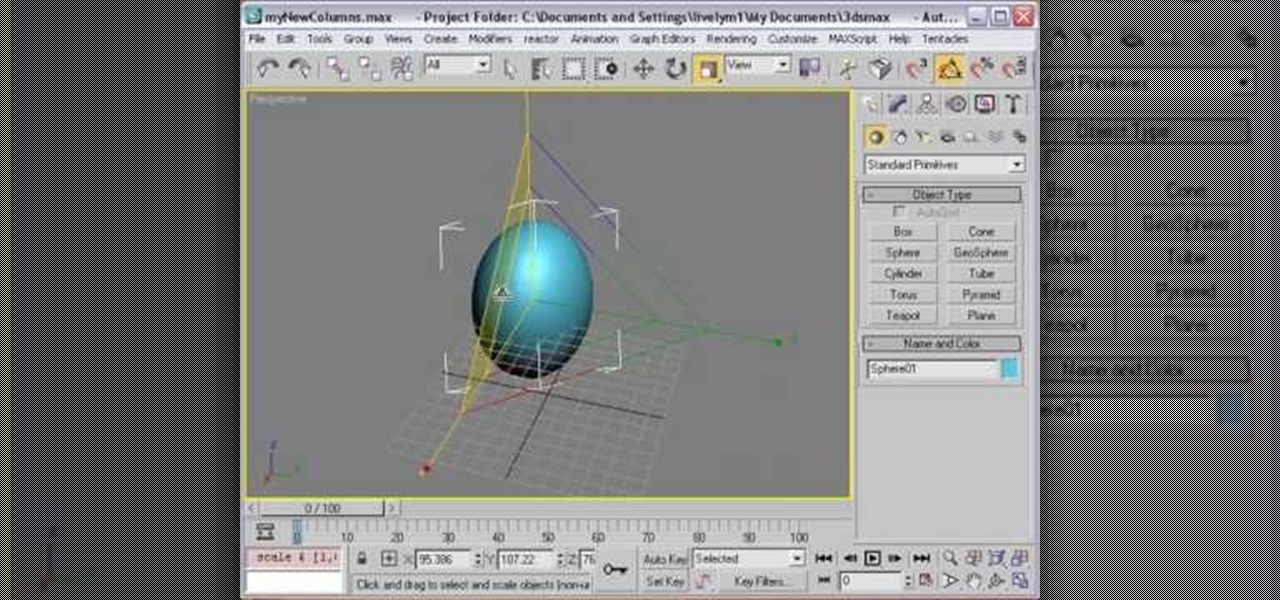
How To: Move, rotate, and scale objects in 3ds Max 8
Transforms are a fundamental part of 3D graphics. It's important to know this well before moving on to making perfect 3D models with 3ds Max. So, check out this video tutorial to see how to move, rotate, and scale objects in Autodesk's 3D Studio Max, the graphic digital modeling and rendering 3D software program for film, television, and games.
How To: Model with primitives in 3DS Max for Papervision3D
This software tutorial demonstrates how to build with primitives in 3DS Max for Papervision3D. This first part demonstrates 3D Studio Max basics and how to build a column base using primitives. This second part demonstrates how to use the Shift clone tool.
How To: Make a realistic 3D model of a head in 3ds Max
If you want to create really good 3D models on your computer, you need to be able to use more than just 3DS MAX or whatever other modeling program you have. It takes a whole family of specialized programs to handle the diverse tasks involved in creating really good models. This video will teach you how to create a male human head model using a combination of Faceworx, Mudbox, 3DS MAX with plugins, and Sony Vegas. By using all of these different programs, you can play to their individual stren...
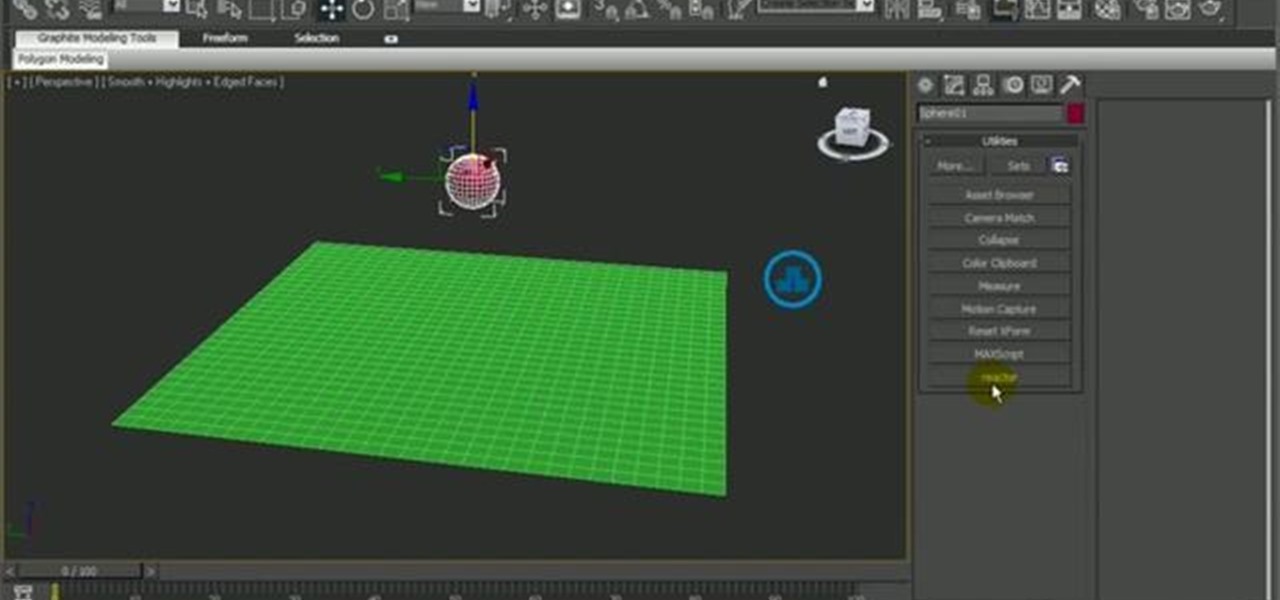
How To: Use motion capture on bipeds in 3DS MAX
Using motion capture is one of the easiest and most effective ways to animate the motions of a bipedal character who is proportional to a normal human. When the character is not in proportion, like the World of Warcraft low-poly models in this video, it gets a little more complicated. This video will teach you how to use motion capture in 3DS MAX to animate a goblin WoW character, making them almost ready to use in your hybrid machinima videos.

How To: Use CAT for character rigging in 3ds Max 2011
Learn how to take advantage of the CAT feature in 3ds Max 2011. Whether you're new to Autodesk's popular modeling software or a seasoned 3D artist just looking to better acquaint yourself with the 3ds Max 2011 workflow, you're sure to be well served by this video tutorial. For more information, watch this free video guide.
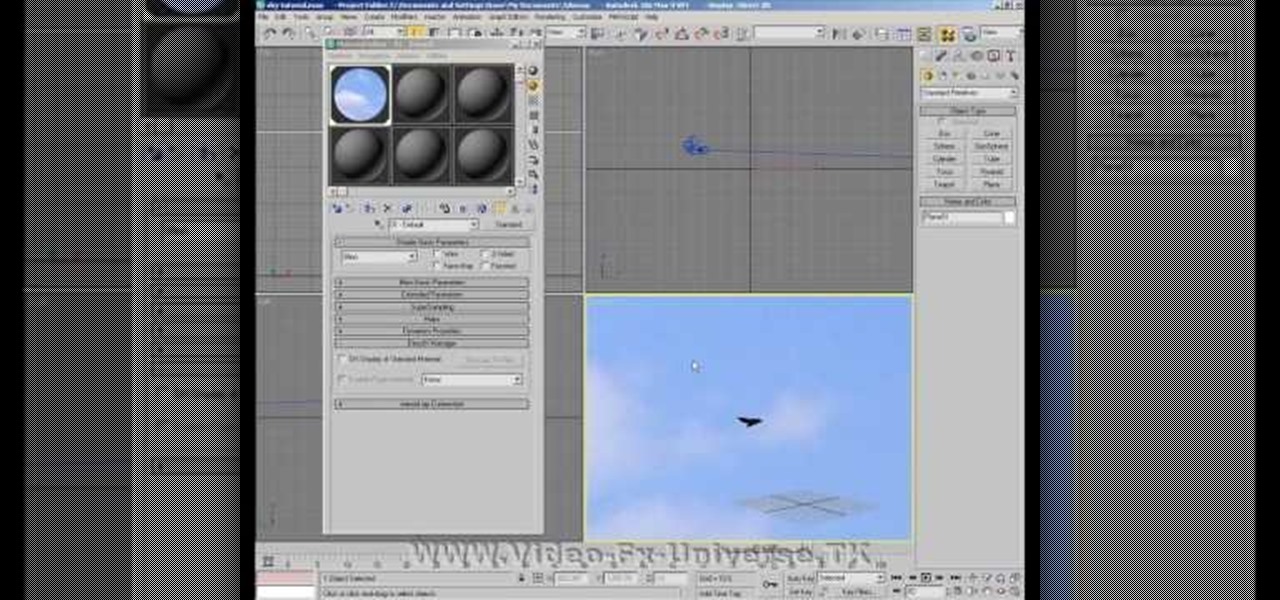
How To: Create a sky in 3D Studio Max 9
This 3ds Max tutorial shows you how to make a sky background or backdrop for your animations or videos. The second video shows you an alternative way to make a 3D sky using a sphere instead of a plane.
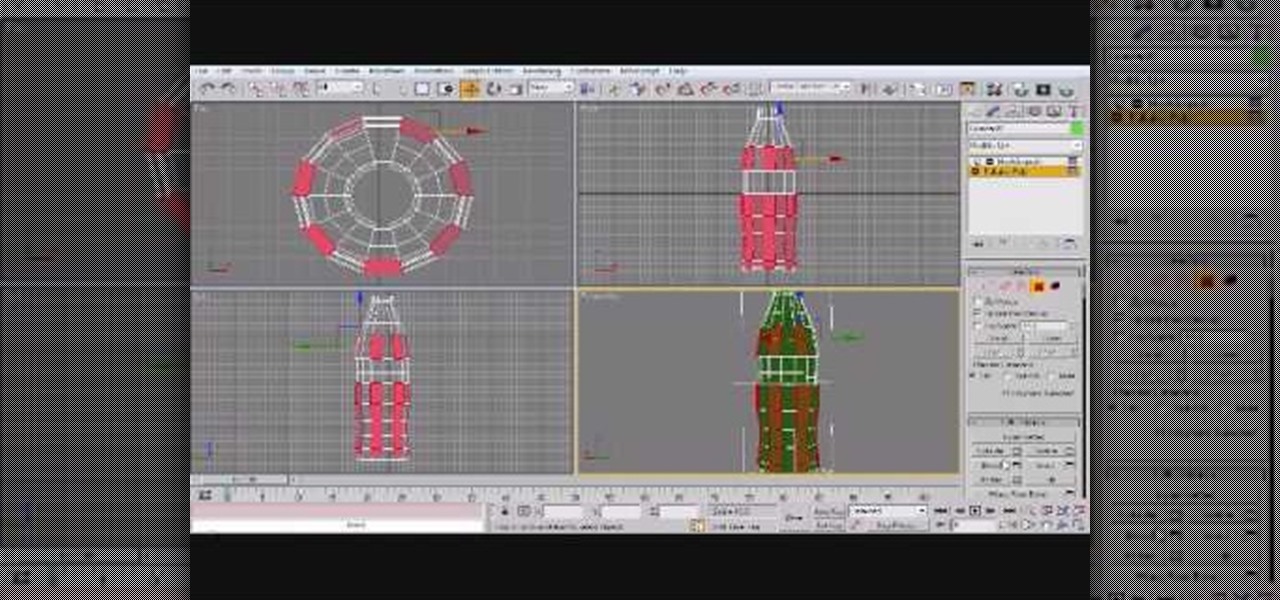
How To: Model a glass coke bottle in 3ds Max
In this 3ds Max software tutorial, you'll learn how to model a glass-type bottle from scratch. Specifically, this deals with creating a Coke bottle from scratch. It will not show you how to texture the bottle, just how to build it. Learn the basic techniques for modeling the Coke bottle.

How To: Model a robot in 3ds Max
Building a robot in real life is not an easy task, and not usually accomplishable unless you have a degree in electrical engineering. But building one virtually on your computer is something almost anyone can do, if you know what program to use.

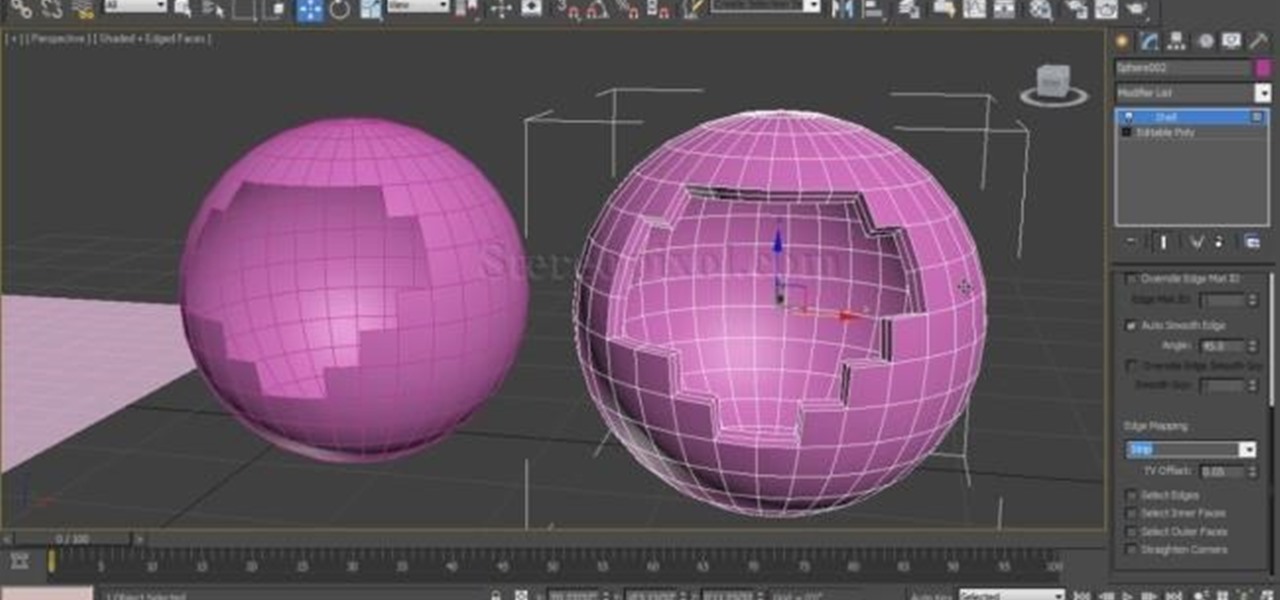
How To: Work with cloth in 3DS Max
If you want to model a character in 3DS Max and don't want them to be nude, you are probably going to have to work with 3D cloth. This three-part video will teach you how to create cloth in 3DS Max (without using Reactor), attach it to your character, and make it animate properly with the character. It makes use of the Garment Maker mod for for 3DS Max, and should have your characters clothed realistically in no time.
How To: Create a head model in 3ds Max
Creating 3D models of the human head that will show emotion, eat, and do all the other things that heads do properly is hard. Fortunately, this video is here to help you get started. It demonstrates the basics of 3D head modeling using 3D Studio MAX. Follow these instructions and you'll be well on your way to creating all sorts of cool original character heads.
How To: Create a wet surface effect within 3D Studio Max 2010
See how to use a composite map to create a wet effect or a water presence effect over a surface in a very simple and fast way within 3ds Max 2010. Whether you're new to Autodesk's popular modeling software or a seasoned 3D artist just looking to better acquaint yourself with the 3ds Max 2011 workflow, you're sure to be well served by this video tutorial. For more information, and to get started using this trick in your own projects, watch this free video guide. Create a wet surface effect wit...
How To: Use the cross section modifier on splines in 3ds Max
This 3D software tutorial shows you how to use the cross section modifier in 3ds Max. The cross section modifier tool works on splines and is most often used when modeling with curves in 3D Studio Max. he CrossSection modifier creates a “skin” across multiple splines. It works by connecting the vertices of 3D splines to form a skin. The resulting object is another spline object that can be used with the Surface modifier to create a patch surface. These two modifiers, when used together, are s...
How To: Use the patch deform modifier in 3ds Max
The PatchDeform modifier in 3ds Max deforms an object based on the contours of a patch object. This modifier works similarly to the PathDeform modifier, but uses a quad-based patch object instead of a spline shape or NURBS curve path. Patch Deform is a great tool for mapping geometry on a surface or the distribution of component on a surface in 3ds Max. The only catch is that the distribution geometry has to come from a surface originally made as a Patch. The surface cannot come from a set of...
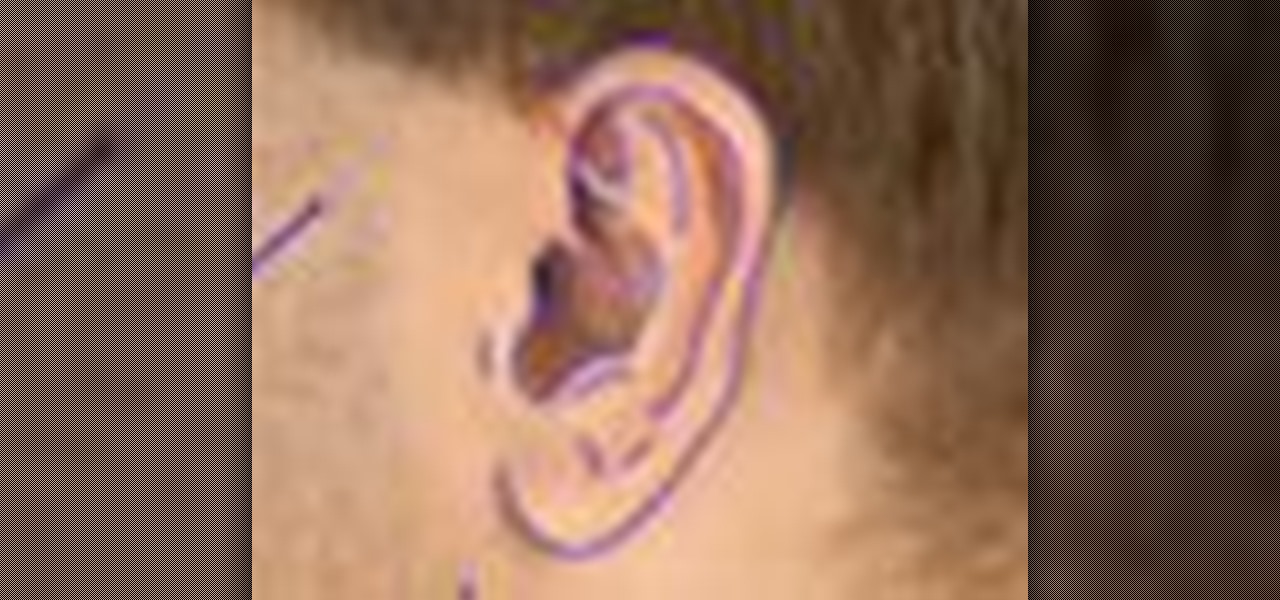
How To: Model complex organic forms (ears) in 3ds Max 8
In this 3ds Max video tutorial you'll see how the spline method can be used to model a very complex form, such as the ear, in Autodesk's 3D Studio Max digital graphic modeling software. You'll see several tools found in EditPoly for creating overhangs, and also look at attaching the ear seamlessly with an existing head. This process works directly in conjunction with Adobe Photoshop, specifically topology, just so you know.

How To: Create a realistic 3D flame with FumeFX in 3ds Max
This software tutorial shows you how to create a flame from a sphere in 3D Studio Max using FumeFX. After you complete this tutorial you will have a realistic 3D flame produced by a sphere using the FumeFx plugin.

How To: Model the new James Bond intro with 3D Studio Max
In this video tutorial, Creative Cow leader Michael Park shows you how to recreate the opening gun barrel sequence from the two newest James Bond movies in 3d Studio Max using the default scanline renderer, minimal modeling, and only standard materials.
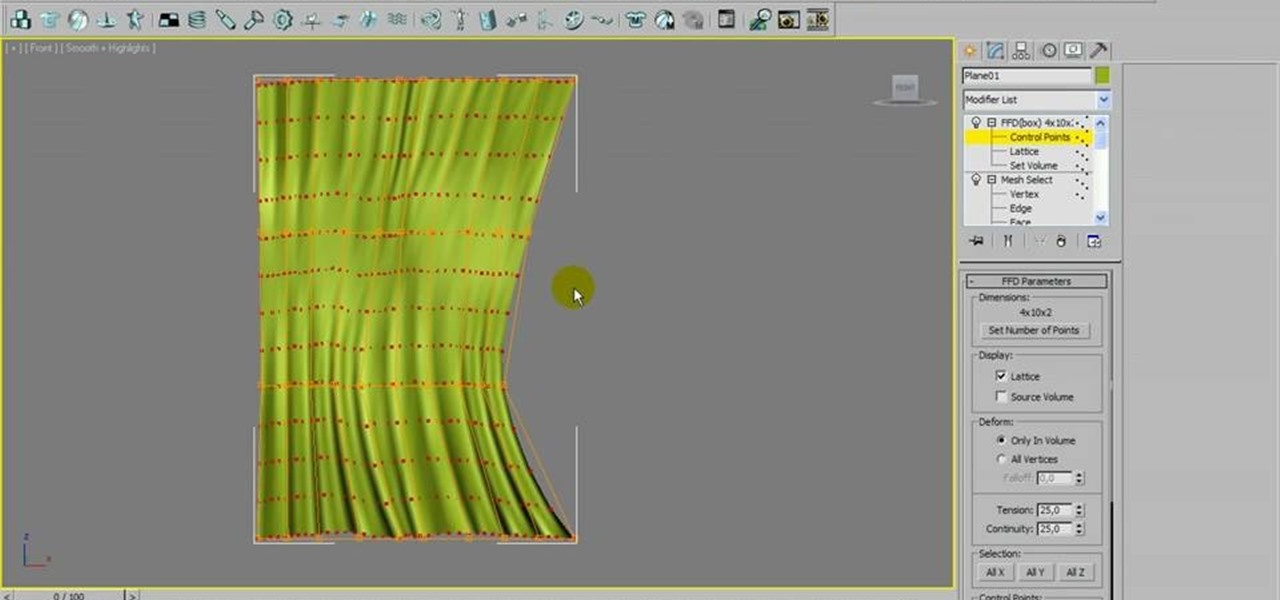
How To: Model wavy window curtains in Autodesk 3ds Max
This video tutorial is meant to help you model your own curtains in Autodesk 3ds Max. If you need some window curtains, this is the best way to model them. You'll learn how to do it using several modifiers and layer techniques. You can download the finished curtain from VisualKnights, which you can fully edit to your needs. This tutorial can also work with older versions of 3ds Max (previously called 3d Studio Max).
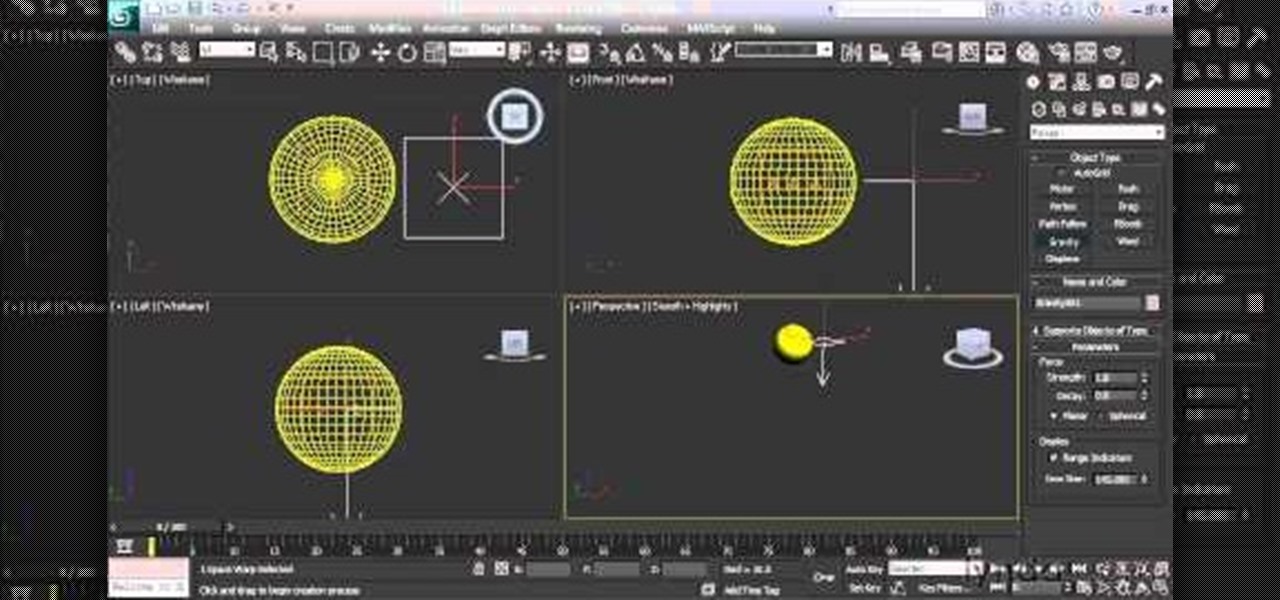
How To: Add gravity to an effect in Autodesk 3ds Max 2011
In this video tutorial, we learn how to imbue an effect with gravity in 3ds Max. Whether you're new to Autodesk's popular modeling software or a seasoned 3D artist just looking to better acquaint yourself with the 3ds Max 2011 workflow, you're sure to be well served by this video tutorial. For more information, and to get started using the lessons imparted by this free video software tutorial yourself, watch this free video guide.

How To: Model a guitar using 3DS Max
For beginners, learning the intricacies of modeling 3D art can seem insurmountable. This video for 3D beginners is here to help you through it. Its four parts are a detailed and slow walkthrough for making low poly BC Rich guitar with splines using 3D Studio Max, a popular 3D modeling program.

How To: Unwrap a model and apply texture to it when using Audtodesk 3ds Max
Using a UVW unwrap modifier, this tutorial shows you a few Autodesk technqiues to unwrap a 3-D model and then apply your own texture to it. It also outlines a couple pitfalls animators sometimes experience, and how to avoid them in your own work.
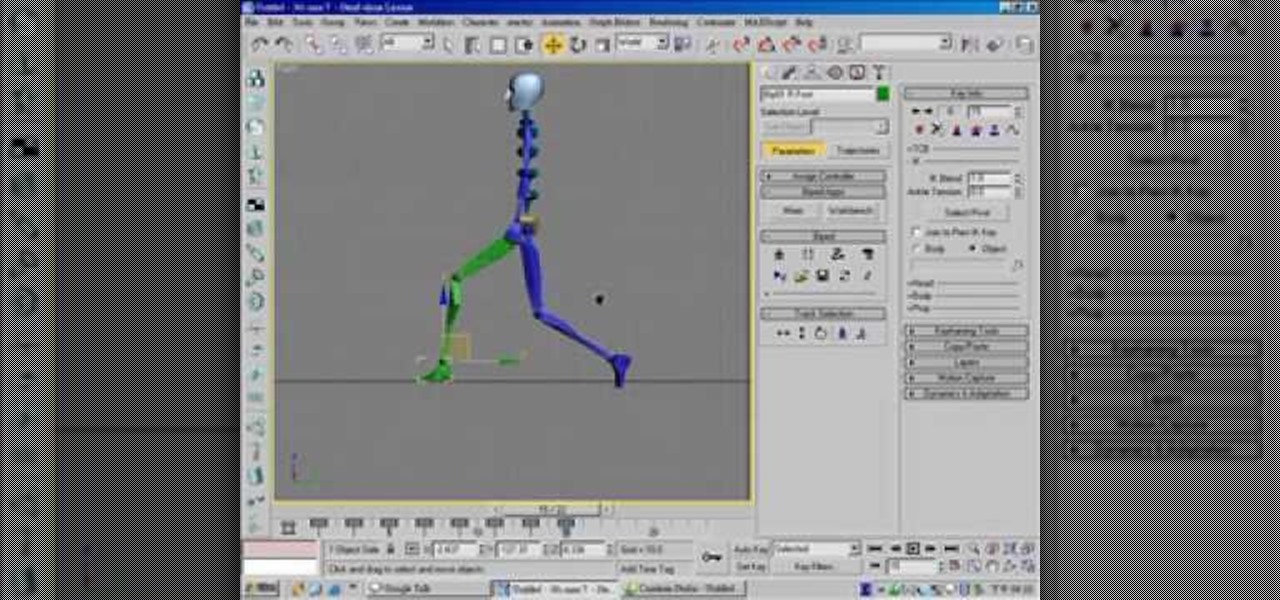
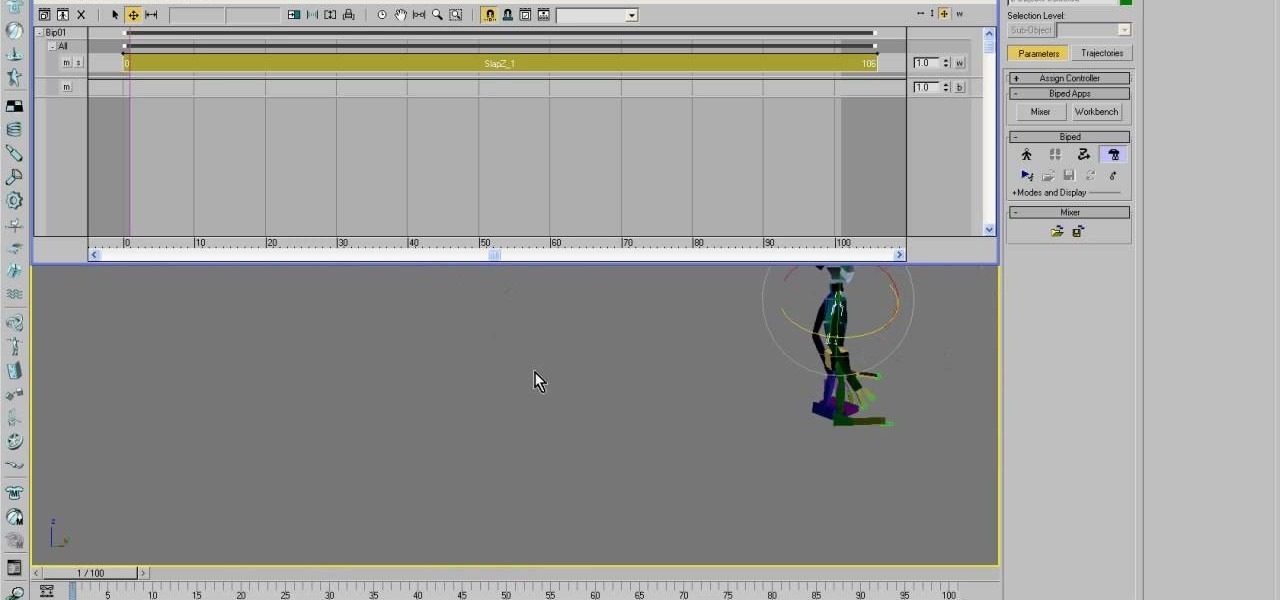
How To: Animate a basic walk cycle for a biped in 3ds Max
Making a 3D model bipedal character walk is one of the most basic and necessary things that you can do to them. If you are going to use them in a movie or game, chances are they will have to move themselves from one place to another right? This video will teach you how to create a basic walk cycle for one of your bipeds in 3D Studio MAX, allowing you to animate them walking to all kinds of places quickly and easily.

How To: Create a circular pattern with 3ds Max wire parameters
In this 3D software tutorial you will learn how to use wire parameters to create a scalable circular patterned object in 3ds Max. Using the wire parameters in 3D Studio Max you can create a scaling circular pattern based on the distance of the circle to a point object. This is a great way to model things with repetitive parts in 3ds Max. Learn how to create a circular panel with circular openings and attach it to a rectangle in 3ds Max. Create a circular pattern with 3ds Max wire parameters.
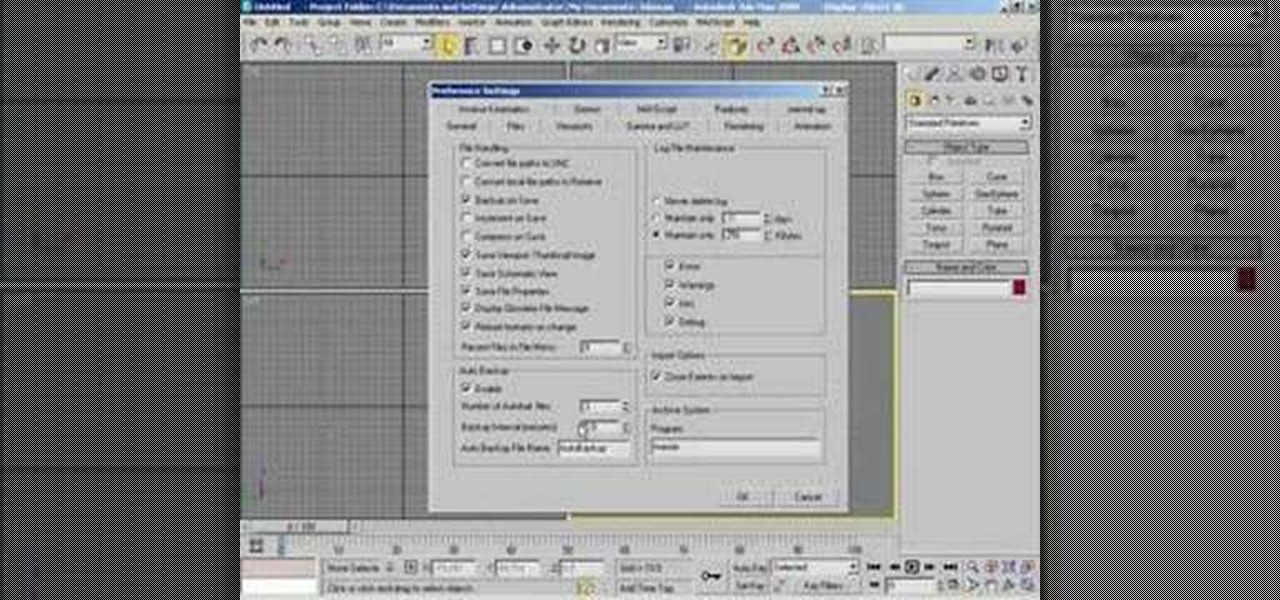
How To: Active autobackup in 3ds Max
This tutorial shows you how to turn on the auto backup feature in 3D Studio Max.