

Everything Else


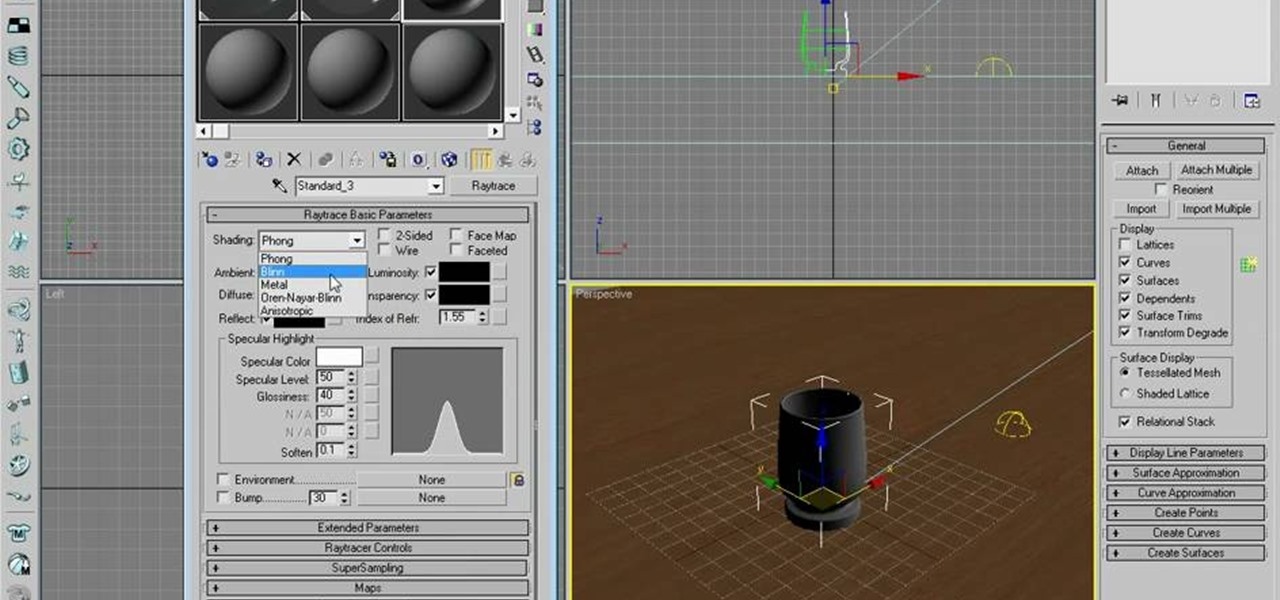
How To: Work with Standard Materials in 3ds Max
In this how to video, you will learn how to work with standard materials in 3D Studio Max. The material editor is found by clicking the multicolored button to the right. You can see sample spheres where you can see examples of materials. Below, you can see surface properties such as shaders and ambient colors. You can select the type of material to be applied here. You can select the standard material to get familiar with it. First, decide the shaders. Blend is the default shader, although th...
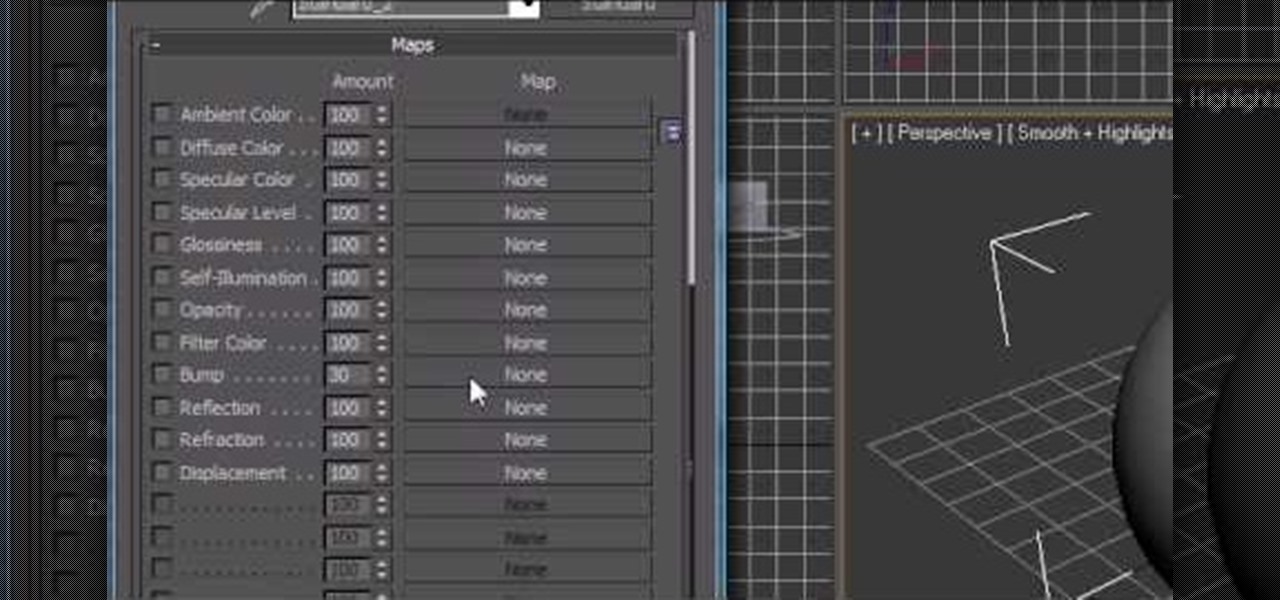
How To: Apply maps to an object in 3Ds Max
Just getting started using the program 3d Studio Max? Luckily, WonderHowTo is full of video tutorials on the program to help get you started. In this video, learn how to apply maps to an object in 3ds Max.
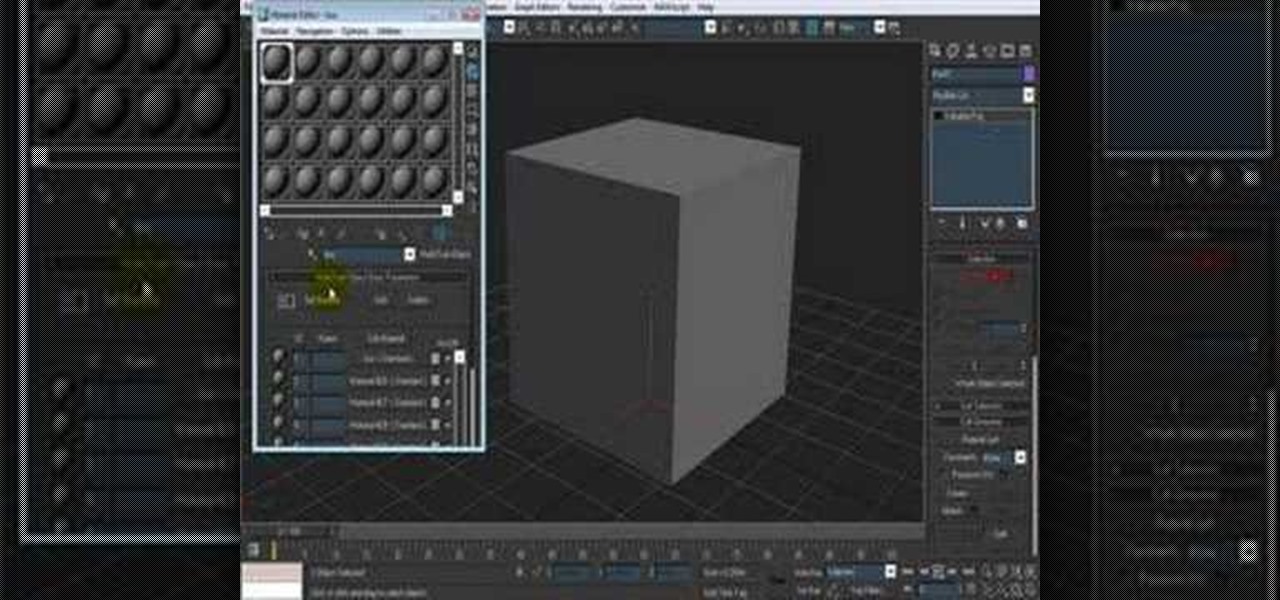
How To: Apply multiple materials to a single object in 3ds Max
New to 3ds Max? Luckily, WonderHowTo is chock full of videos on the program. In this tutorial, learn how to apply multiple materials to a single object in 3ds Max.
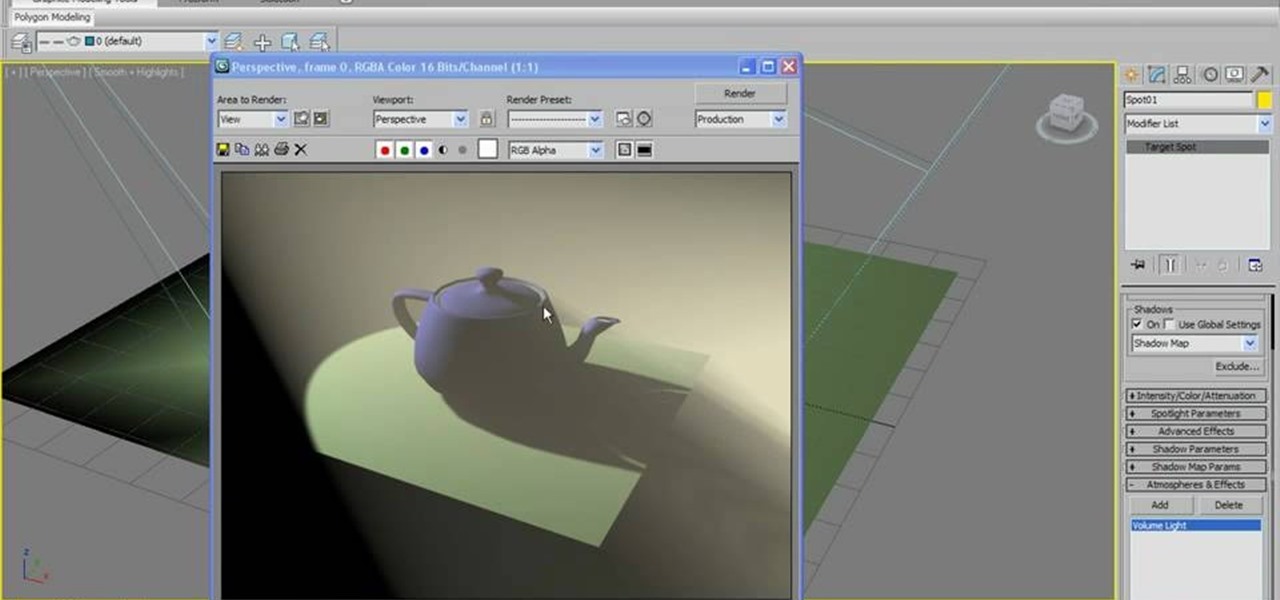
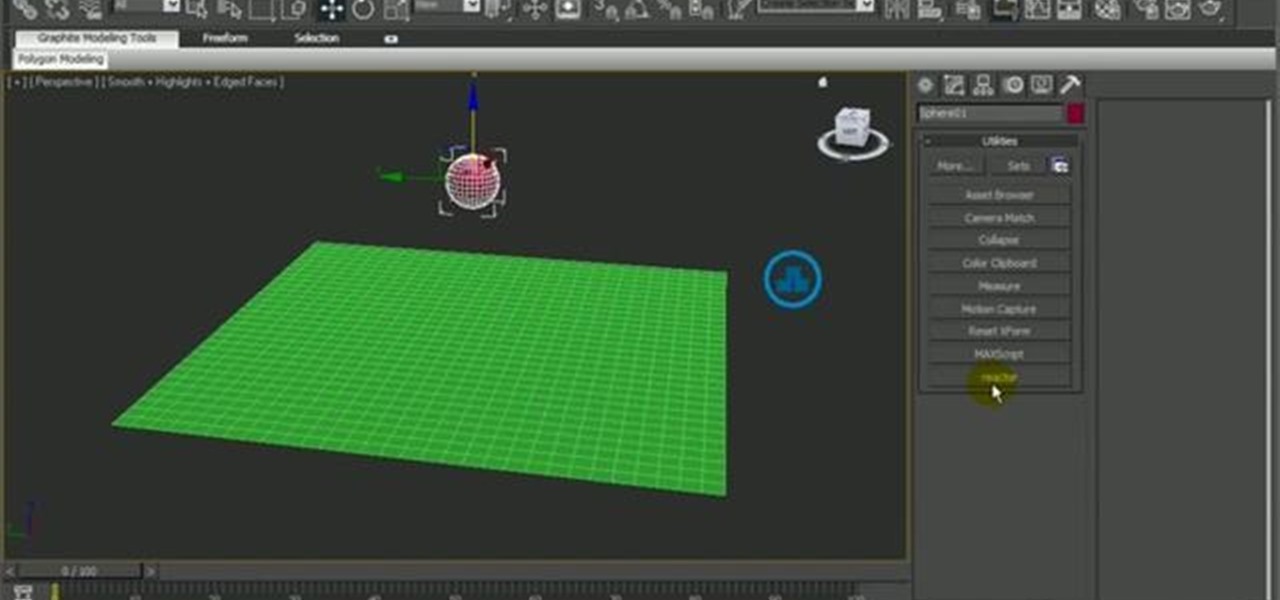
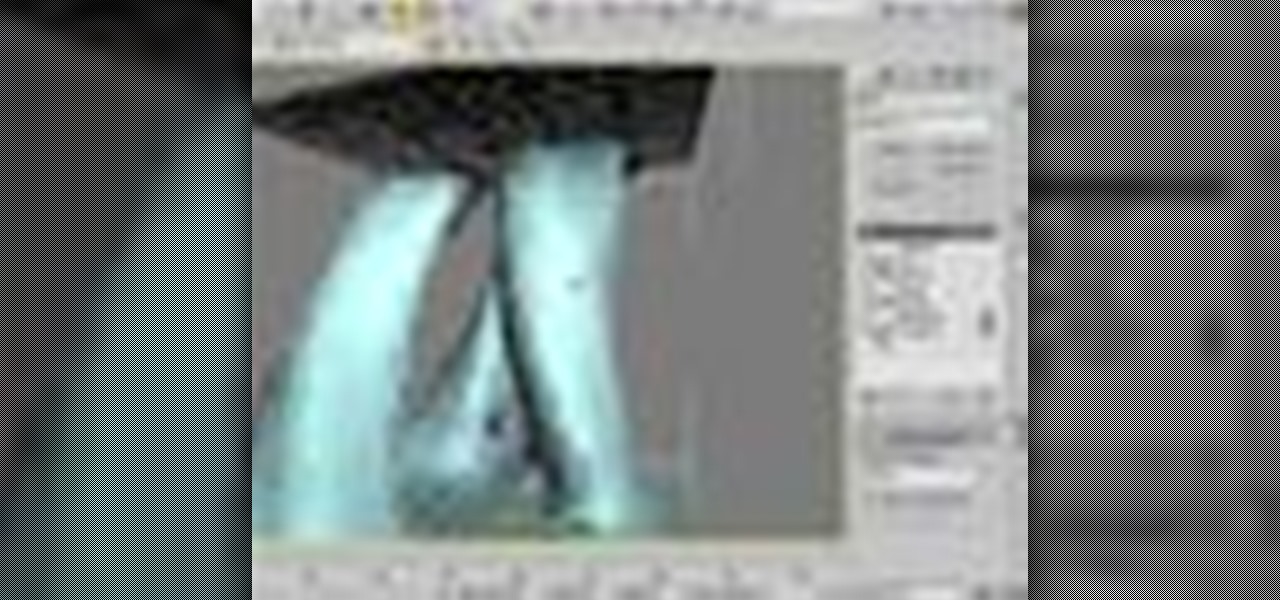
How To: Make volume light in 3D Studio Max
In this tutorial, learn how you make volume light in 3d Studio Max 2010. Learn what you can do with attenuation once the volume light is created. Don't have the 2010 version of 3ds Max? No fear. These actions will work in older versions of #D Studio Max as well.
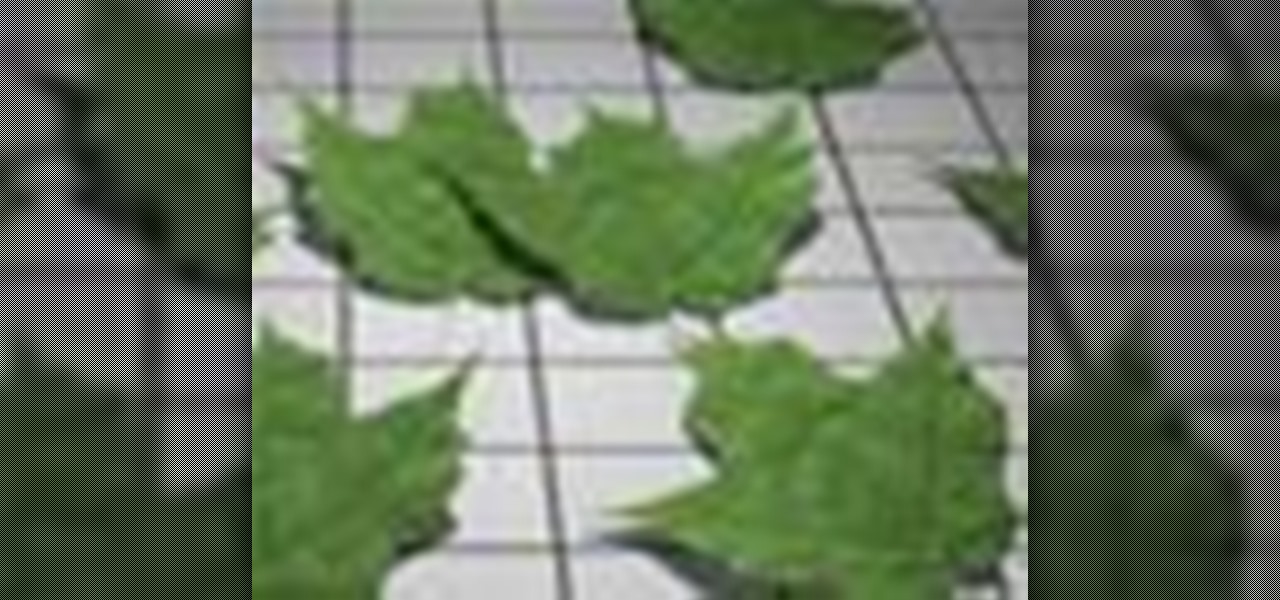
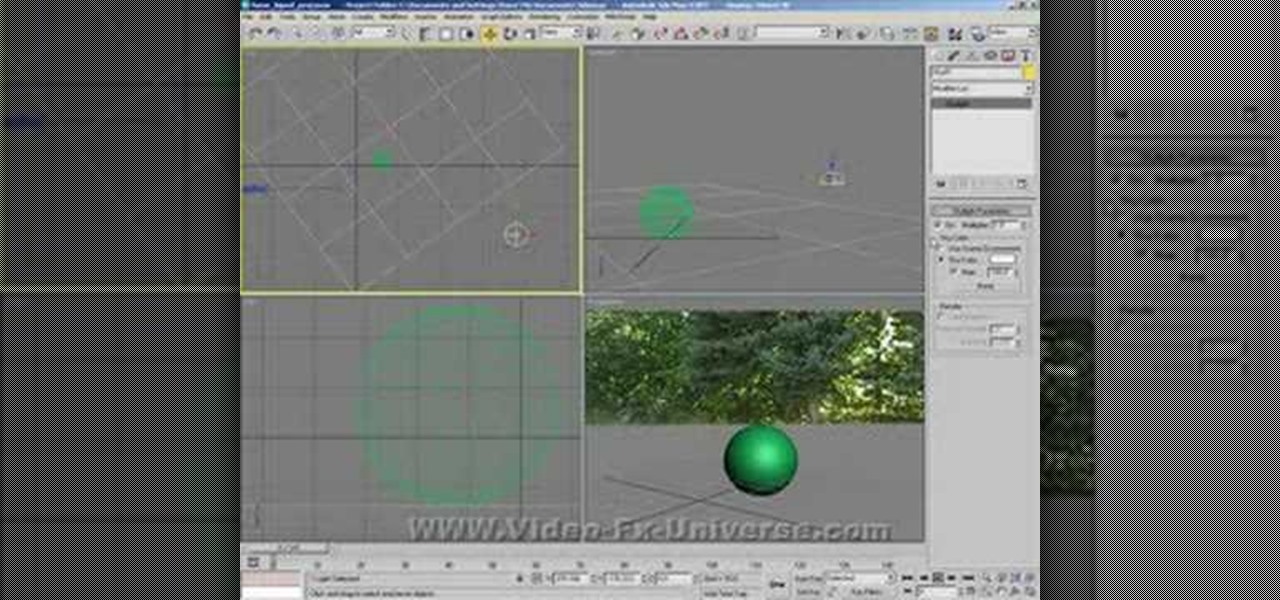
How To: Create a realistic leaf animation in 3ds Max
Want to get into the fine, intricate workings of leaf? Leaves are very detailed, and very common in nature, so everybody knows what they look like, how they feel, and how complicated they can be to replicate. But if you're up for the challenge, this video tutorial will show you how to recreate leaves in 3ds Max. Learn to create a three-dimensional leaf animation in 3ds Max without the pain of opacity mapping. Check it out. Get back to nature.
How To: Create glass material in 3ds Max
Dave shows you how to produce a glass three different ways in 3ds Max in the video tutorial. Put two panels away, then concentrating on sensor one press m on the keyboard to bring up the materials editor. On the material editor go to the first sphere, choosing a slight blue color, bring up the specter level, bring up the glossy level, click on two sided and bring down the last two to about four. Look to see it is fairly transparent, in a test window. This is glass one, put on hide. Go to glas...
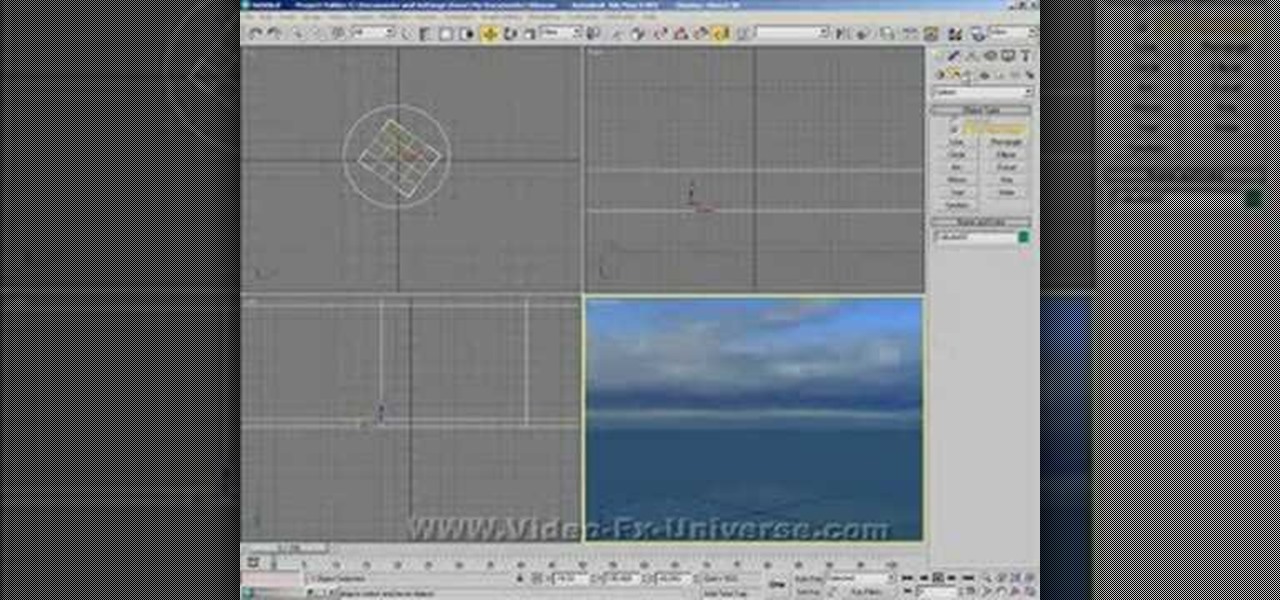
How To: Create an ocean in 3ds Max
how to create an Ocean in 3DS Max

How To: Matchmove with Boujou 4 and composite in 3ds max 7
If you are new to matchmoving, this video is for you. Learn the basics of matchmoving with Boujou 4 and compositing in 3ds Max 7 from this video.

How To: Create a 4D camera move from a still picture
This tutorial shows you how to use 3D Studio Max to create a 4D camera move from a 2D still photograph. You create the illusion of movement with a few simple computer tricks.

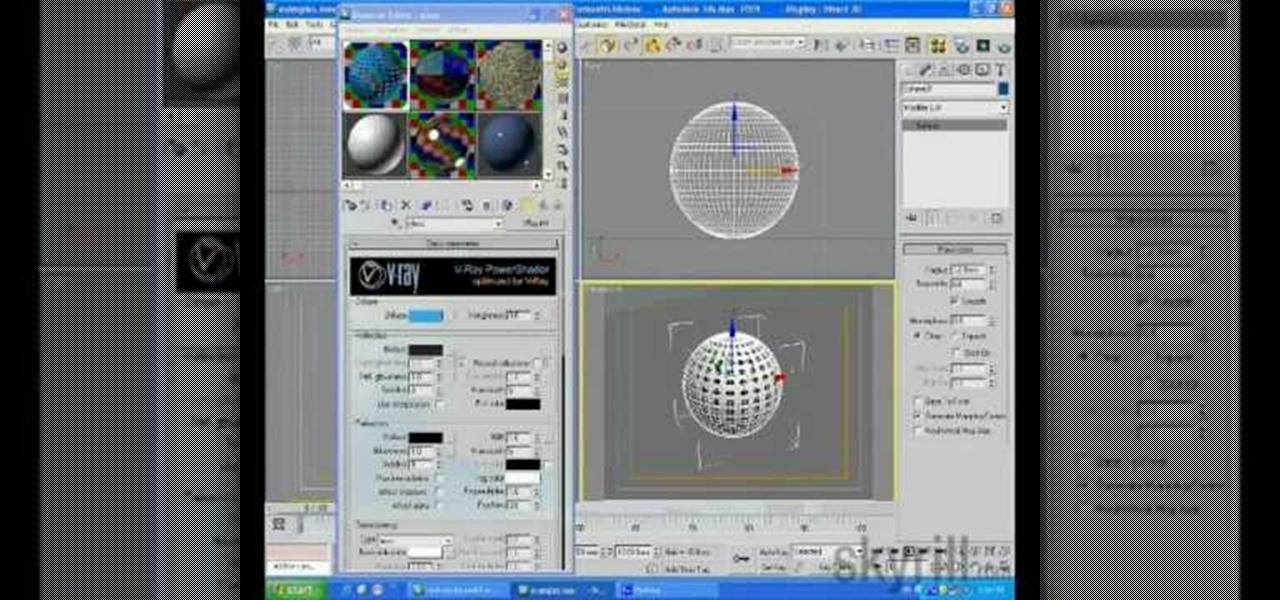
How To: Rendering shadows using Vray render elements in 3d Max
Render shadows only in 3D Studio Max using vray. Once the tutorial is over you will also learn how to use the other options in the render elements, which uses similar methods. Skyrill Design brings us this tutorial
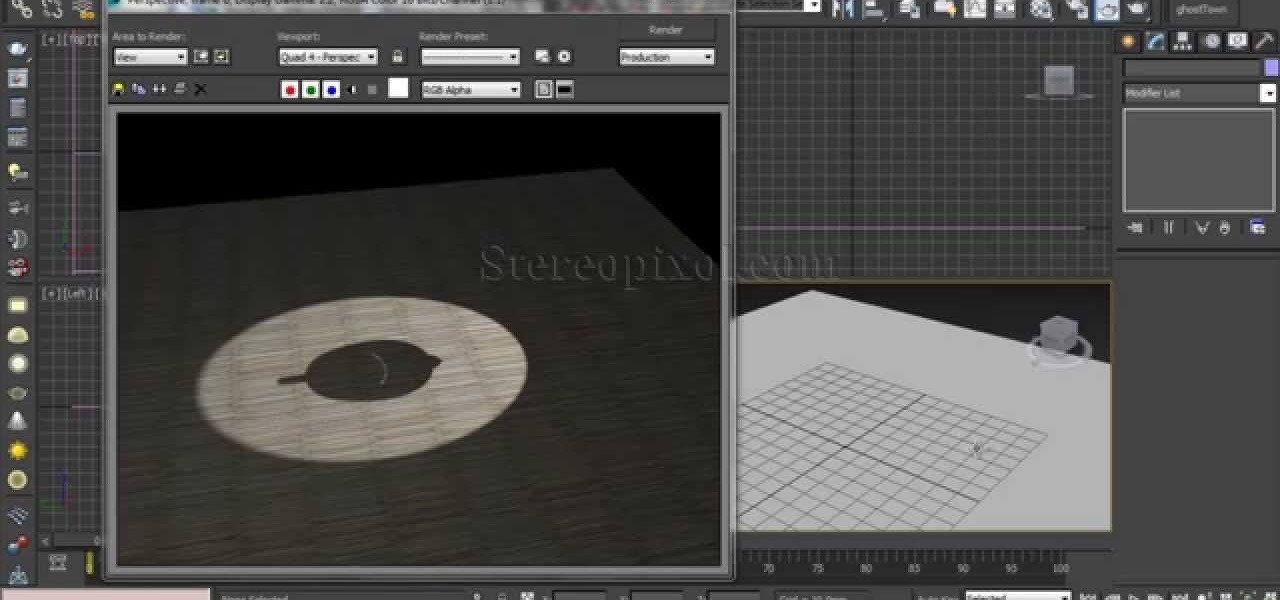
How To: Make a vent layout with opacity maps in 3D Studio Max
Make a vent layout using opacity maps in 3D Max and vray. This tutorial is brought to you by SkyrillDesign. Enjoy!

How To: Use the view cube & steering wheel in 3D Studio Max
In this 3ds Max tutorial, Michael Hurwicz provides an introduction to the View Cube and the Steering Wheel, new features in 3ds Max 2009 which make it easier to perform viewport navigation operations like orbit, pan and zoom.

How To: Model the new James Bond intro with 3D Studio Max
In this video tutorial, Creative Cow leader Michael Park shows you how to recreate the opening gun barrel sequence from the two newest James Bond movies in 3d Studio Max using the default scanline renderer, minimal modeling, and only standard materials.

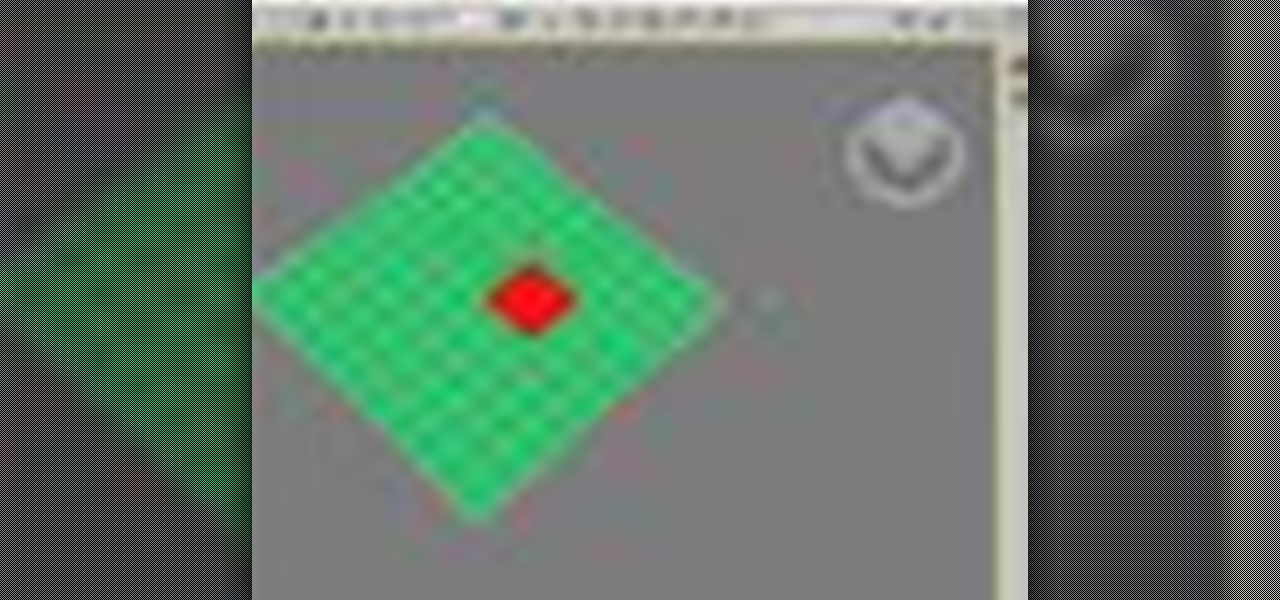
How To: Use the affect region modifier in 3ds Max
This 3D software tutorial shows you how to use the affect region modifier in 3ds Max. The Affect Region modifier is a 3D Studio Max surface modeling tool, primarily used with vertex sub-object selections while surface modeling. With Affect Region, transforming a selection of vertices can also transform vertices in the region that surrounds the selection. This can help you form a bubble or indentation in the surface of an object. The easiest way to see this modifier’s effect is with a shallow,...
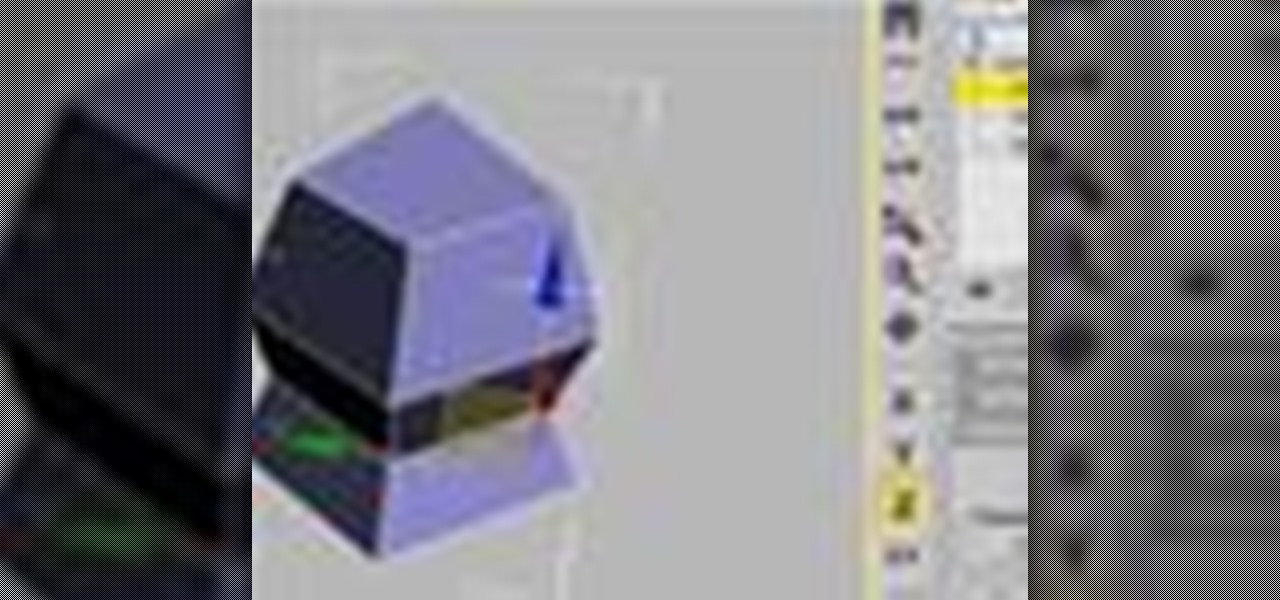
How To: Use the bevel modifier in 3ds Max
This short 3D software tutorial shows you how to use the bevel modifier in 3ds Max. The Bevel modifier extrudes shapes into 3D objects and applies a flat or round bevel to the edges. A common use for this modifier is to create 3D text and logos, but you can apply it to any shape. Bevel takes a shape as the base of a 3D object. You then extrude the shape up to four levels and assign an outline amount for each level. What Bevel allows you to do is extrude and bevel a spline in 3D Studio Max up ...
How To: Use the cap holes modifier in 3ds Max
Cap Holes is a great modifier for modeling as well as making images in 3ds Max. The 3D Studio Max Cap Holes modifier builds faces in the holes in a mesh object. A hole is defined as a loop of edges, each of which has only one face. For example, one or more missing faces from a sphere would produce one or more holes. The modifier works best on reconstructing planar holes, but can do a reasonable job on non-planar holes as well. See how to use it in conjunction with a slice modifier, it’s a goo...
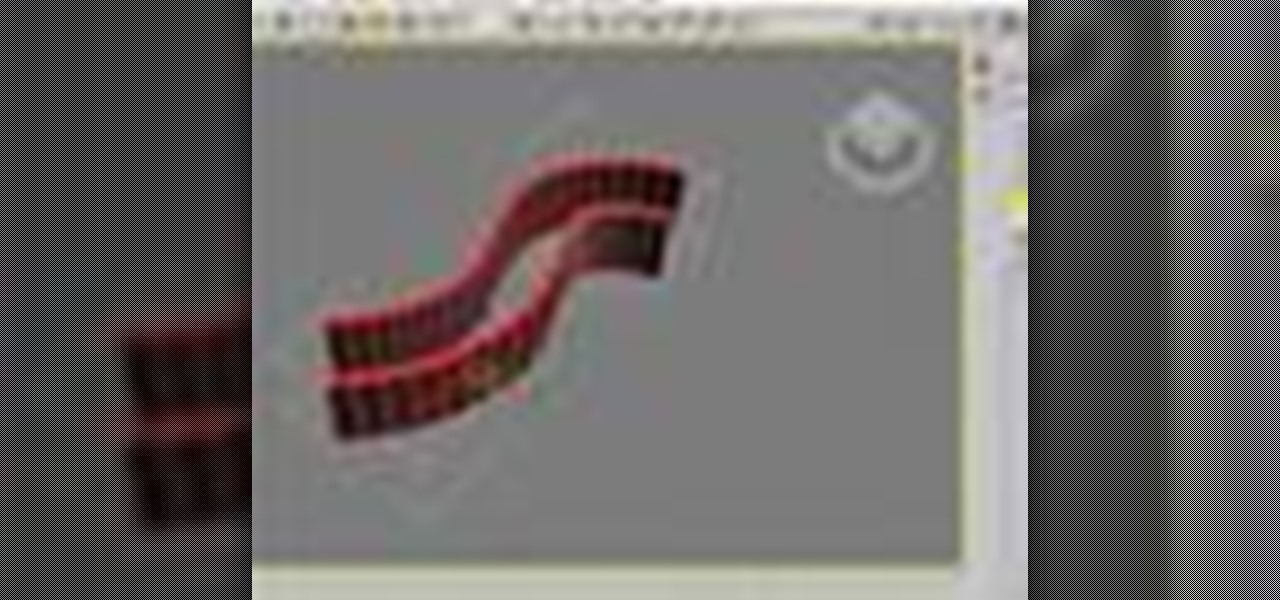
How To: Use the cross section modifier on splines in 3ds Max
This 3D software tutorial shows you how to use the cross section modifier in 3ds Max. The cross section modifier tool works on splines and is most often used when modeling with curves in 3D Studio Max. he CrossSection modifier creates a “skin” across multiple splines. It works by connecting the vertices of 3D splines to form a skin. The resulting object is another spline object that can be used with the Surface modifier to create a patch surface. These two modifiers, when used together, are s...
How To: Use the delete mesh modifier in 3ds Max
This 3D software tutorial shows you how to use the delete mesh modifier when modeling in 3ds Max. Delete Mesh provides parametric deletion based on the current sub-object selection level in the stack. The possible choices are faces, vertices, edges, and objects. Apply the Delete Mesh modifier to delete the geometry specified at that sub-object level. The Delete Mesh modifier in 3D Studio Max works well for removing geometry without having to delete. You can use it in conjunction with the Edit...

How To: Use the mirror modifier in 3ds Max
This 3D software tutorial shows you how to use the mirror modifier (same as the mirror tool) in 3ds Max. The mirror modifier allows for procedural mirroring of objects. As a one time operation thesymmetry modifieris better but, that being said, if stacked, the mirror modifier can then be used as almost a procedural radial array. Like most modifiers, Mirror can be applied to sub-objects which again takes advantage of 3ds Max’s procedural and/or parametric modeling capabilities. Watch and learn...
How To: Use the patch deform modifier in 3ds Max
The PatchDeform modifier in 3ds Max deforms an object based on the contours of a patch object. This modifier works similarly to the PathDeform modifier, but uses a quad-based patch object instead of a spline shape or NURBS curve path. Patch Deform is a great tool for mapping geometry on a surface or the distribution of component on a surface in 3ds Max. The only catch is that the distribution geometry has to come from a surface originally made as a Patch. The surface cannot come from a set of...
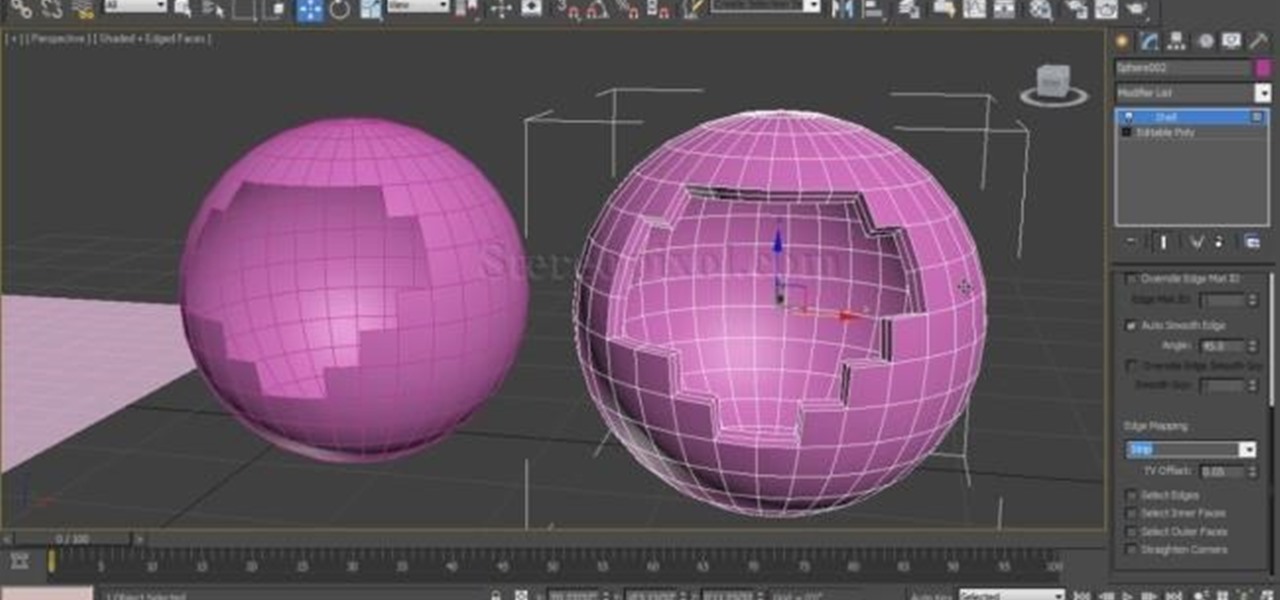
How To: Use the shell modifier in 3ds Max
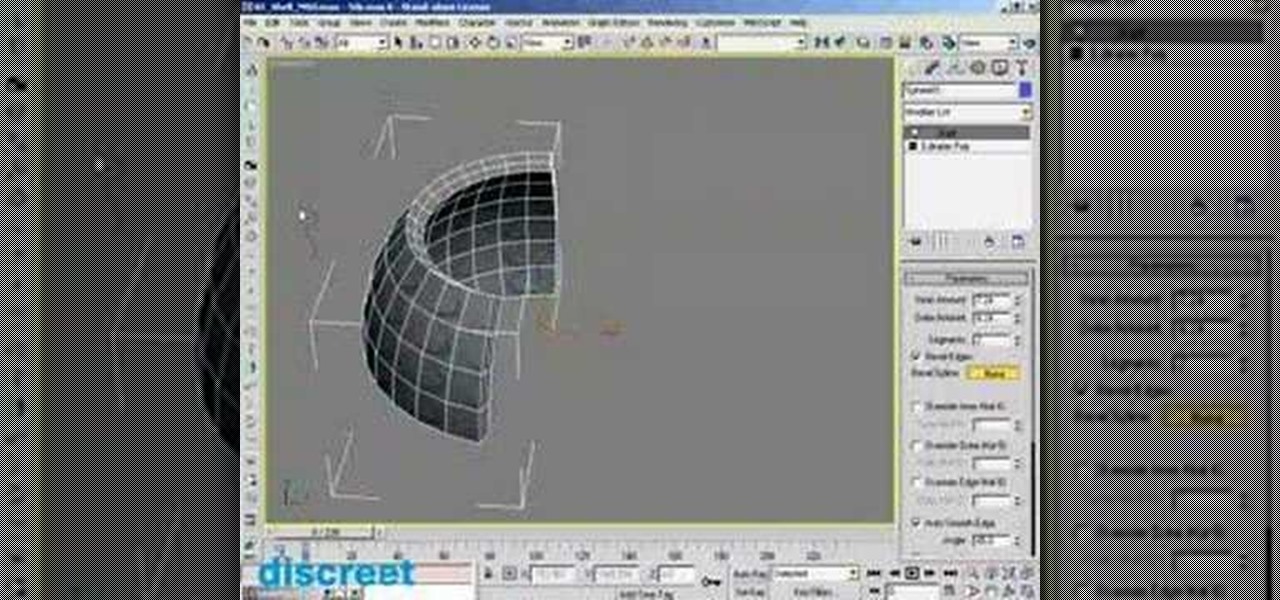
This 3D software tutorial was developed by Discreet (creators of 3ds Max) to show you how to use the shell modifier new to version 6 and up of 3D Studio Max. If you are a 3ds Max modeler, you should learn how to use this powerful tool. Great 3ds Max tutorial for anyone new to modeling in 3ds Max or needing to know how to use the shell modifier.
How To: Use the shell modifier in 3D Studio Max
The Shell modifier was added to 3ds Max in release 6, and a far as I know the Shell modifier was written by Peter Watje.

How To: Quickly model a simple pattern in 3ds Max
The technique shown in this 3ds Max tutorial is meant to be a design modeling technique. Watch and learn how to model the Beijing Olympic Stadium in 3D Studio Max.

How To: Use sub-objects in 3ds Max
This 3ds Max Video Tutorial goes over the majority of the procedures that can be done at the segment and spline level of an editable spline. All of the example are simplified to show the fundamentals of each command.

How To: Use the face extrude modifier in 3ds Max
This 3D software tutorial shows you how to use the face extrude modifier in 3ds Max. The Face Extrude modifier extrudes faces along their normals, creating new faces along the sides of the extrusion that connect the extruded faces to their object. As with most modifiers, this affects the current face selection passed up the stack. There are various differences between the Face Extrude modifier and the Face Extrude function in an editable mesh, especially the fact that all parameters in the Fa...
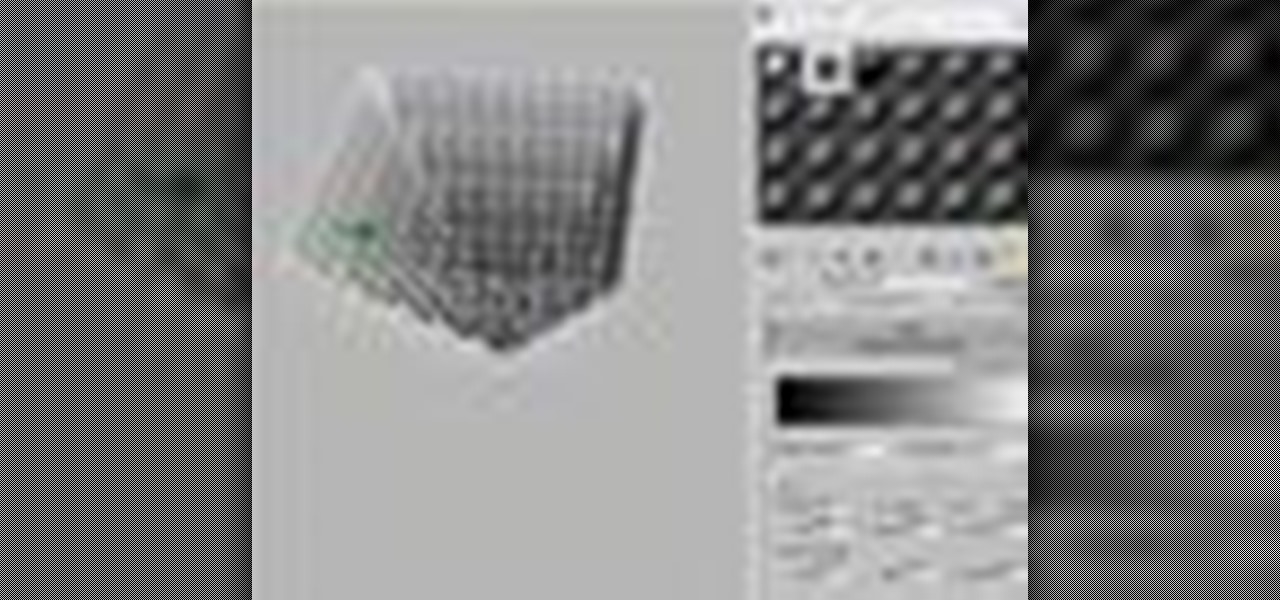
How To: Use the displace modifier in 3ds Max
The Displace modifier in 3ds Max acts as a force field to push and reshape an object’s geometry. You can apply its variable force directly from the modifier gizmo, or from a bitmapped image. The 3D Studio Max displace modifier works on Shapes, Meshes, Polys, Patches, NURBS. Displace is often used to make terrains or to add finer texture to 3D models with out having to model in extra texture. It can also be used in a very controlled way to manipulate geometries. With the use of procedural text...

How To: Create an expression driven panel in 3ds Max
This is a 3ds Max tutorial that David Fano has tuned into a video from a PDF written by Theo Calvin and Omer Barr. Using wire parameters and expression controllers in 3D Studio Max we will make a panel that opens and closes based on the distance of a point. Learn how to model in 3ds Max with wire parameters and expression controllers. It will help if you are already familiar with the 3ds Max interface for this tutorial. Create an expression driven panel in 3ds Max.
How To: Convert a mesh to hexagon polys in 3ds Max
This 3ds Max software tutorial covers how to turn your mesh into Hexagon poly’s which creates a smoother mesh. This is a technique Dave learned from Toru Hasegawa that he is sharing with all of us. You essentially triangulate a quad poly surface then collapse the triangles to have hexagons. Watch and learn how to convert a mesh into hexagon shaped polys with Classic Mesh Smooth in this 3ds Max modeling tutorial. Convert a mesh to hexagon polys in 3ds Max.
How To: Use a look at constraint in 3ds Max
This 3ds Max tutorial covers how to use a look at constraint. This could be done more rigorously with expressions but to quickly test an effect the look at constraint is a great technique. See how to use the animation constraint look at constraint when modeling in 3D Studio Max with this software tutorial. Use a look at constraint in 3ds Max.
How To: Use the volume selection modifier in 3ds Max
In this 3D software tutorial you will learn how to use the volume selection modifier in 3ds Max. The volume selection modifier is great for affecting regions of a polygon. This 3D Studio Max modeling tutorial covers how to use proxy objects to keep an active selection set. Use the volume selection modifier in 3ds Max.

How To: Create a circular pattern with 3ds Max wire parameters
In this 3D software tutorial you will learn how to use wire parameters to create a scalable circular patterned object in 3ds Max. Using the wire parameters in 3D Studio Max you can create a scaling circular pattern based on the distance of the circle to a point object. This is a great way to model things with repetitive parts in 3ds Max. Learn how to create a circular panel with circular openings and attach it to a rectangle in 3ds Max. Create a circular pattern with 3ds Max wire parameters.

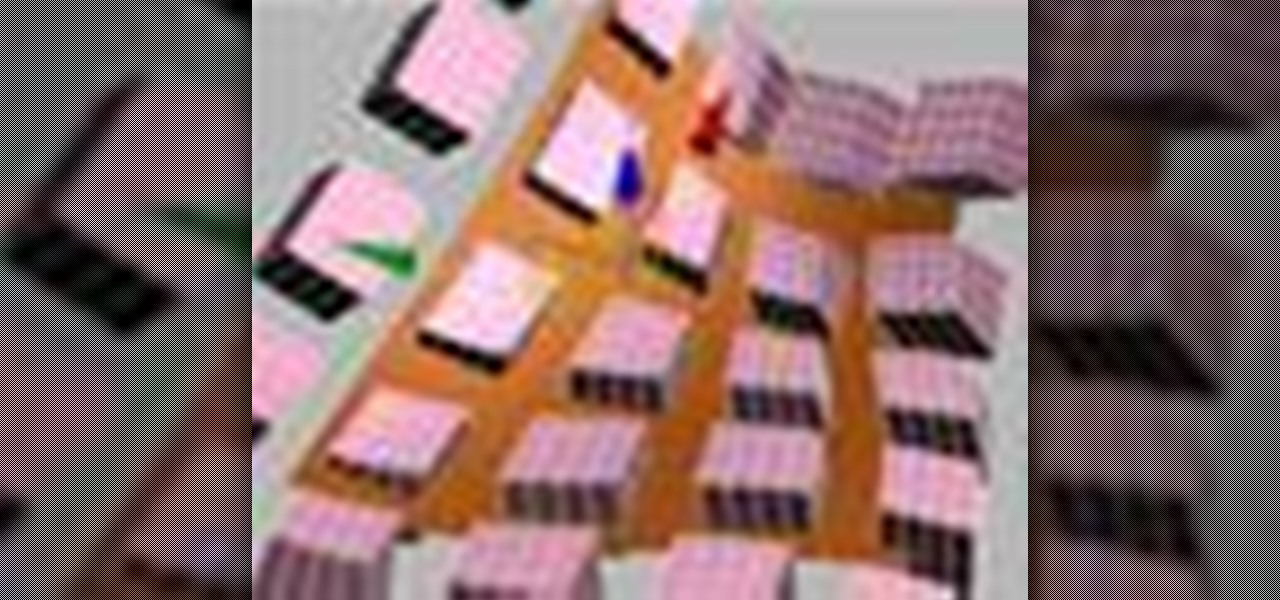
How To: Use morph modifiers to store deformations in 3ds Max
The morph modifier in 3ds Max is mostly meant for storing animation procedures like facial animations, but that's not all it can do. In this tutorial you will learn how to use 3D Studio max morph modifiers to store modeling deformations. Using the Morpher modifier to create a bi-directional blend between two conditions. In this case we build a modular panel system in which one can quickly test different patterns in 3ds Max. Use morph modifiers to store deformations in 3ds Max.

How To: Model with images in 3ds Max
This 3D software tutorial shows you how to use images to affect models in 3D Studio Max. Using the displacement modifier in 3ds Max we are able to use either image data or procedural texture maps to drive geometry in a design model. Modeling with images is a great way to model quickly and with details hard to get using other methods. See how in this 3ds Max tutorial. Model with images in 3ds Max.

How To: Model a parametric chair in 3ds Max
In this 3D software tutorial you will learn how to model a chair parametrically in 3ds Max. This tutorial covers making a simple parametric chair with using editable poly modifier and wire parameters in 3D Studio Max. If you are not good at modeling with modifiers in 3ds Max, this is a great tutorial to start learning with. The video is best viewed full screen. Model a parametric chair in 3ds Max.

How To: Build a spline tower in 3ds Max
This 3ds Max software tutorial shows you how to build a spline tower. Using modifiers such as Cross Section, Skin, Shell and Spline IK we build a spline based system that uses reference geometry to build parametric relationships in 3D Studio Max. The video is best viewed full screen and you should already be familiar with 3ds Max to really follow along. Build a spline tower in 3ds Max.
How To: Use edit poly modifiers to animate in 3ds Max
This 3D software tutorial shows you how to work with editable polys in animate mode in 3ds Max. The idea is to use edit poly modifiers to control and have selections active when working in 3D Studio Max. See how to use modifiers like features in 3ds Max, a parametric modeling software. Learn how to use parameters to store design intent and avoid having to remodel geometry in Max. The tutorial is best viewed full screen. Use edit poly modifiers to animate in 3ds Max.
How To: Unwrap or unfold geometry in 3ds Max
This 3ds Max modeling tutorial covers how to unwrap or unfold geometry. This technique is used more for texture mapping but in this tutorial we the unfolded geometry back to the view port to use for building physical models. This geometry can them be used for laser cutting. One thing to note is that since this technique is for texture mapping it can lack precision but for scaled models it works well. See how to get creative with unwrapping and modeling in 3ds Max in this software tutorial. Un...

How To: Implement mesh relaxation in 3ds Max
This 3D software tutorial shows you how to use the relax modifier in 3ds Max. Learn how to implement mesh relaxation with the relax modifier when modeling in 3D Studio Max. Using mesh relaxation is a fast way to turn cubed or planar surfaces into curved shapes in 3ds Max. Implement mesh relaxation in 3ds Max.
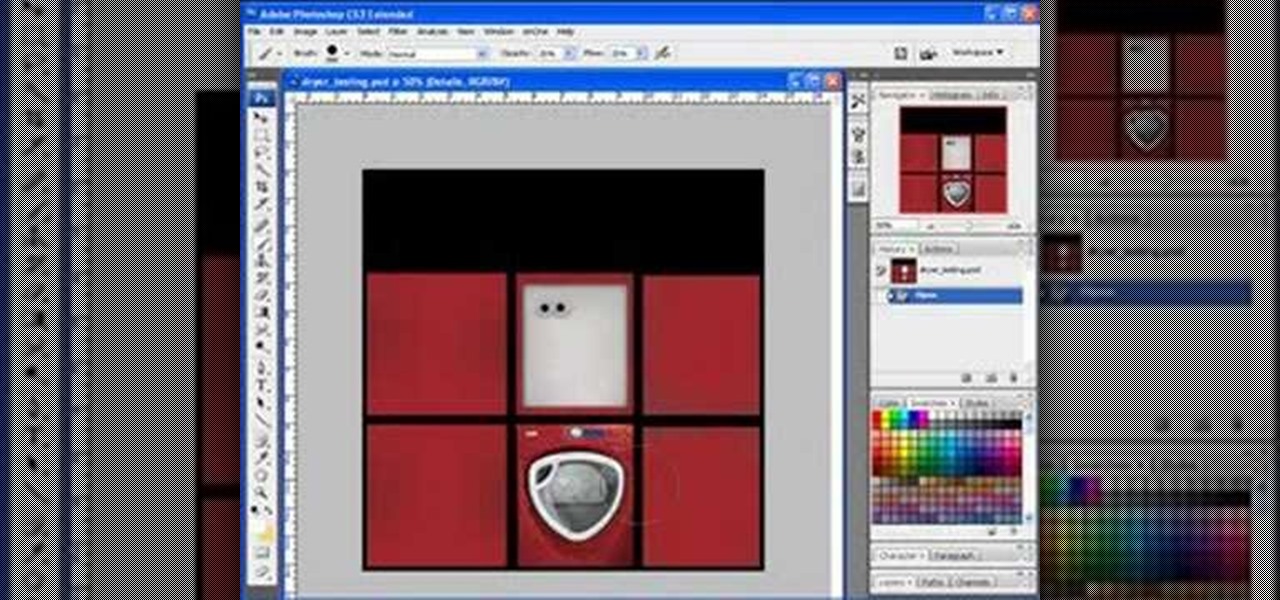
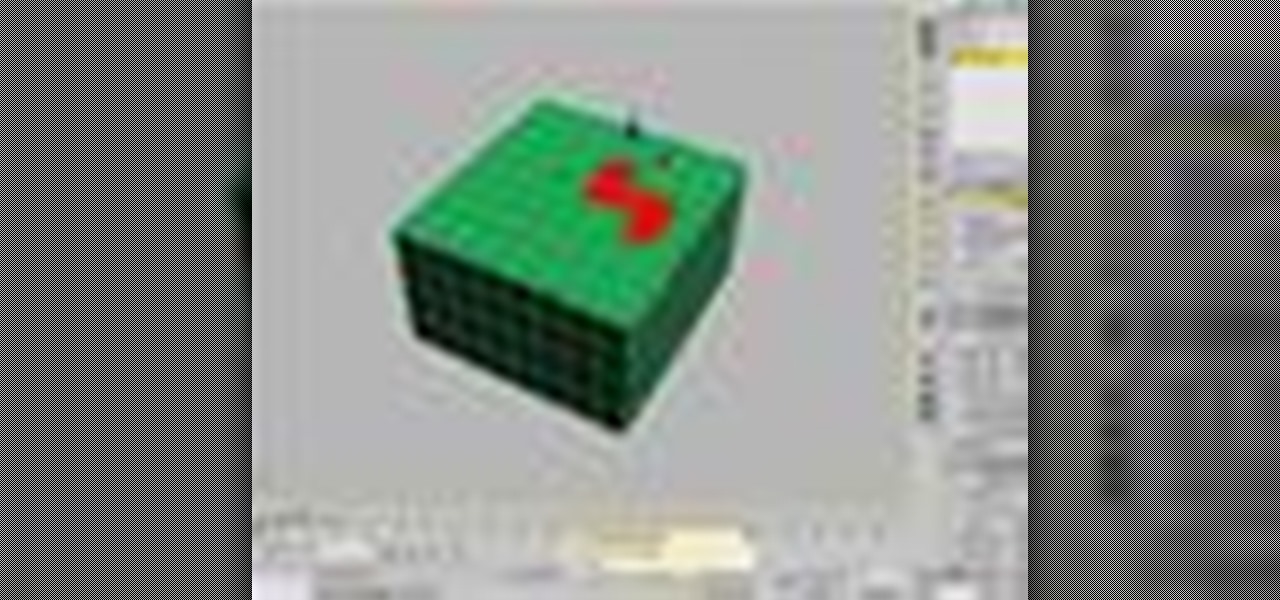
How To: Texture in 3ds Max
The third dimension has finally arrived to internet browsing! Be sure to catch the wave of innovation with this series of tutorials. Initially, we'll be examining the importance of texturing basic 3D objects. Watch as the almost magical effects of texturing in 3ds Max transform a simple cube into a trendy clothes dryer. Polygons are saved, browsing is made speedier, and clients are bound to be happy. Next stop, bring it into Papervision3D! If you wish to learn about using 3D elements on the i...
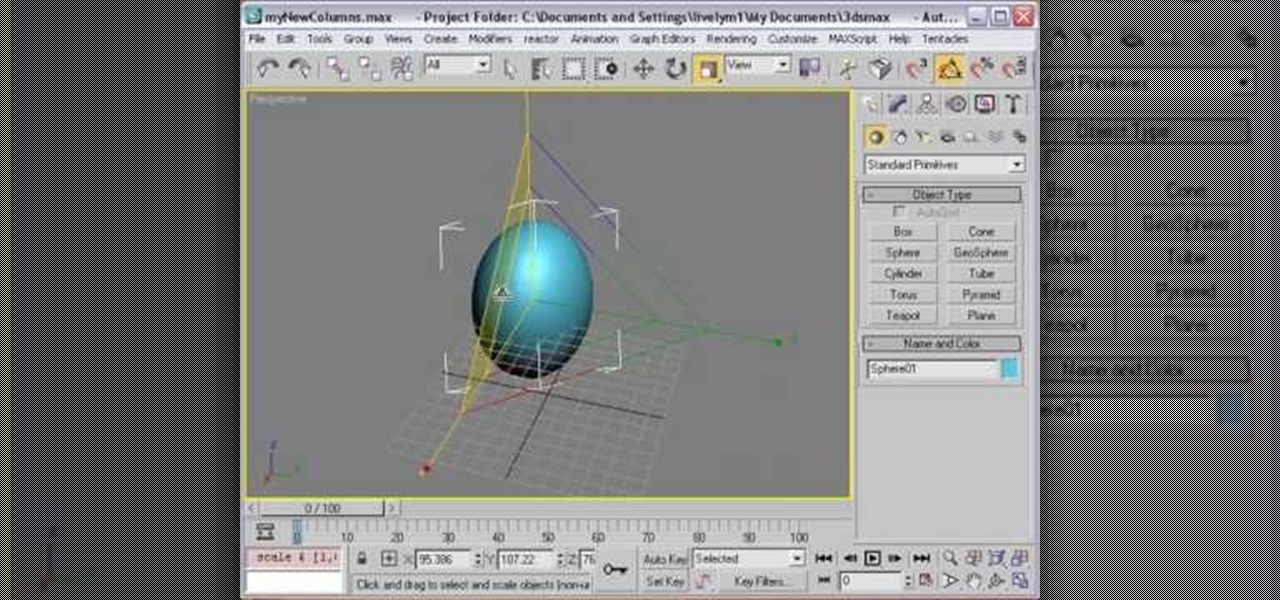
How To: Model with primitives in 3DS Max for Papervision3D
This software tutorial demonstrates how to build with primitives in 3DS Max for Papervision3D. This first part demonstrates 3D Studio Max basics and how to build a column base using primitives. This second part demonstrates how to use the Shift clone tool.